

Dockerize a Three-tier Open-source application as a DevOps Engineer


Docker
Docker is a software platform that allows you to build, test, and deploy applications quickly. Docker packages software into standardized units called containers that have everything the software needs to run including libraries, system tools, code, and runtime. Using Docker, you can quickly deploy and scale applications into any environment and know your code will run.
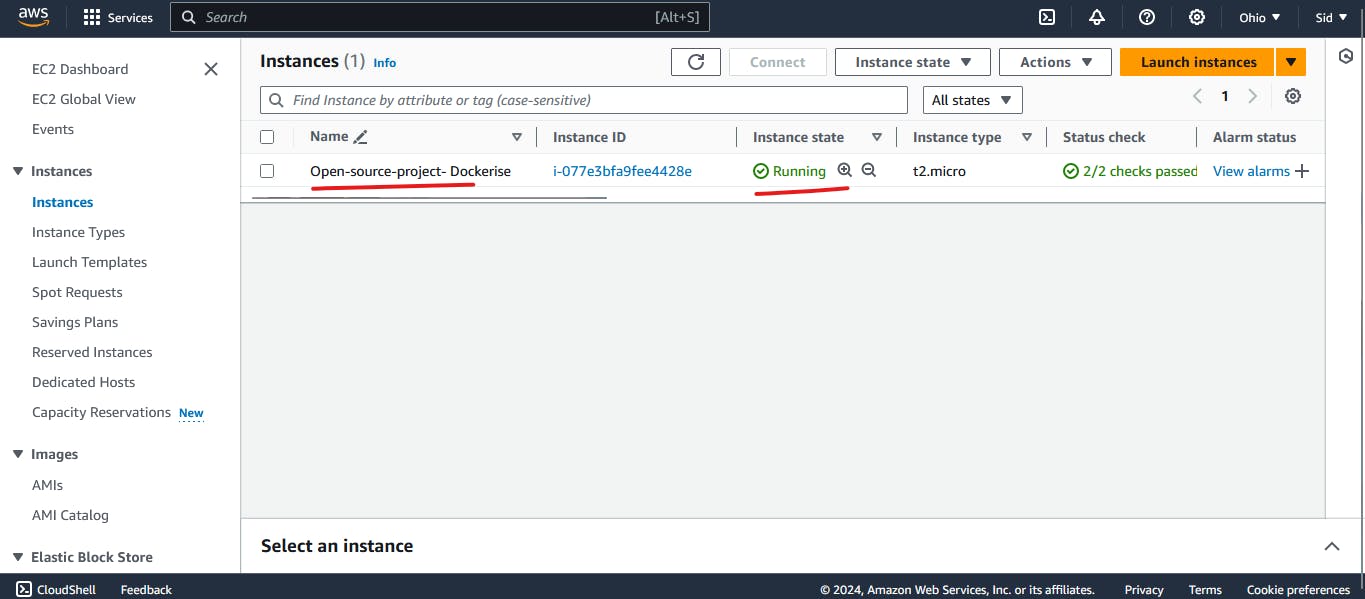
Create a new Ec2 instance.
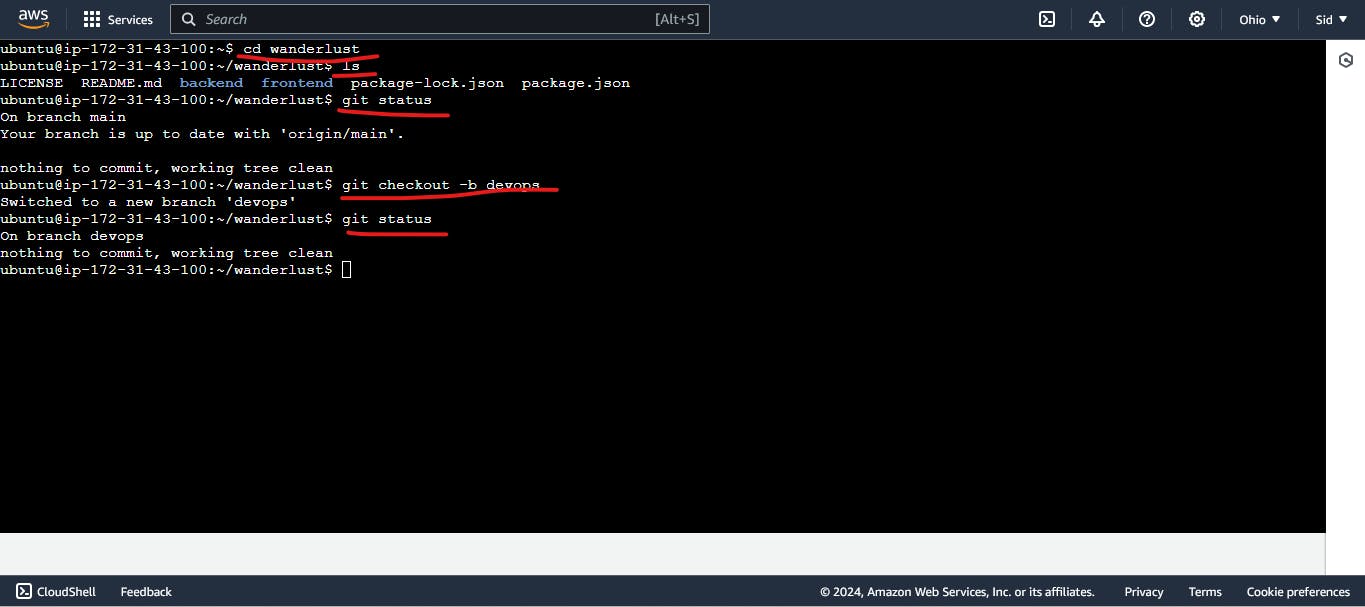
Use the git clone command and clone the project repo in your local.
git clone https://github.com/siddharth249859/wanderlust.git

cd wanderlust
ls
git status
Current in Main branch so i switched on devops branch which created in git and github blog.
git checkout -b devops
git status
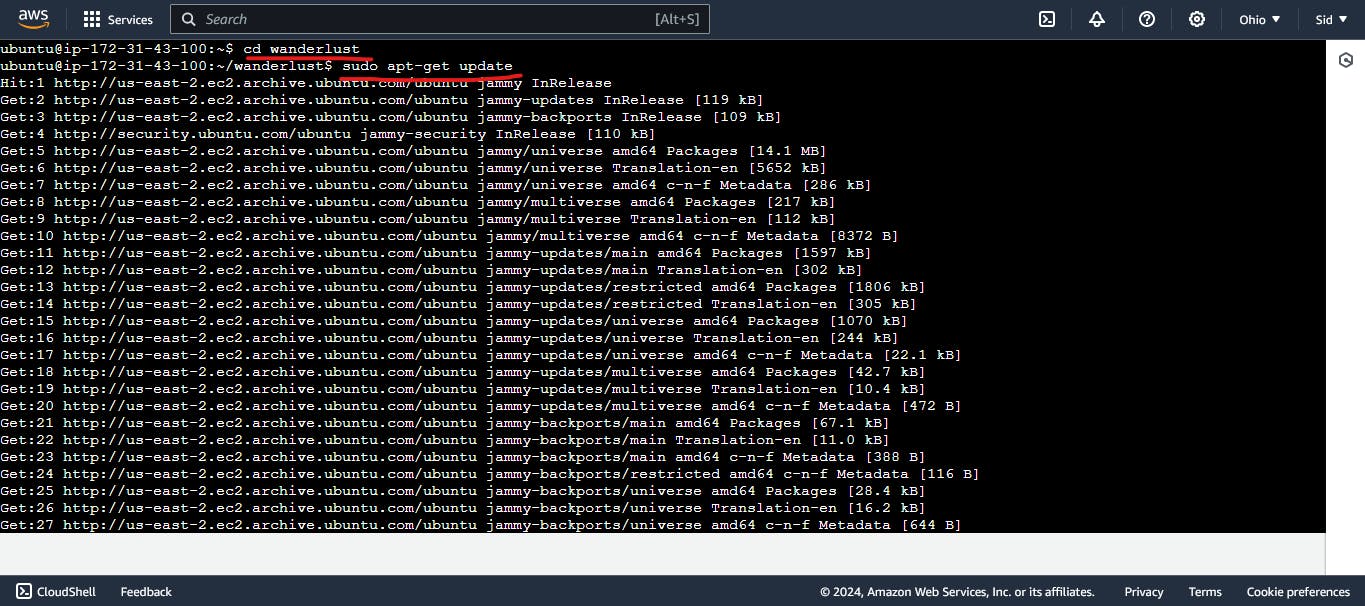
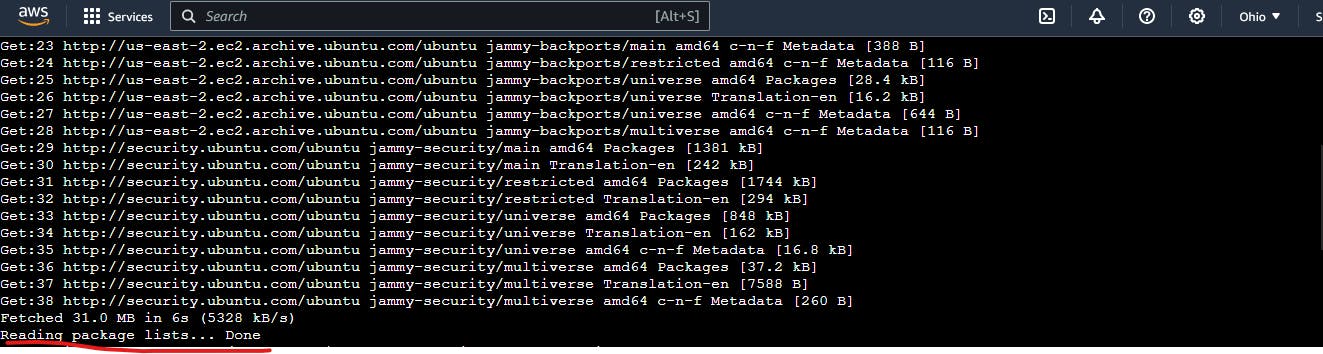
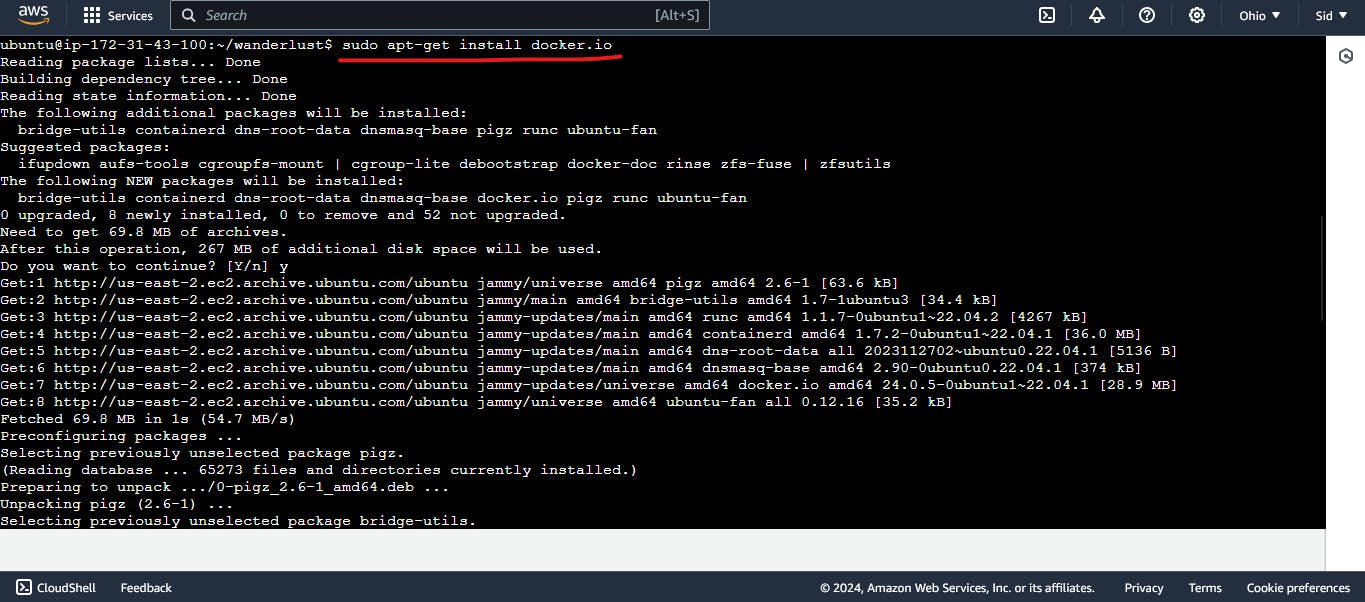
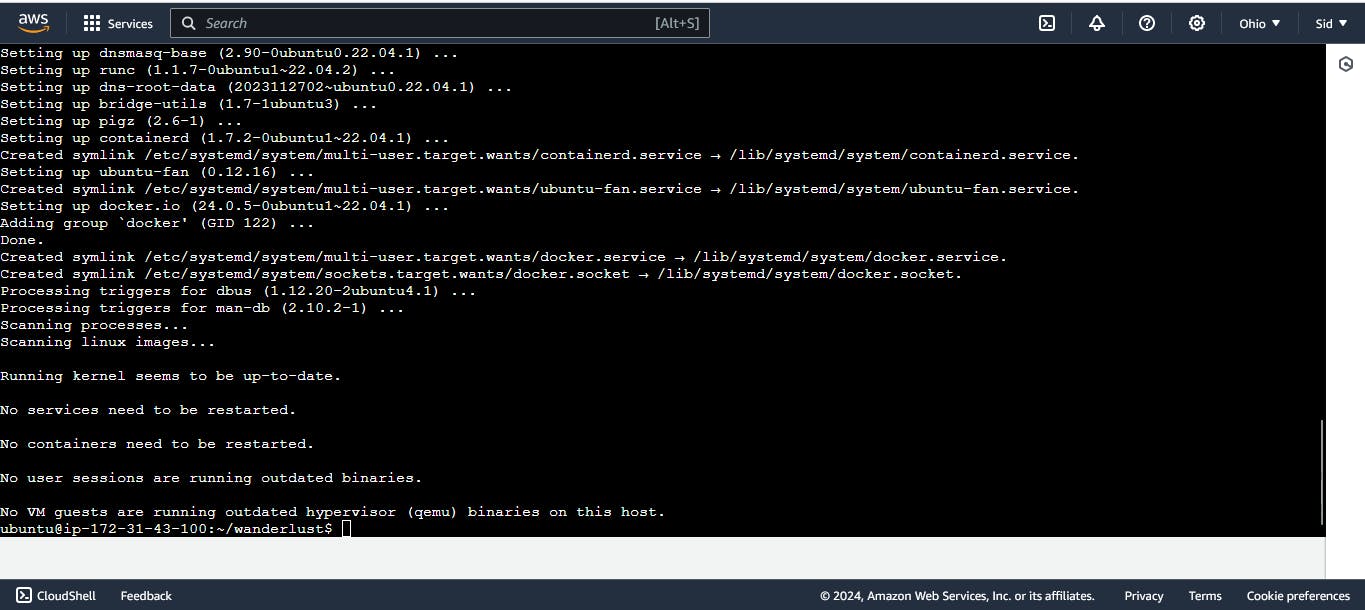
Install docker in ubuntu
sudo apt-get update
sudo apt-get install docker.io
Change the directory use cd command.
cd backend/
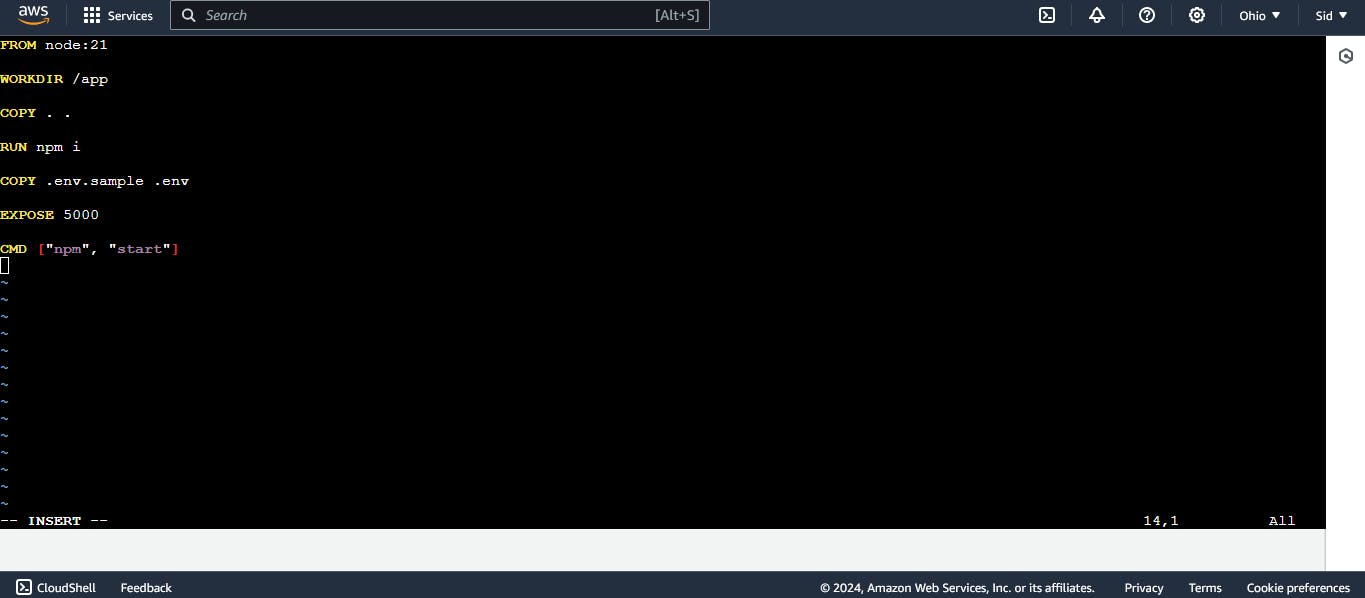
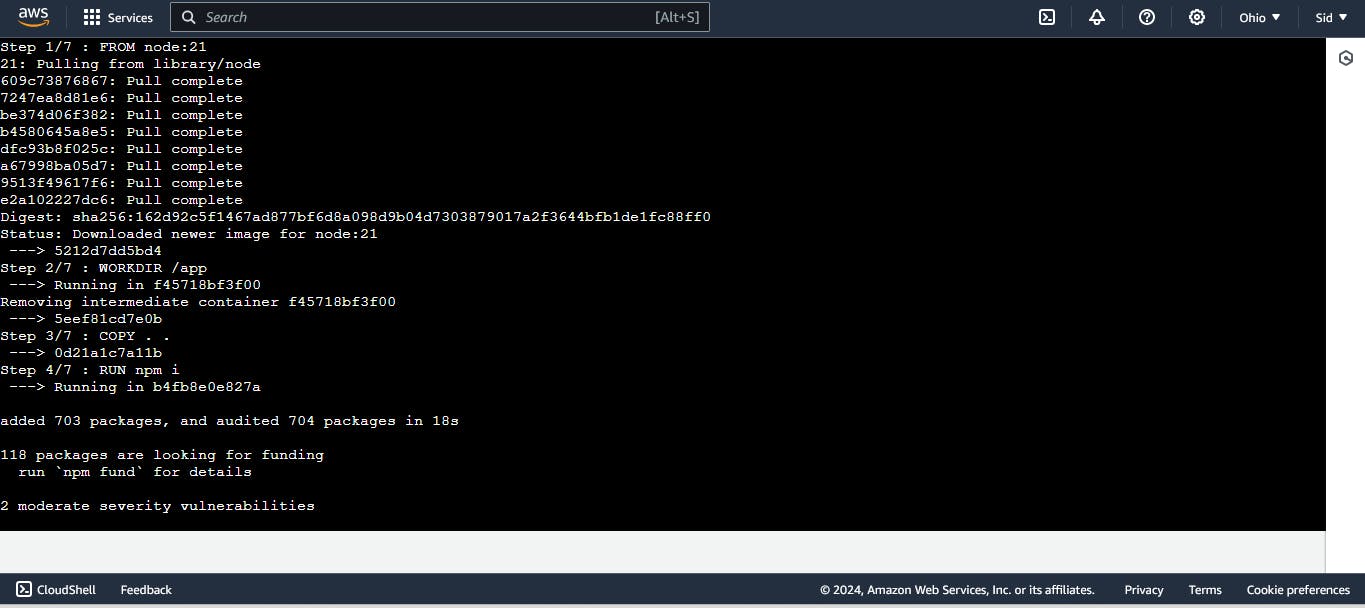
Create a dockerfile for backend.
vim Dockerfile

FROM node:21
WORKDIR /app
COPY . .
RUN npm i
COPY env.sample .env
EXPOSE 5000
CMD ["npm", "start"]
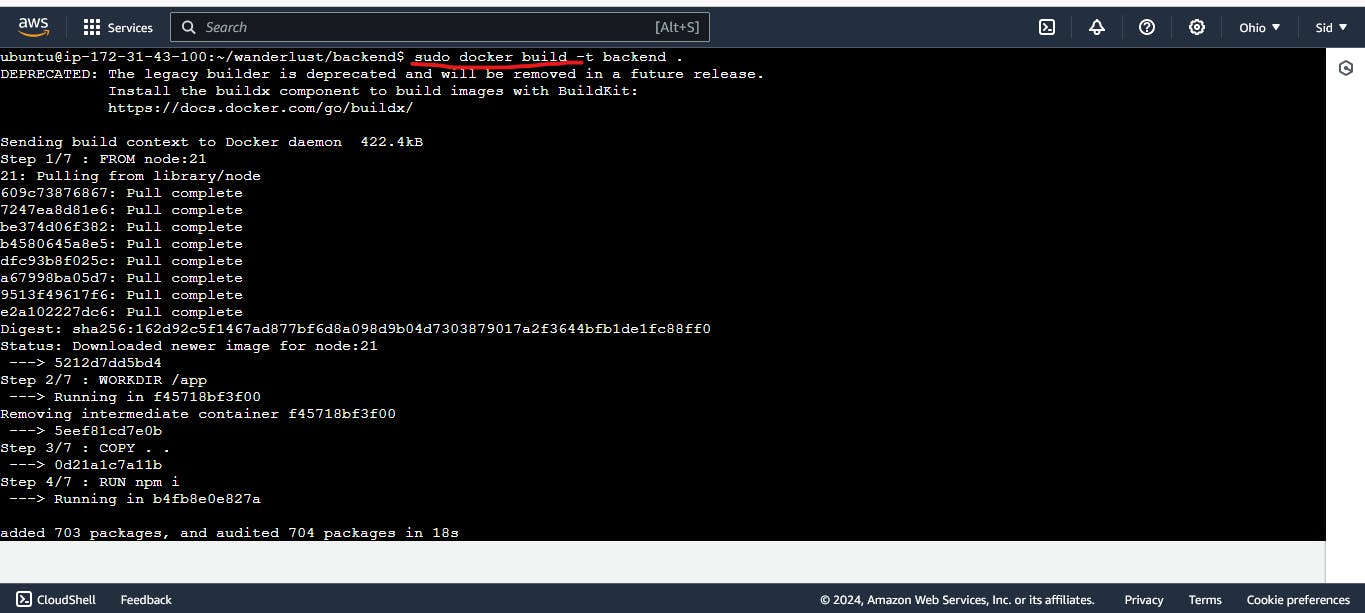
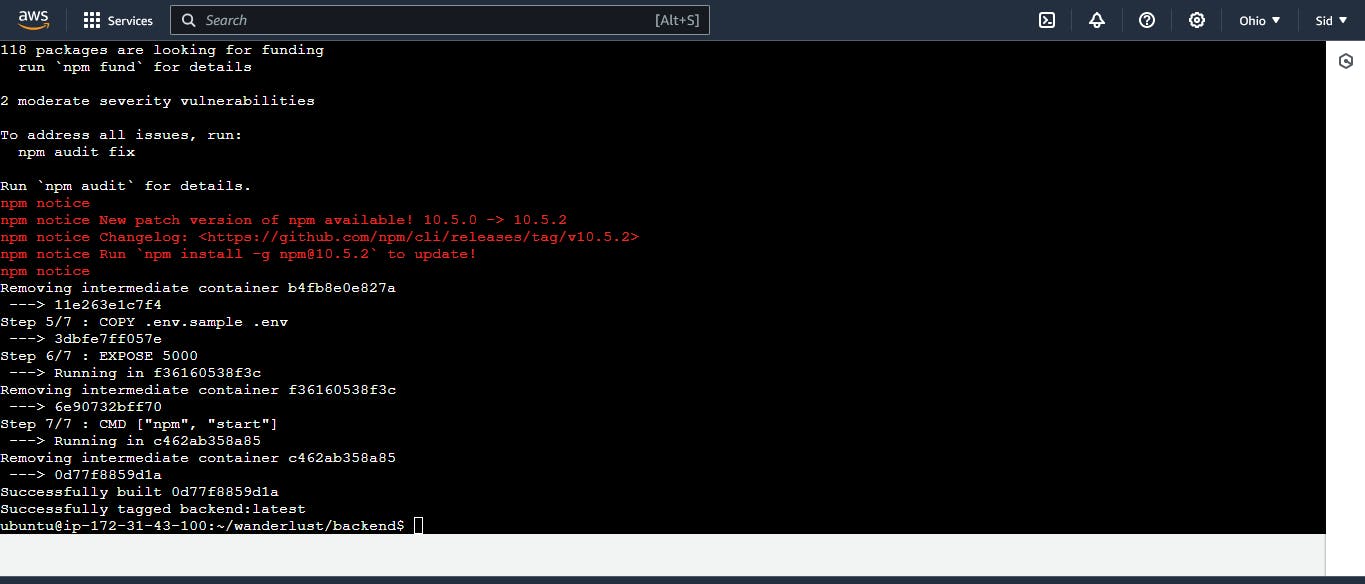
Now docker build command run
docker build -t backend .
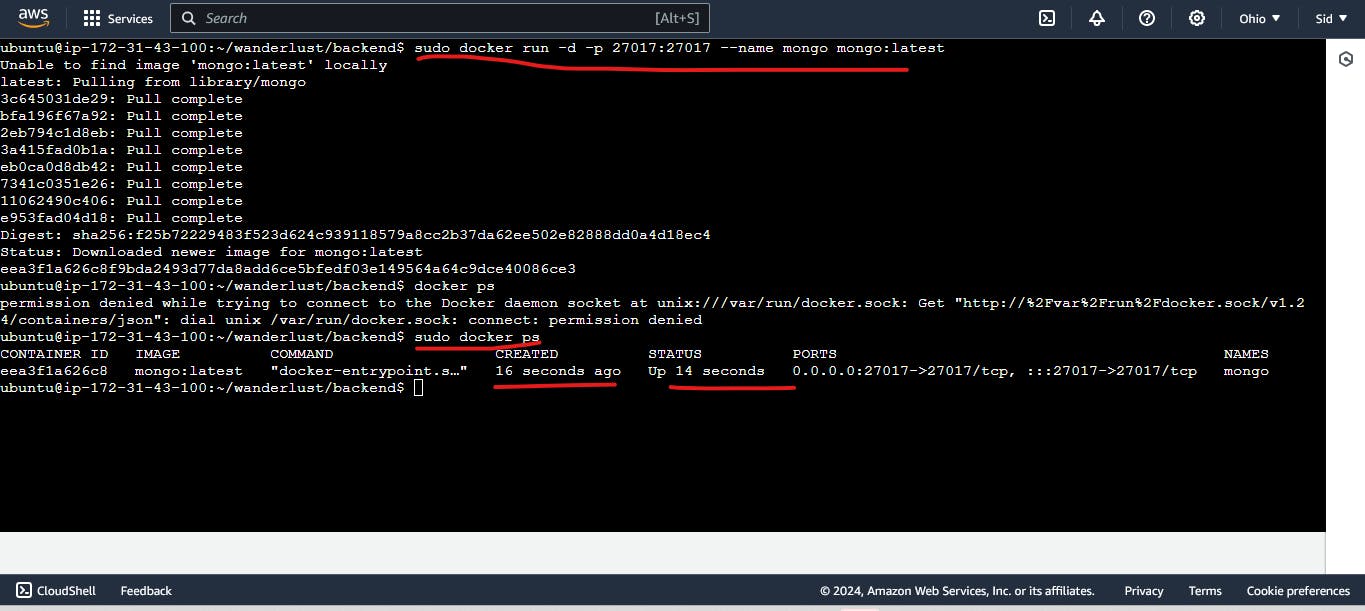
Now docker run command and run mongo db
sudo docker run -d -p 27017:27017 --name mongo mongo:latest
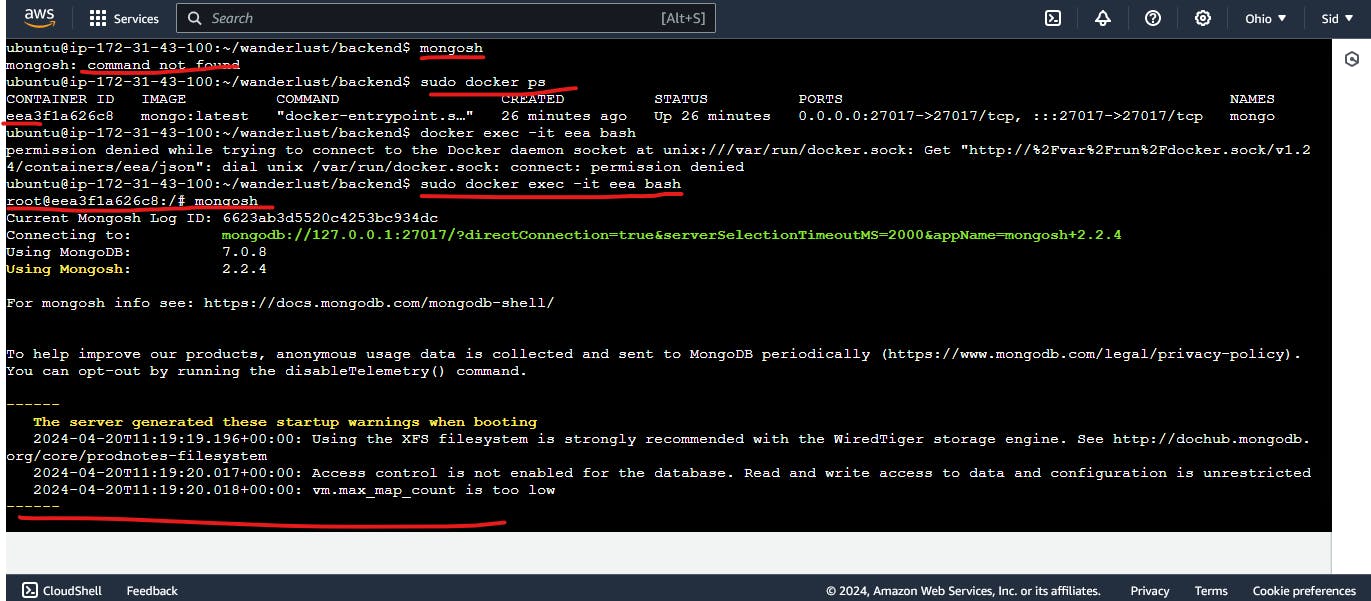
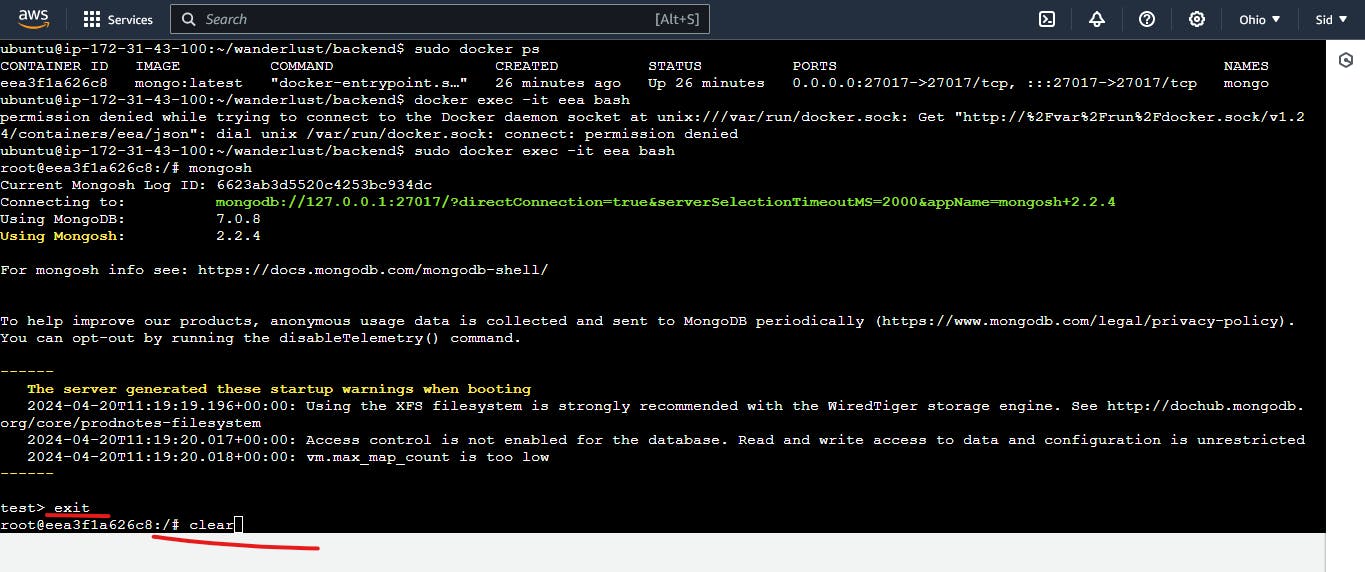
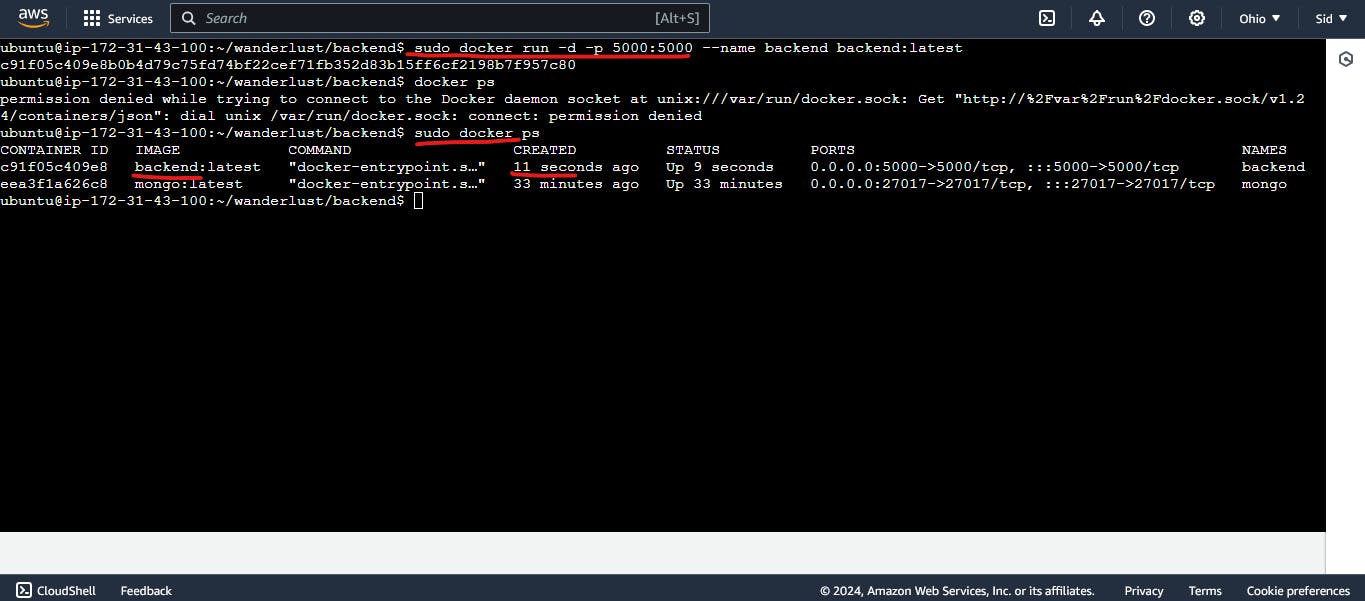
sudo docker ps
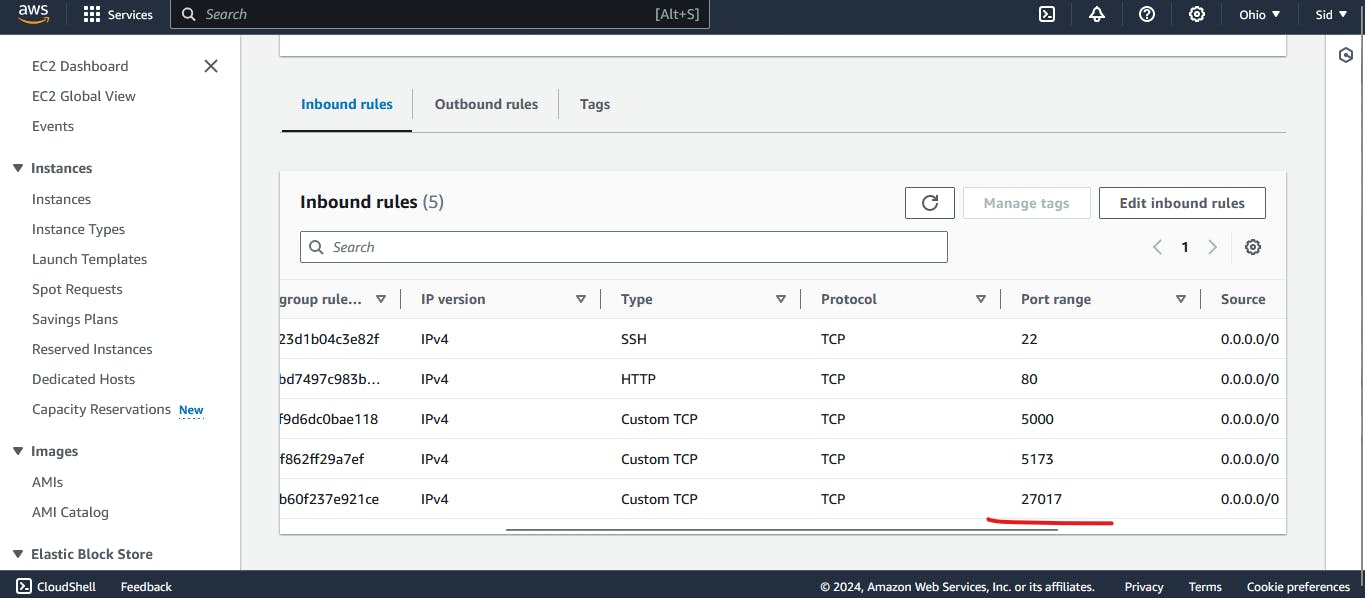
Now allow the port inbound rule in AWS.
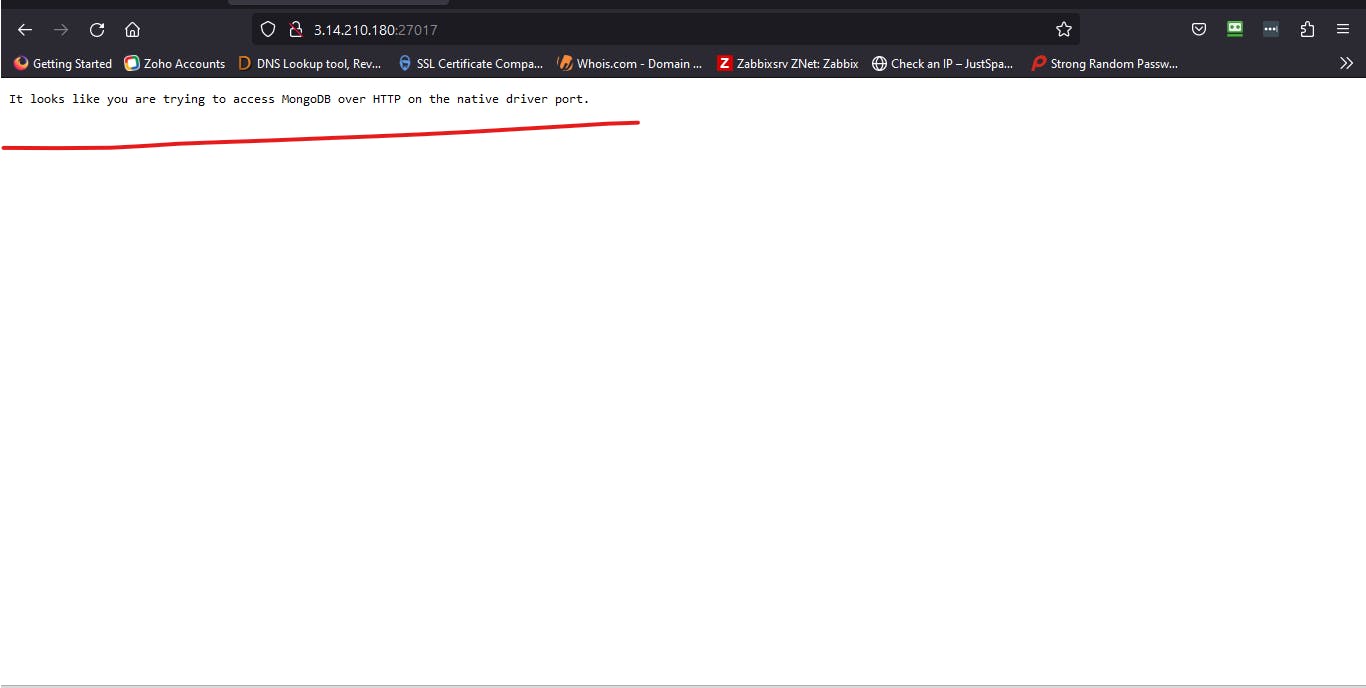
mongosh command is not working.
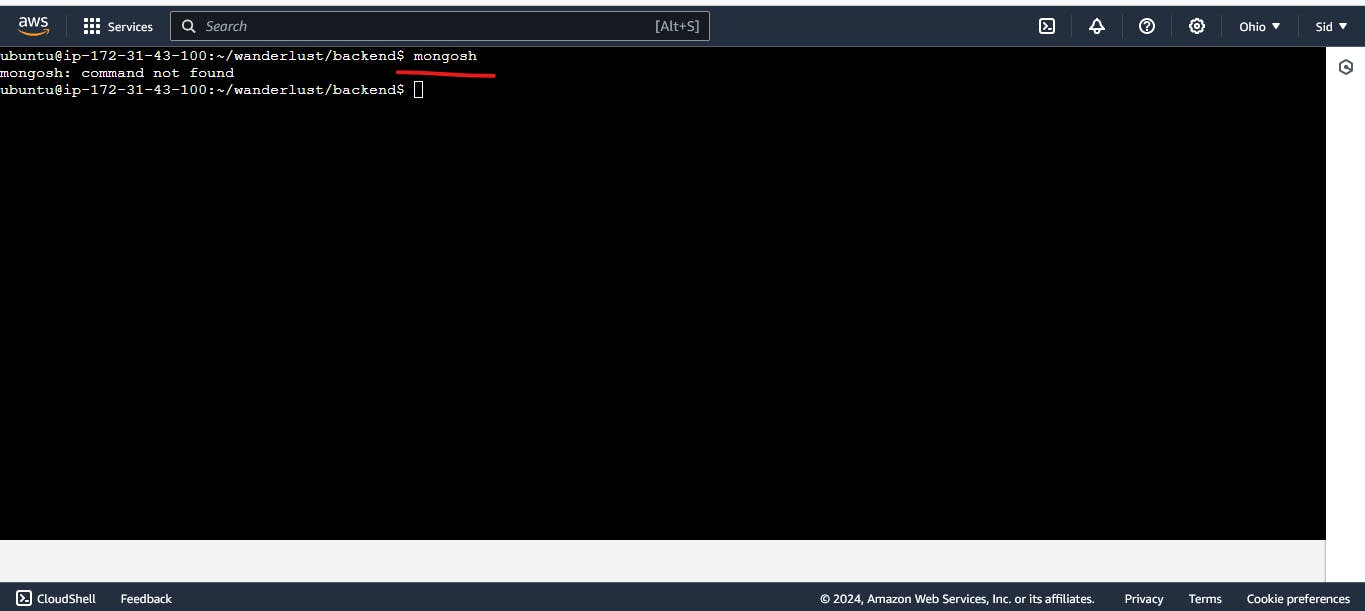
sudo docker ps
sudo docker exec -it eea bash
mongosh
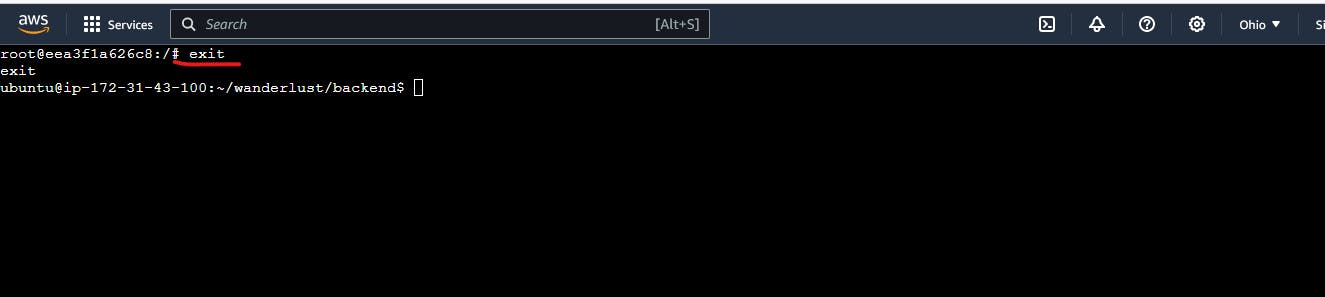
exit
clear
exit
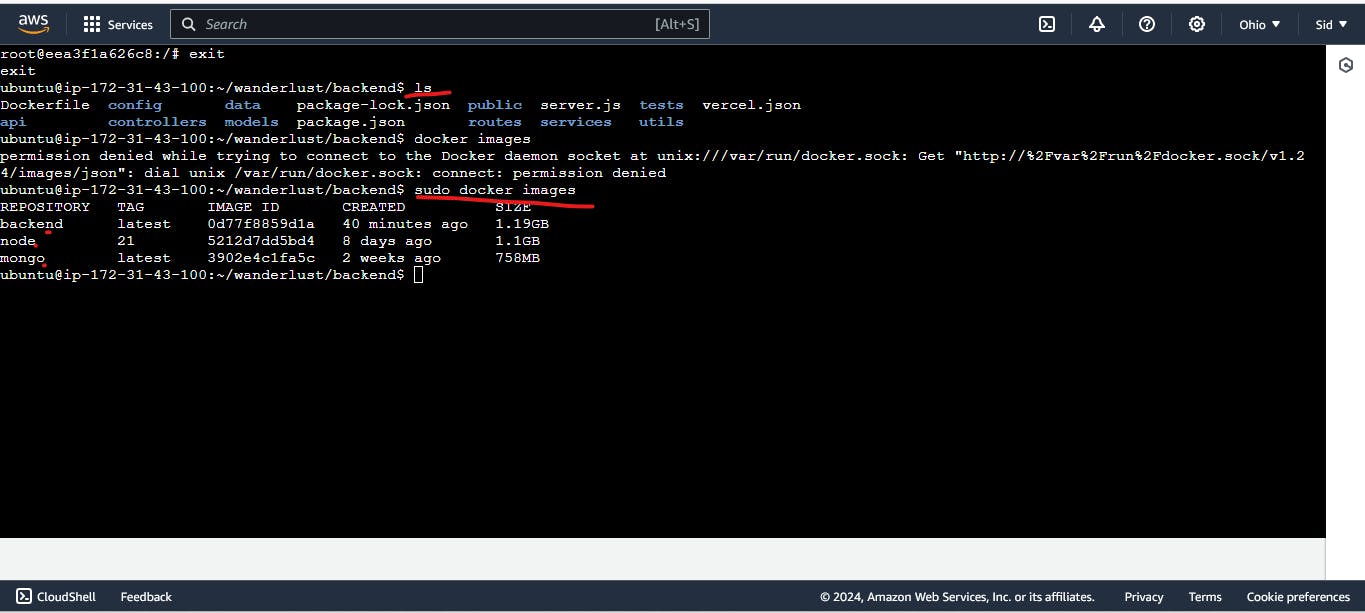
ls
sudo docker images
Now run the backend
sudo docker run -d -p 5000:5000 --name backend backend:latest
docker ps
Now only frontend remaining
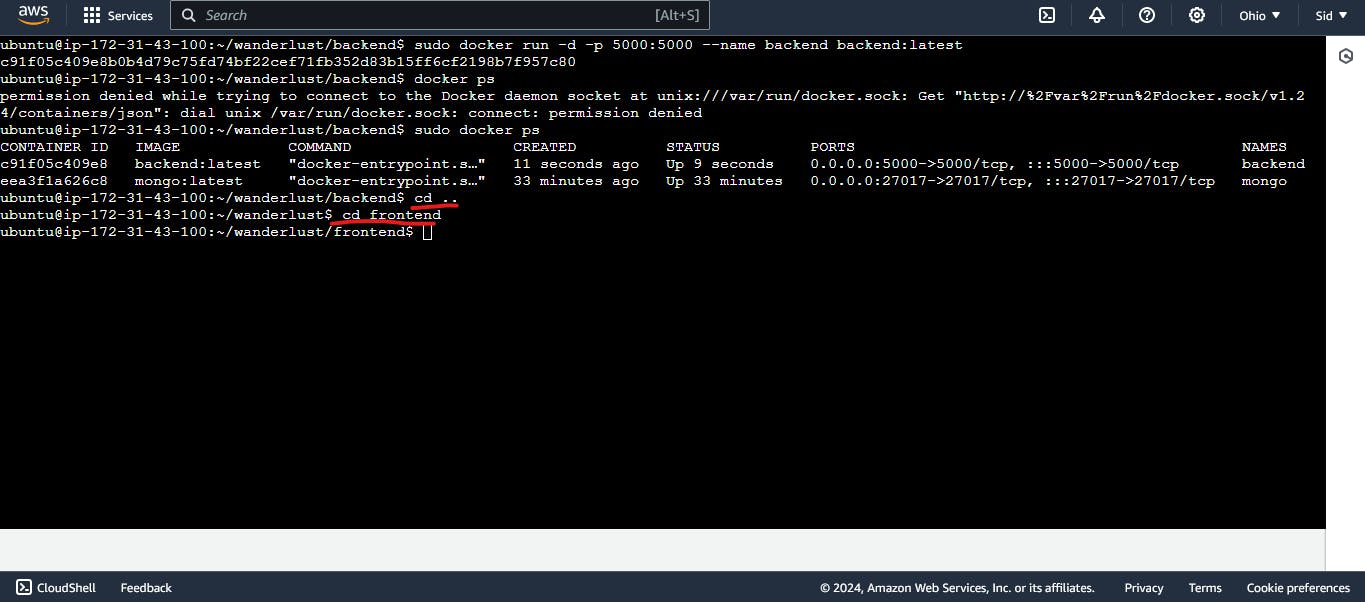
cd . .
cd frontend
Create a dockerfile in frontend
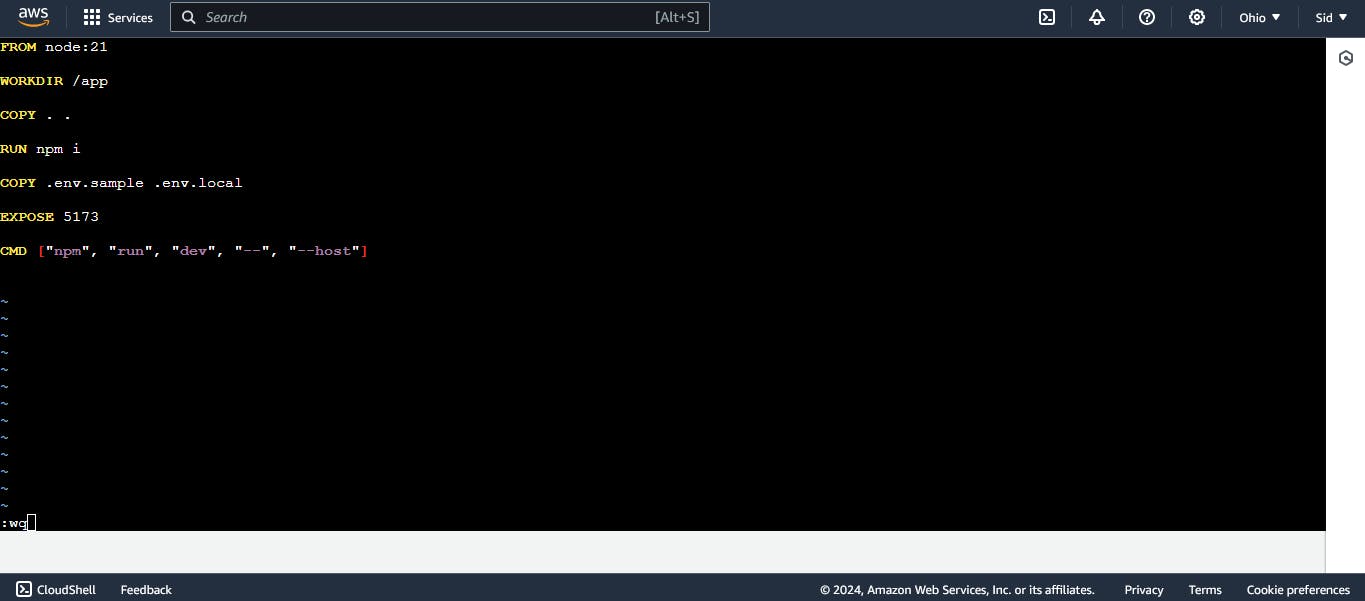
save it :wq
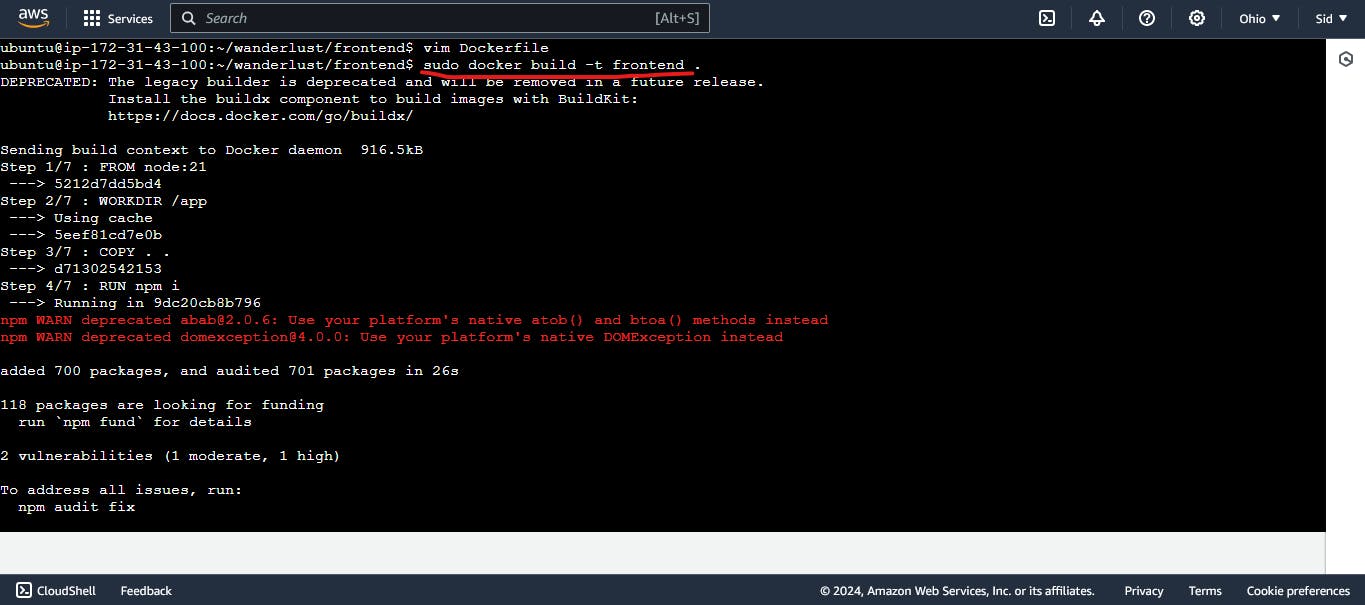
sudo docker build -t frontend .

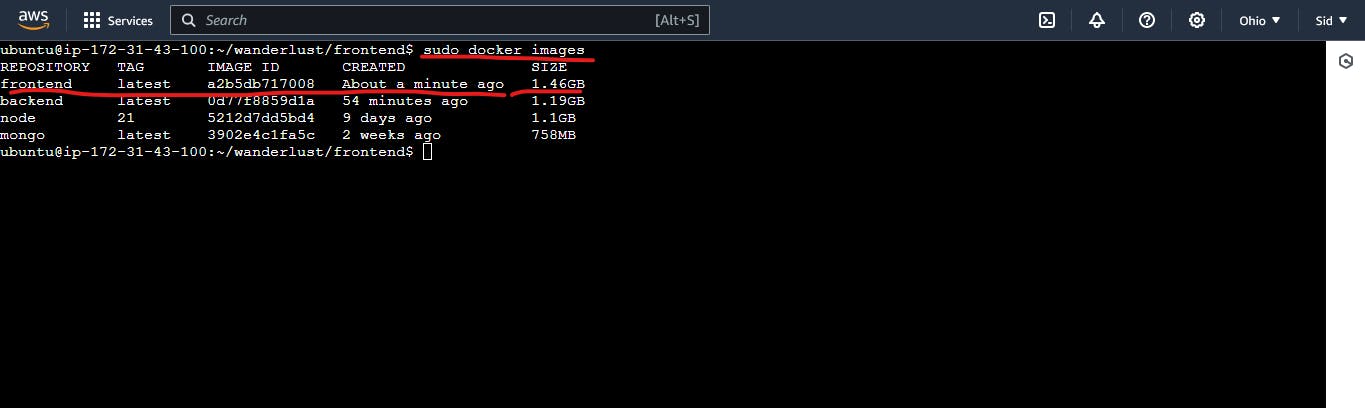
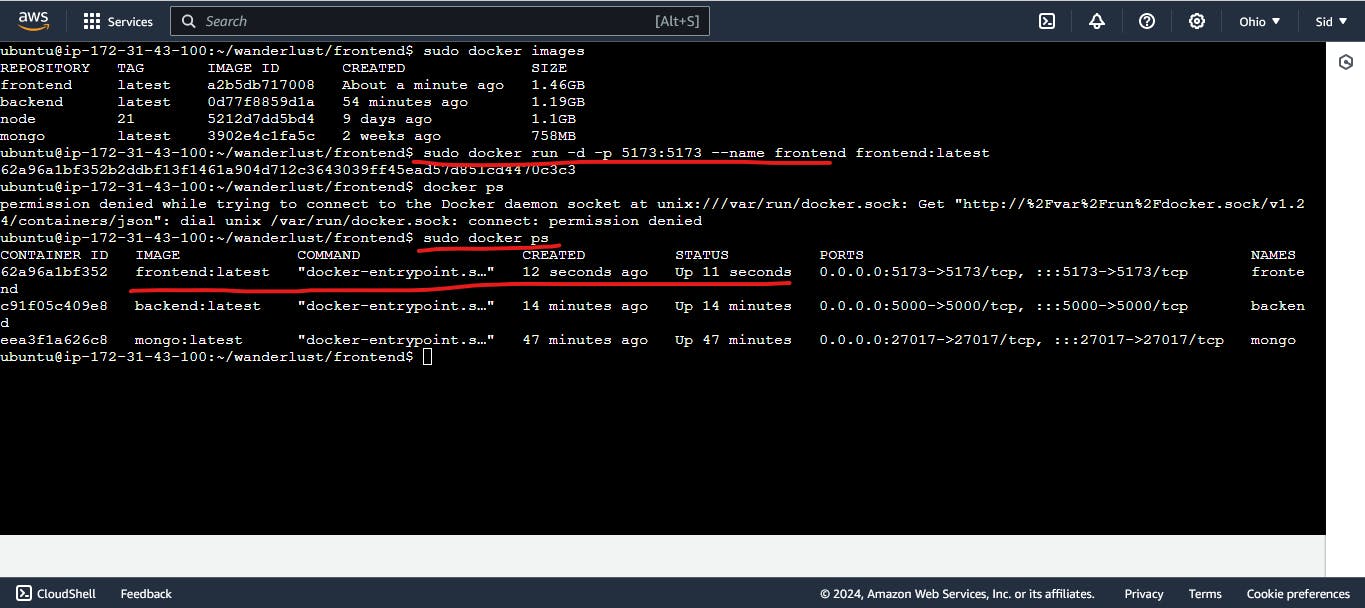
sudo docker images
sudo docker run -d -p 5173:5173 --name frontend frontend:latest
sudo docker ps
port 5173 already allowed

Now website working
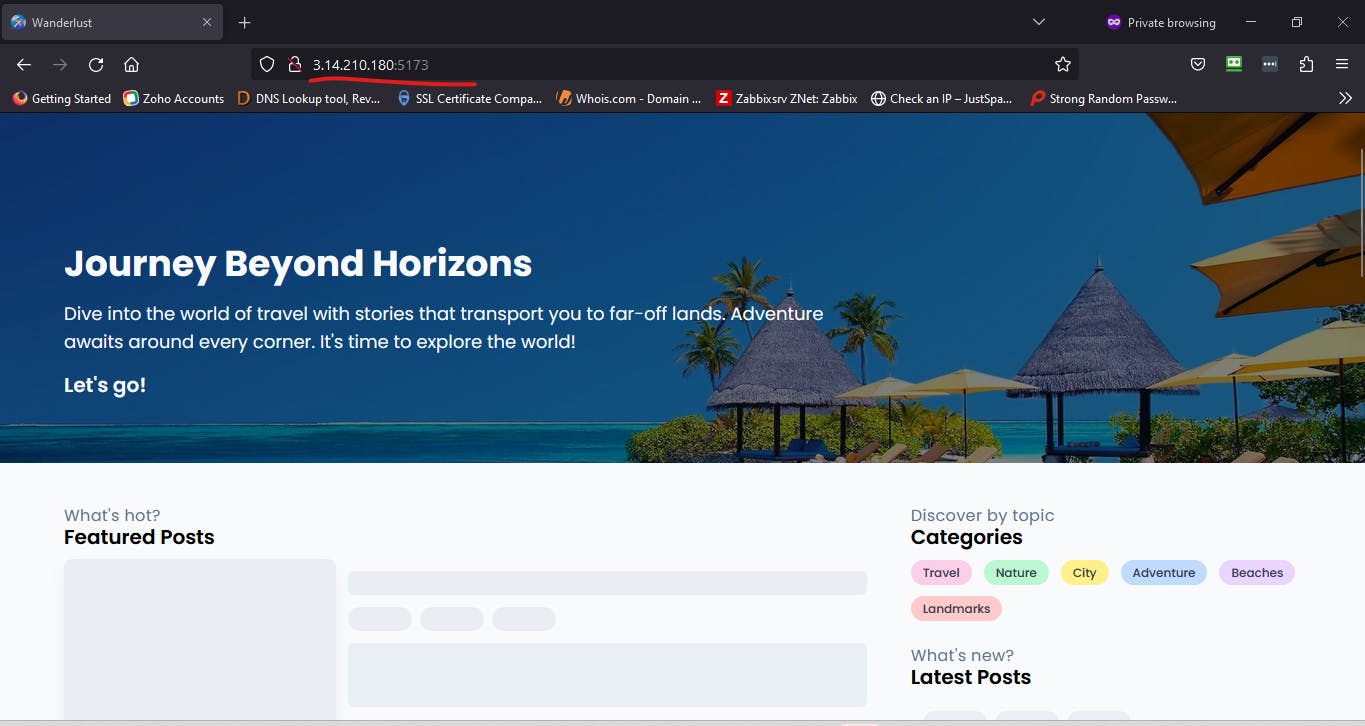
feature post not showing and api call going to local host 5000 so add the instance public ip instead of local host. Enter the vim .env.sample file.

vim .env.sample
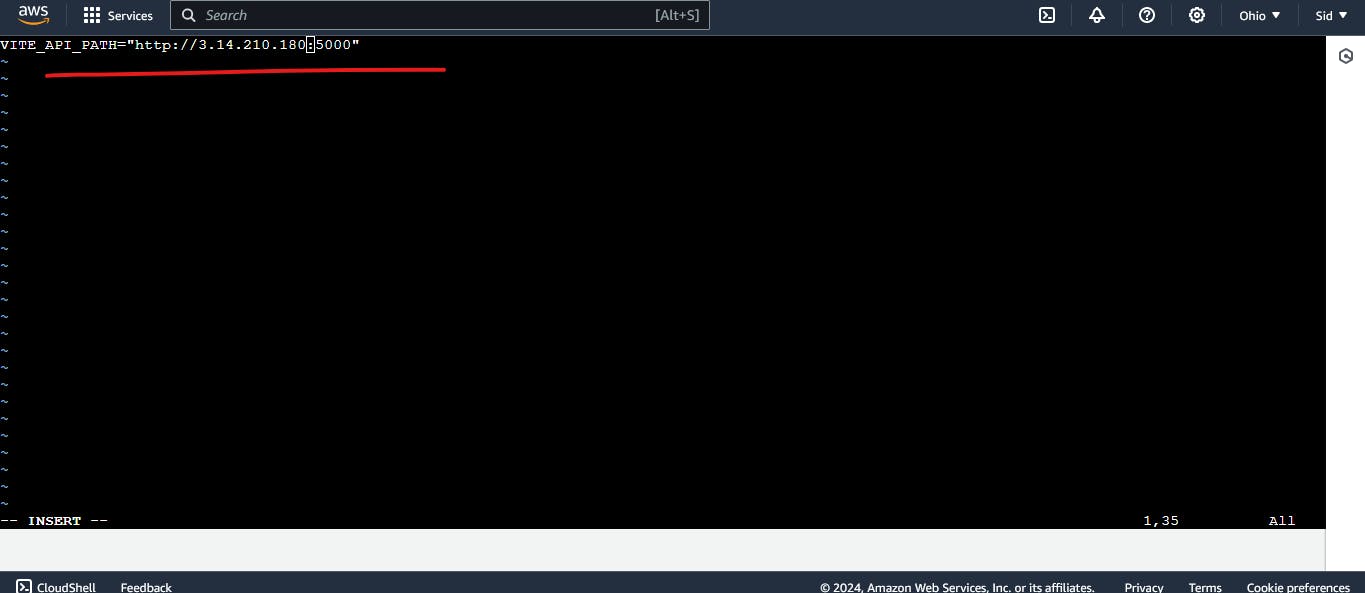
so add the instance public ip instead of local host. Enter the vim .env.sample file.
then change the path.
VITE_API_PATH="localhost:5000"
to
VITE_API_PATH="http://3.14.210.180:5000"
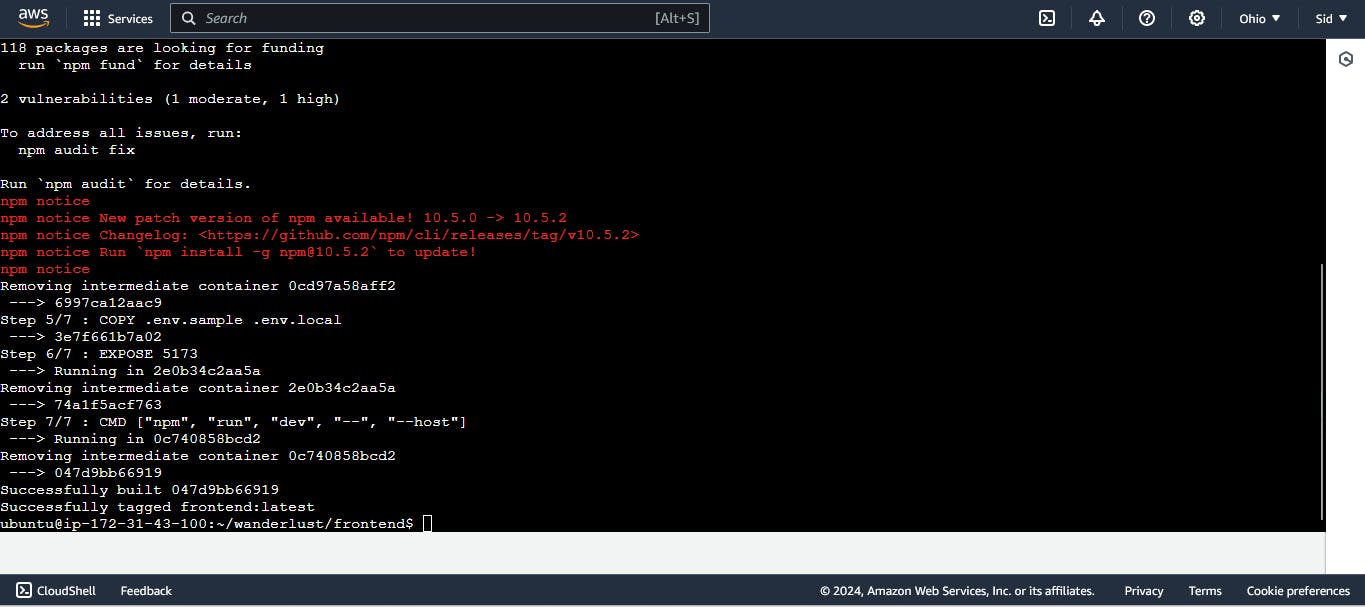
Whenever you change your code, you will have to run the docker build command again. You will have to create the image back. I built the frontend again, changed the code, inserted the image again, we will get the updated application, we will get the updated container.
docker build -t frontend .

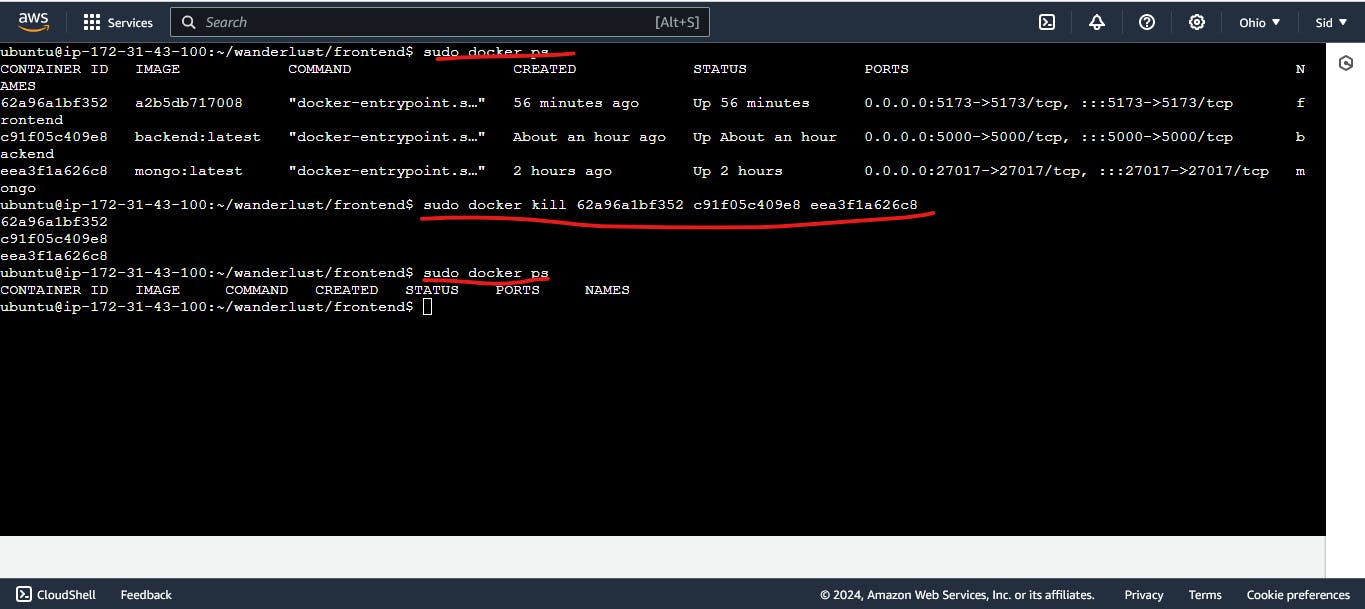
docker ps
sudo docker kill 62a96a1bf352 c91f05c409e8 eea3f1a626c8
sudo docker rm 62a96a1bf352 c91f05c409e8 eea3f1a626c8
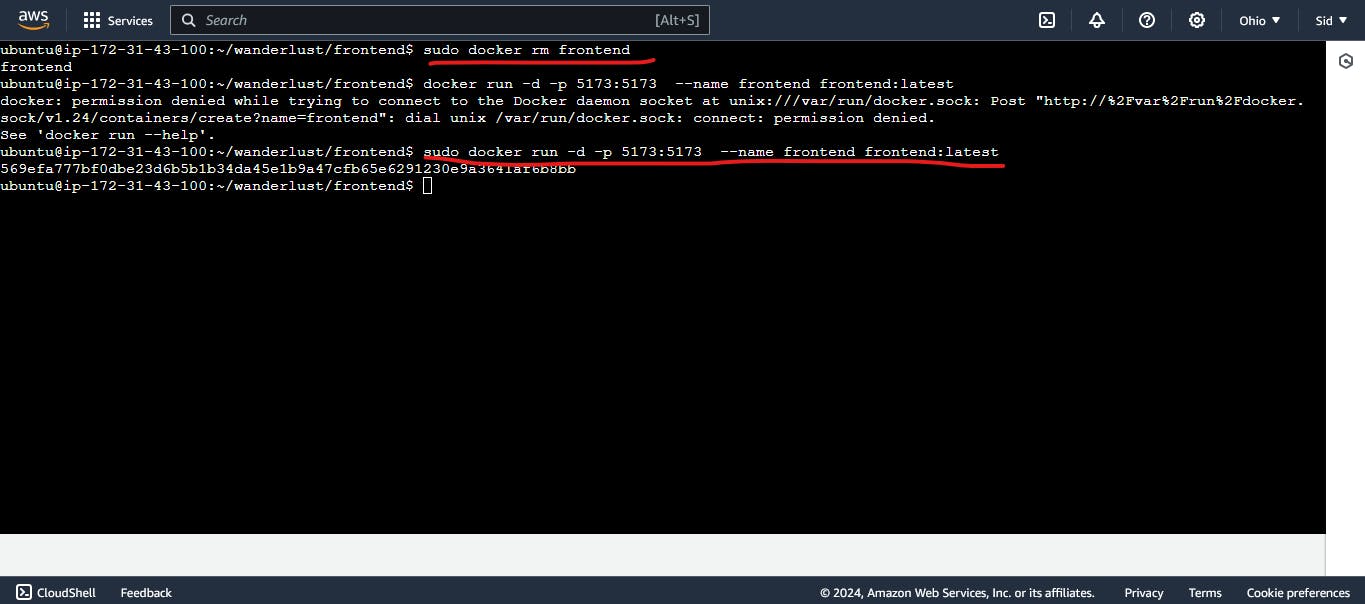
sudo docker rm frontend
sudo docker run -d -p 5173:5173 --name frontend frontend:latest

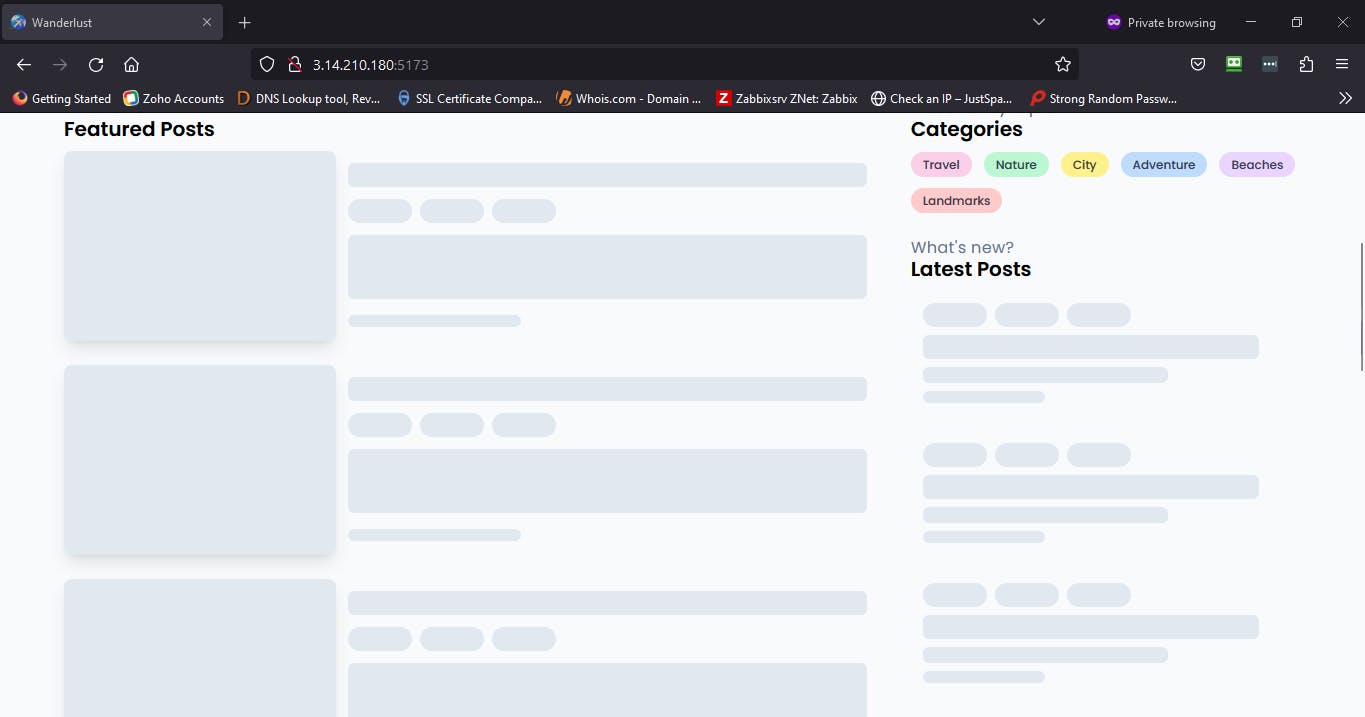
feature post not showing.

Frontend, backend, database container, these are three isolated containers or they cannot interact with each other. In all the below containers, you can put them in the network so that you can share API among them, share data. For this purpose we can create a network here and then we will see all three containers running one command at a time or they will all remain in the default network. Will stay in one network.
We will do this thing with docker compose.
Problem is that all three container is running individually but is not running collaboratively (it is not running together).
In my Next blog is related docker compose so we will resolve feature post not showing related issue in docker compose blog.
Happy Learning :)
Thank you for reading this Blog. Hope you learned something new today! If you found this blog helpful, please like, share, and follow me for more blog posts like this in the future😊😊.