Day 5: Advanced Linux Shell Scripting for DevOps Engineers with User management
You have to do the same using Shell Script i.e using either Loops or command with start day and end day variables using arguments -
So Write a bash script create directories.sh that when the script is executed with three given arguments (one is the directory name second is the start number of directories and the third is the end number of directories ) it creates a specified number of directories with a dynamic directory name.
Example 1: When the script is executed as
./createDirectories.sh day 1 90
then it creates 90 directories as day1 day2 day3 .... day90
Solution:-
vim createdirectory.sh
#!/bin/bash
if [ "$#" -ne 3 ]; then
echo "Usage: $0 <directory_name> <start_number> <end_number>"
exit 1
fi
directory_name="$1"
start_number="$2"
end_number="$3"
if [ "$start_number" -gt "$end_number" ]; then
echo"Start number should be less then or equal to end number."
exit 1
fi
for (( i = start_number; i <=end_number; i++ )); do directory="${directory_name}${i}"
mkdir -p "$directory"
echo "Created directory: $directory"
done
bash createdirectory.sh day 1 3
Output:

chmod 007 createdirectory.sh
./createdirectory.sh day 1 3

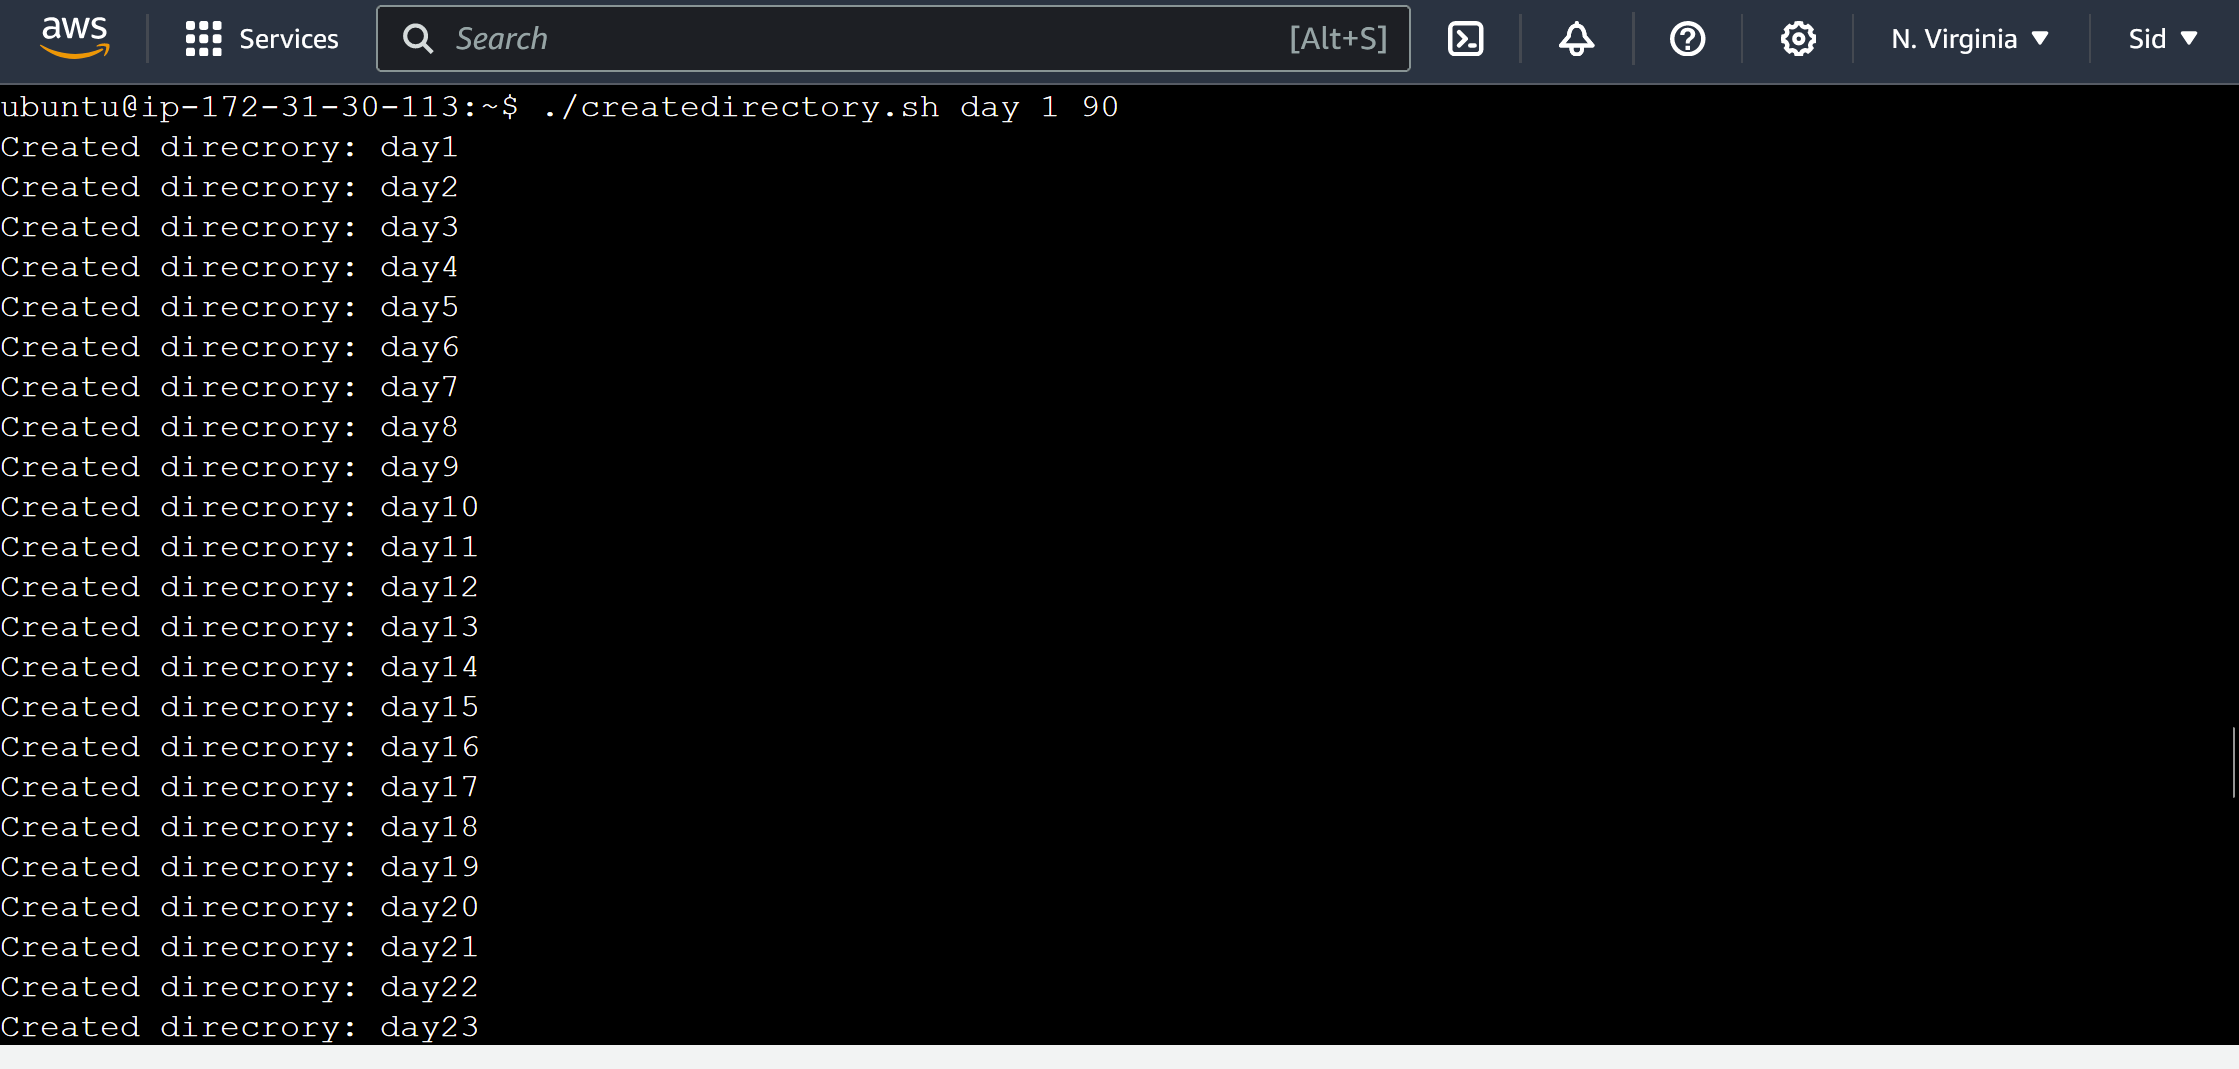
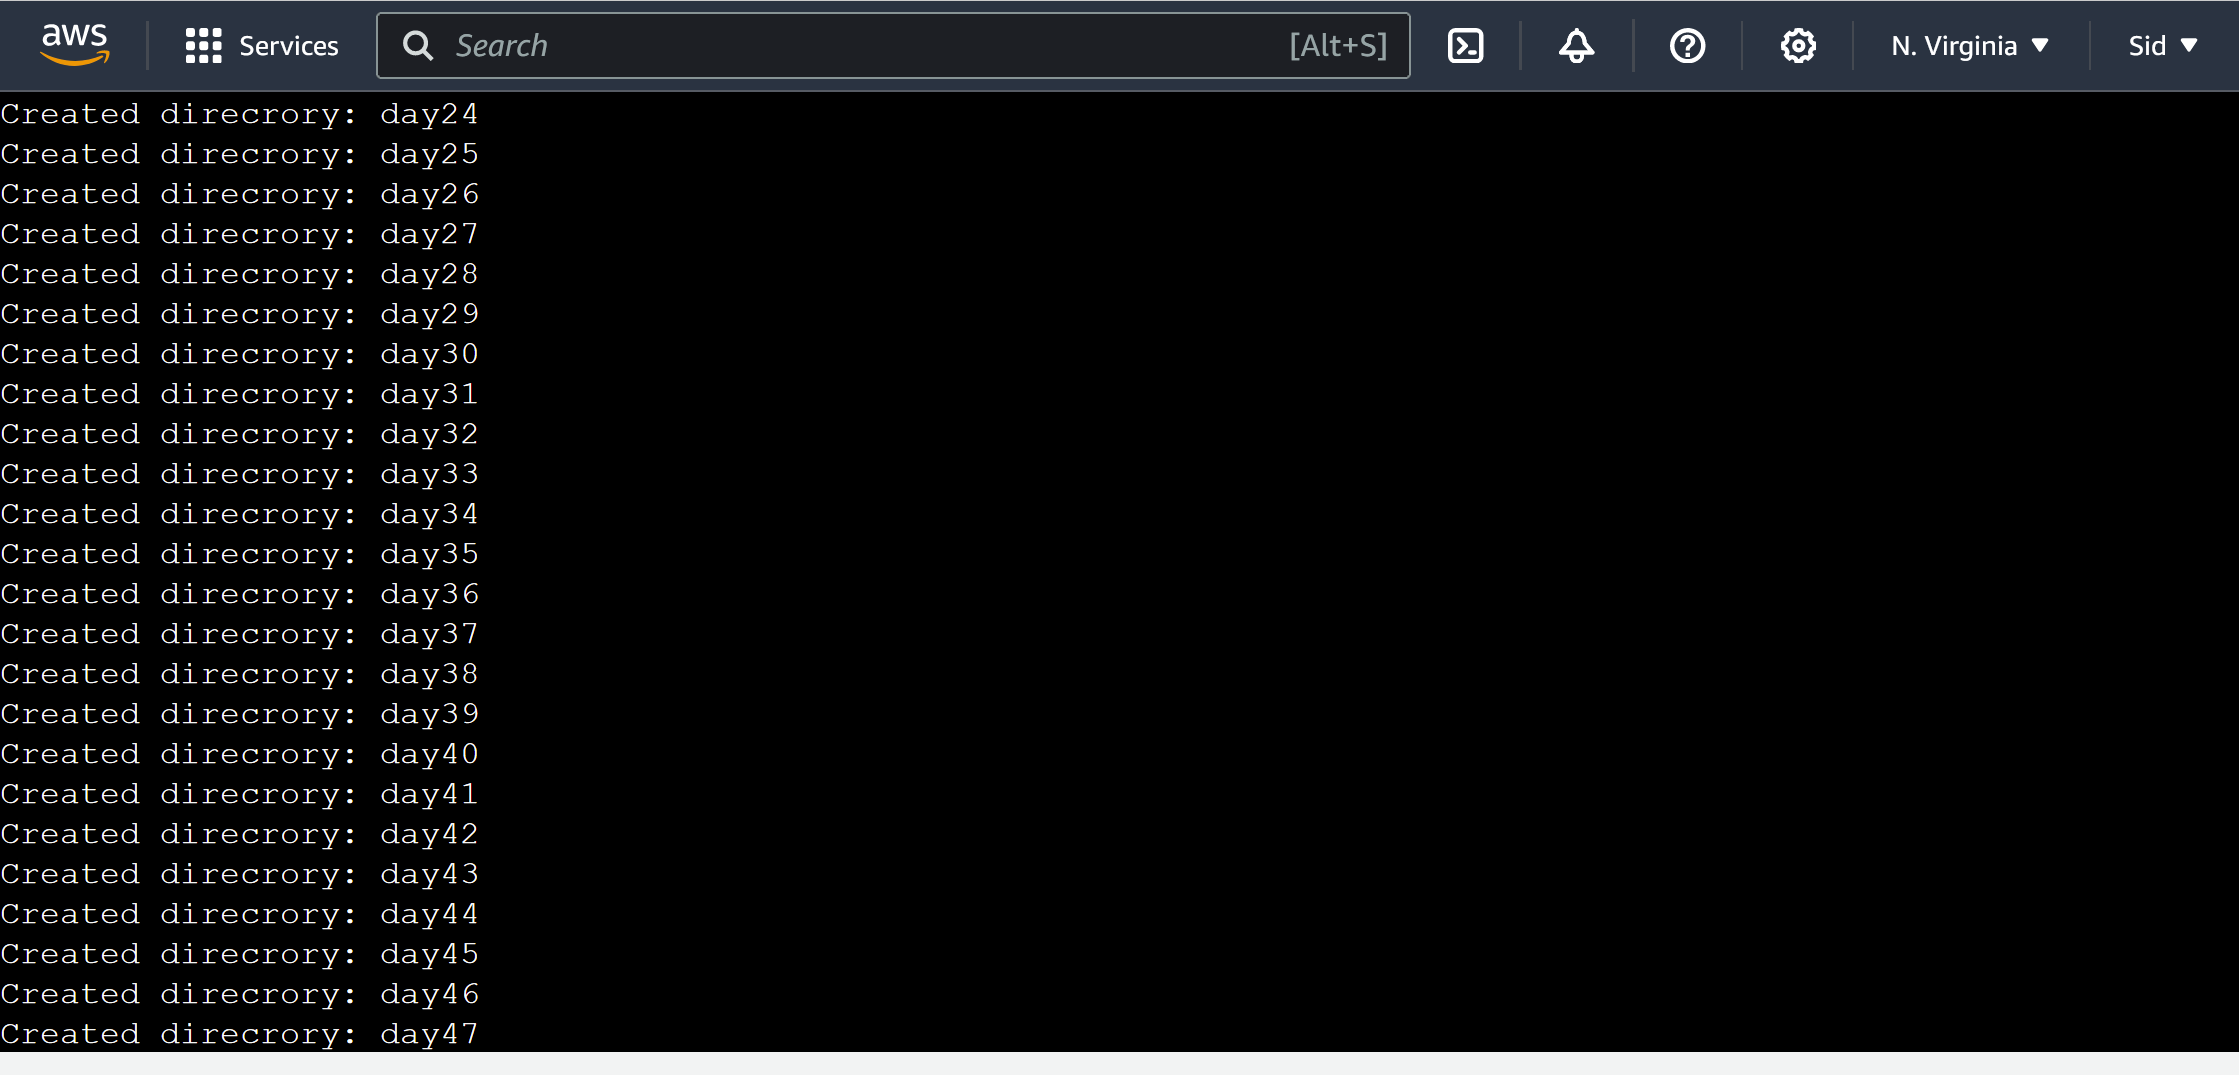
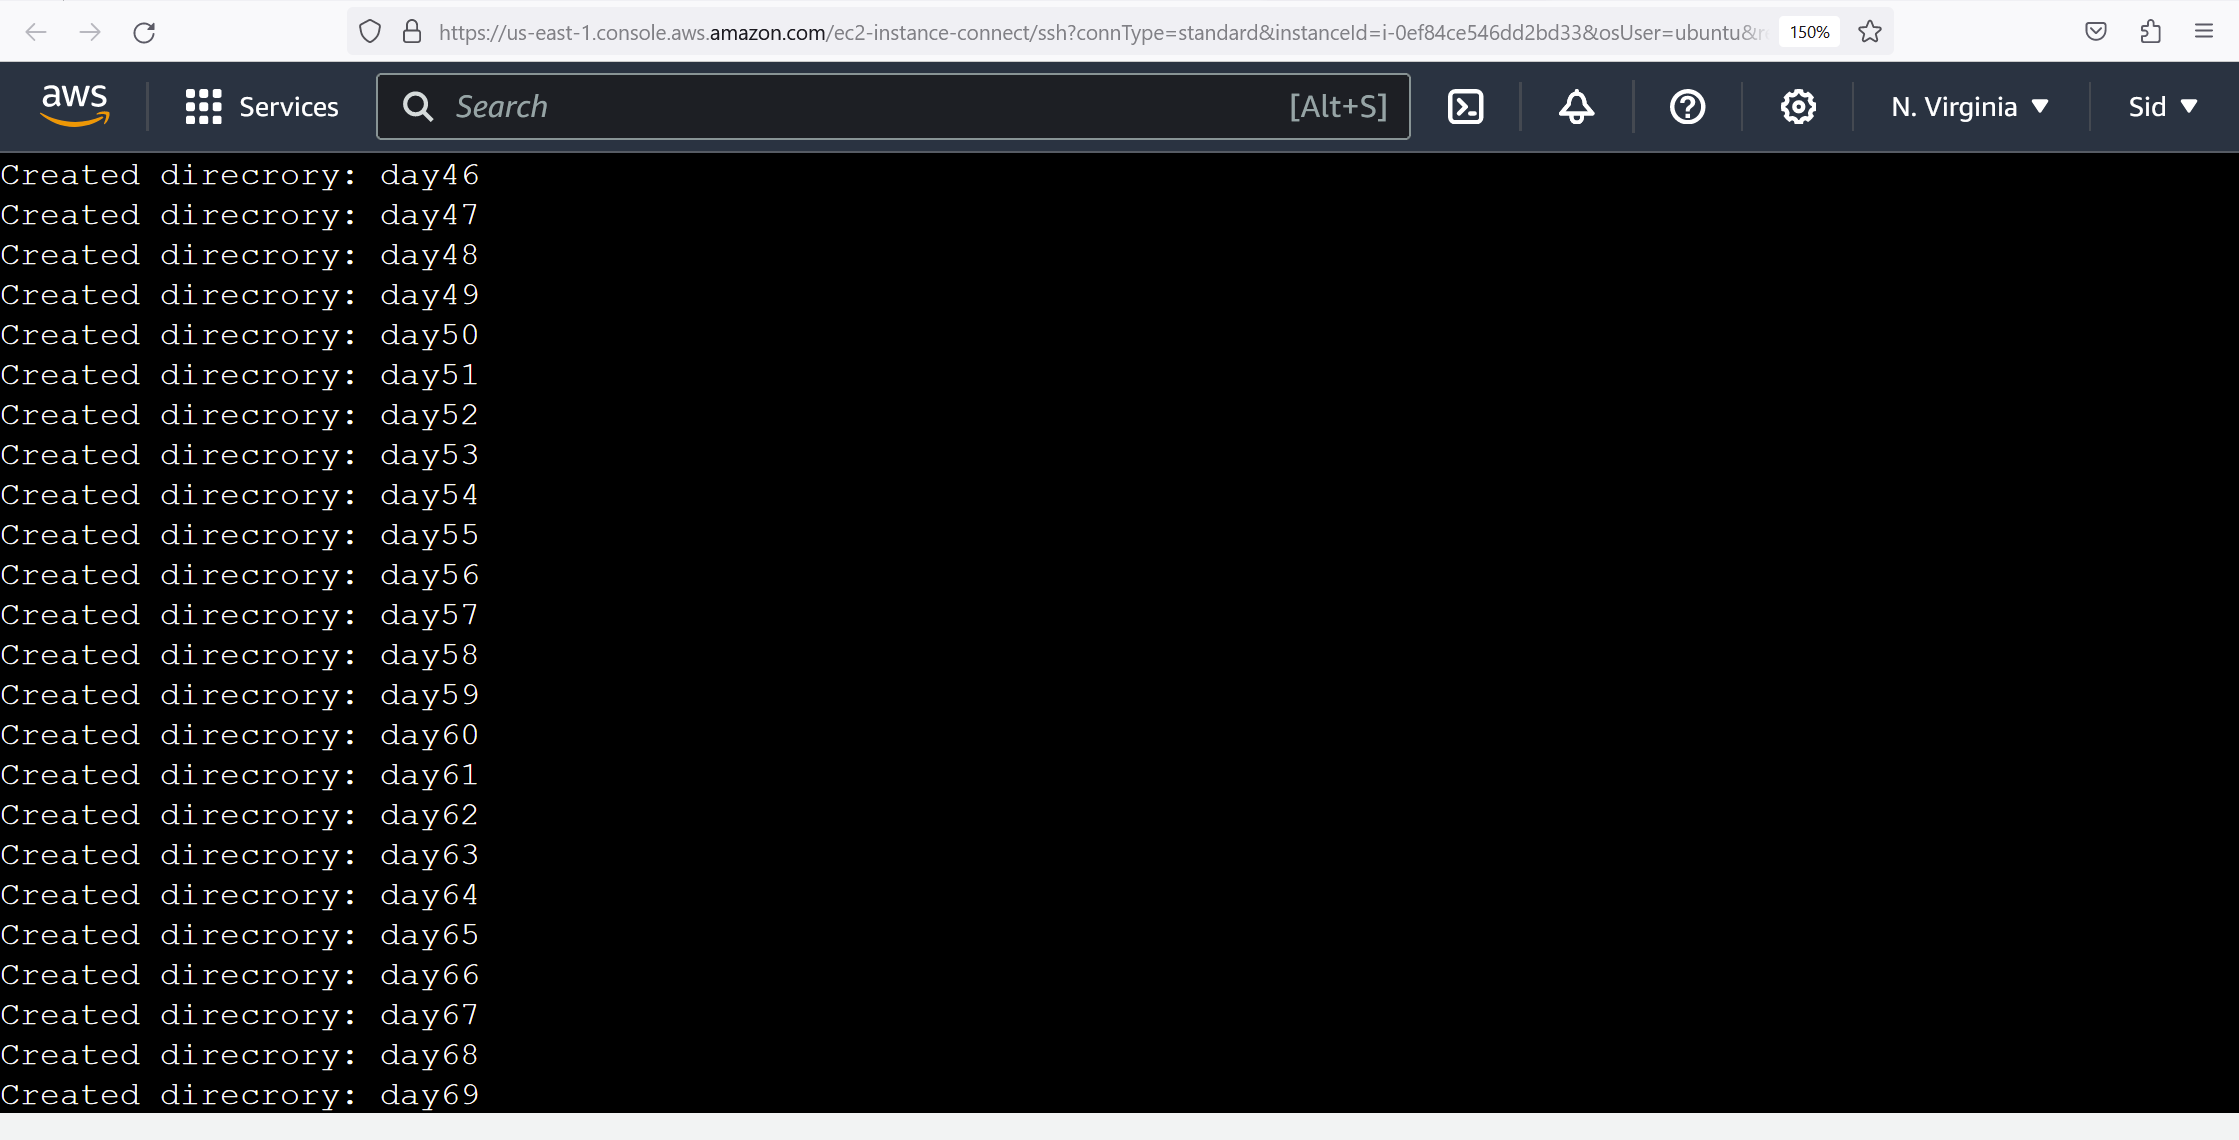
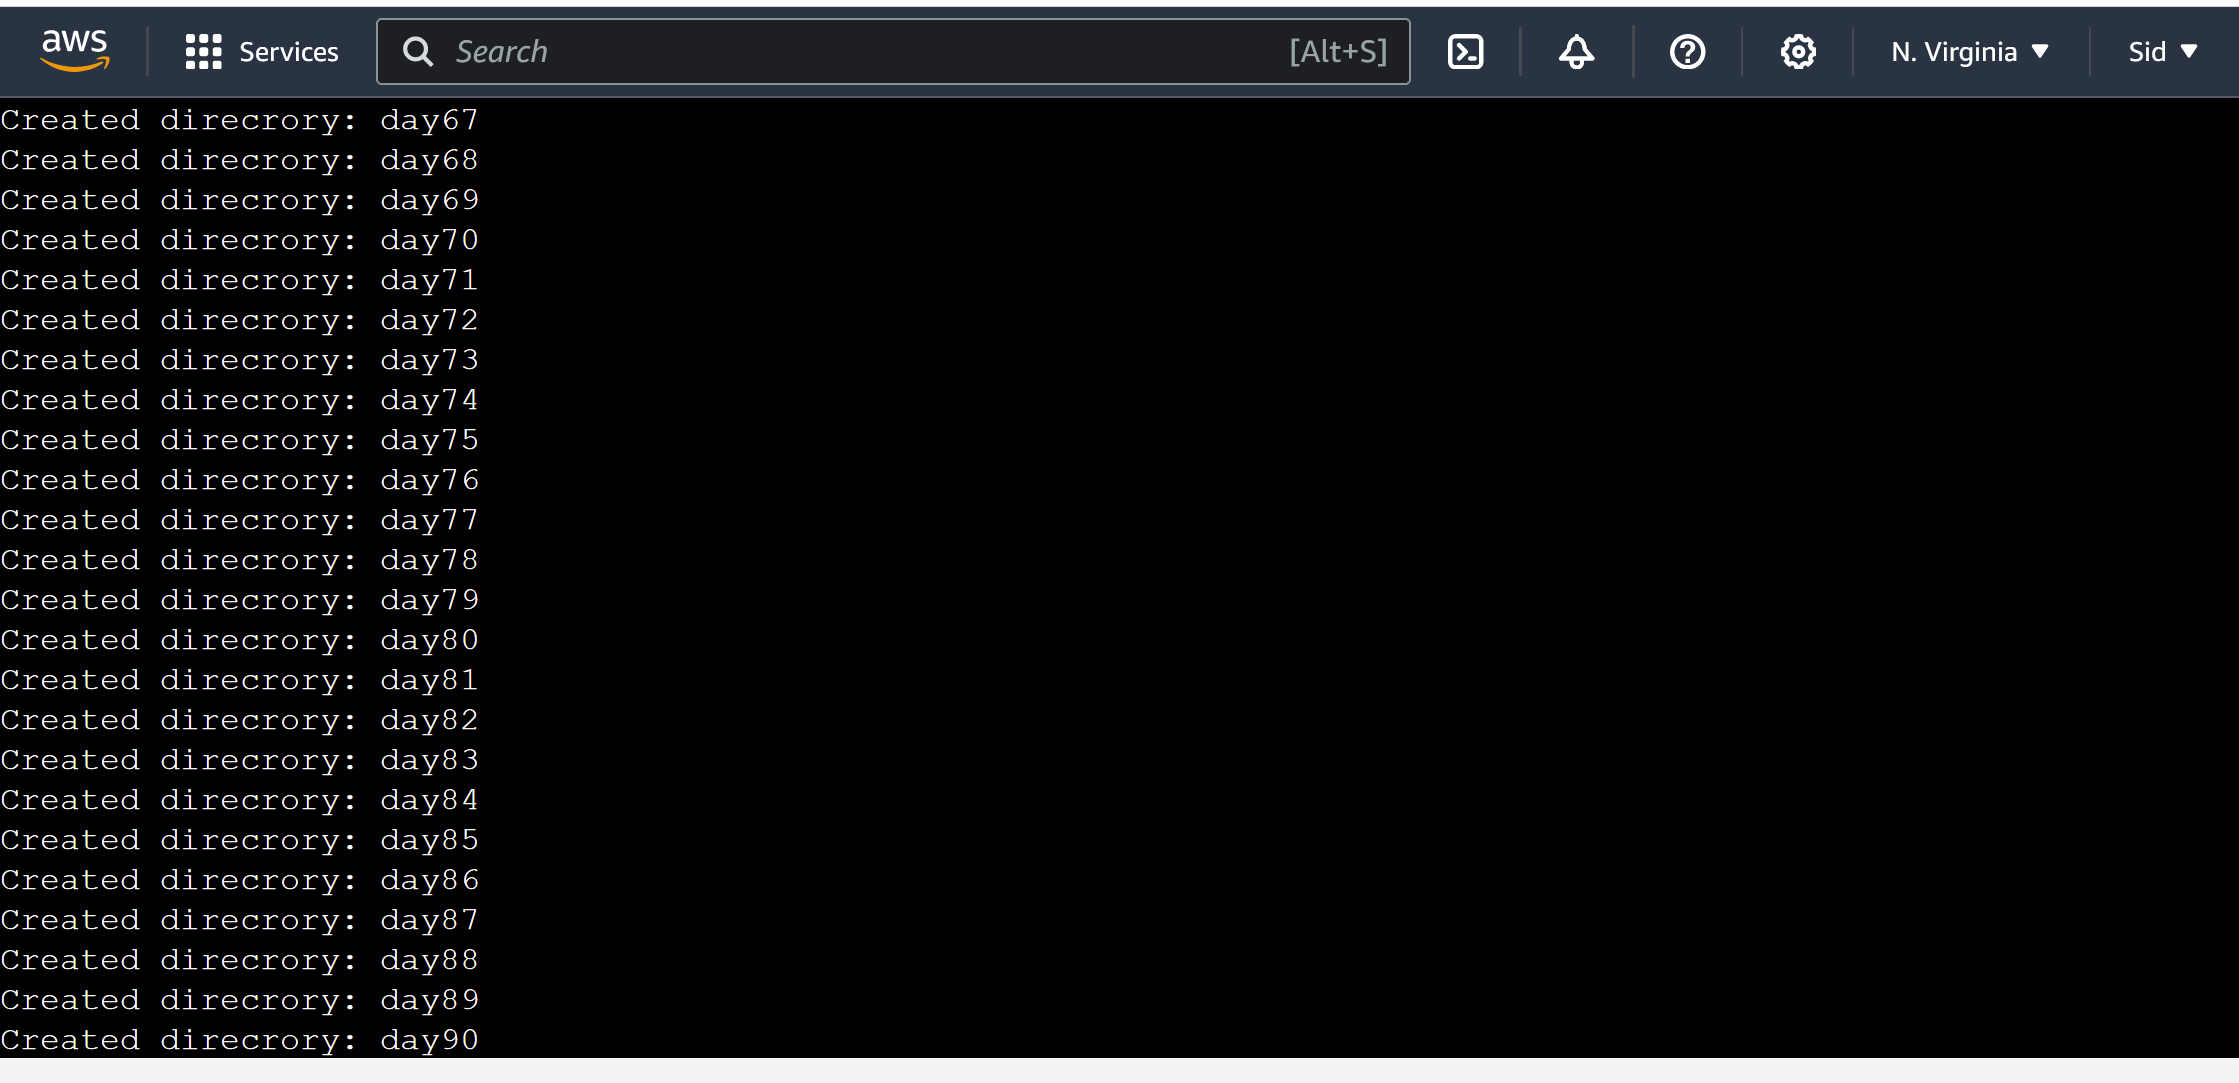
./createdirectory.sh day 1 90
Output:
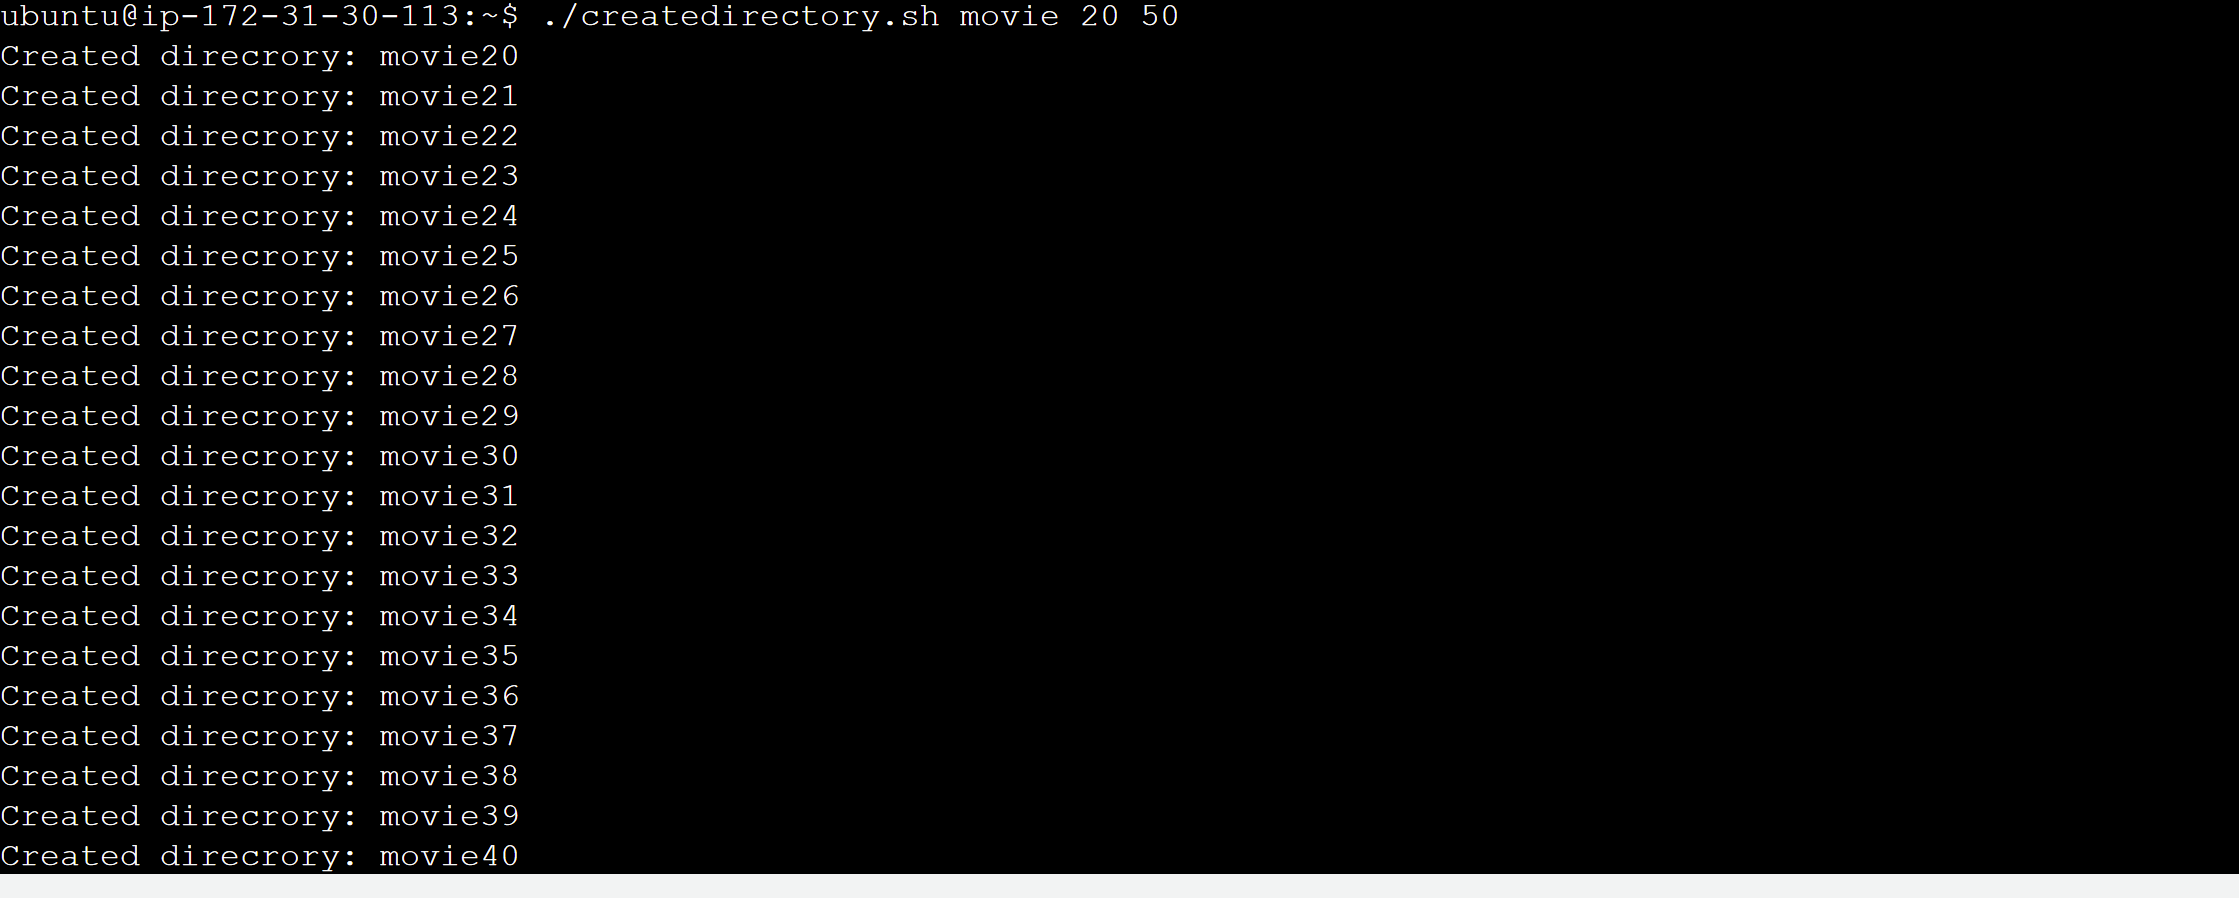
Example 2: When the script is executed as
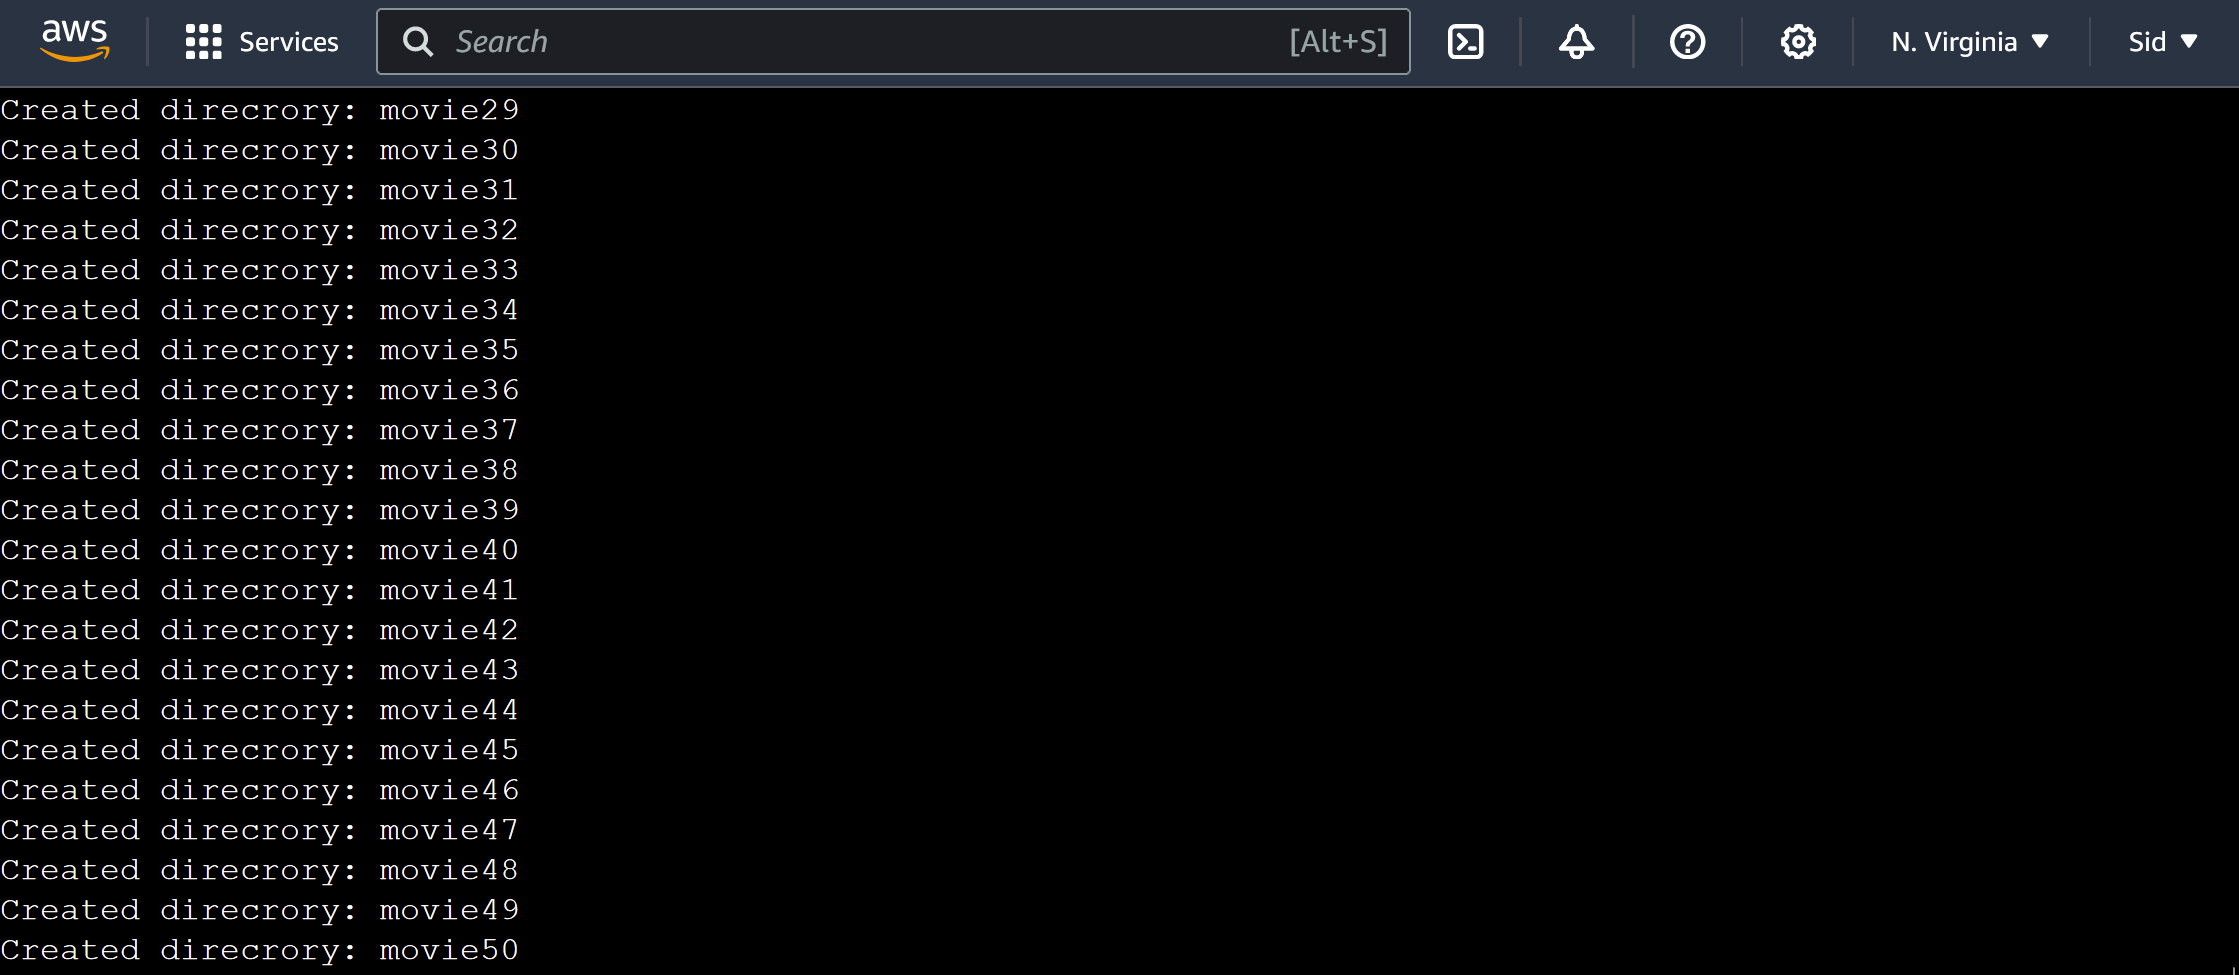
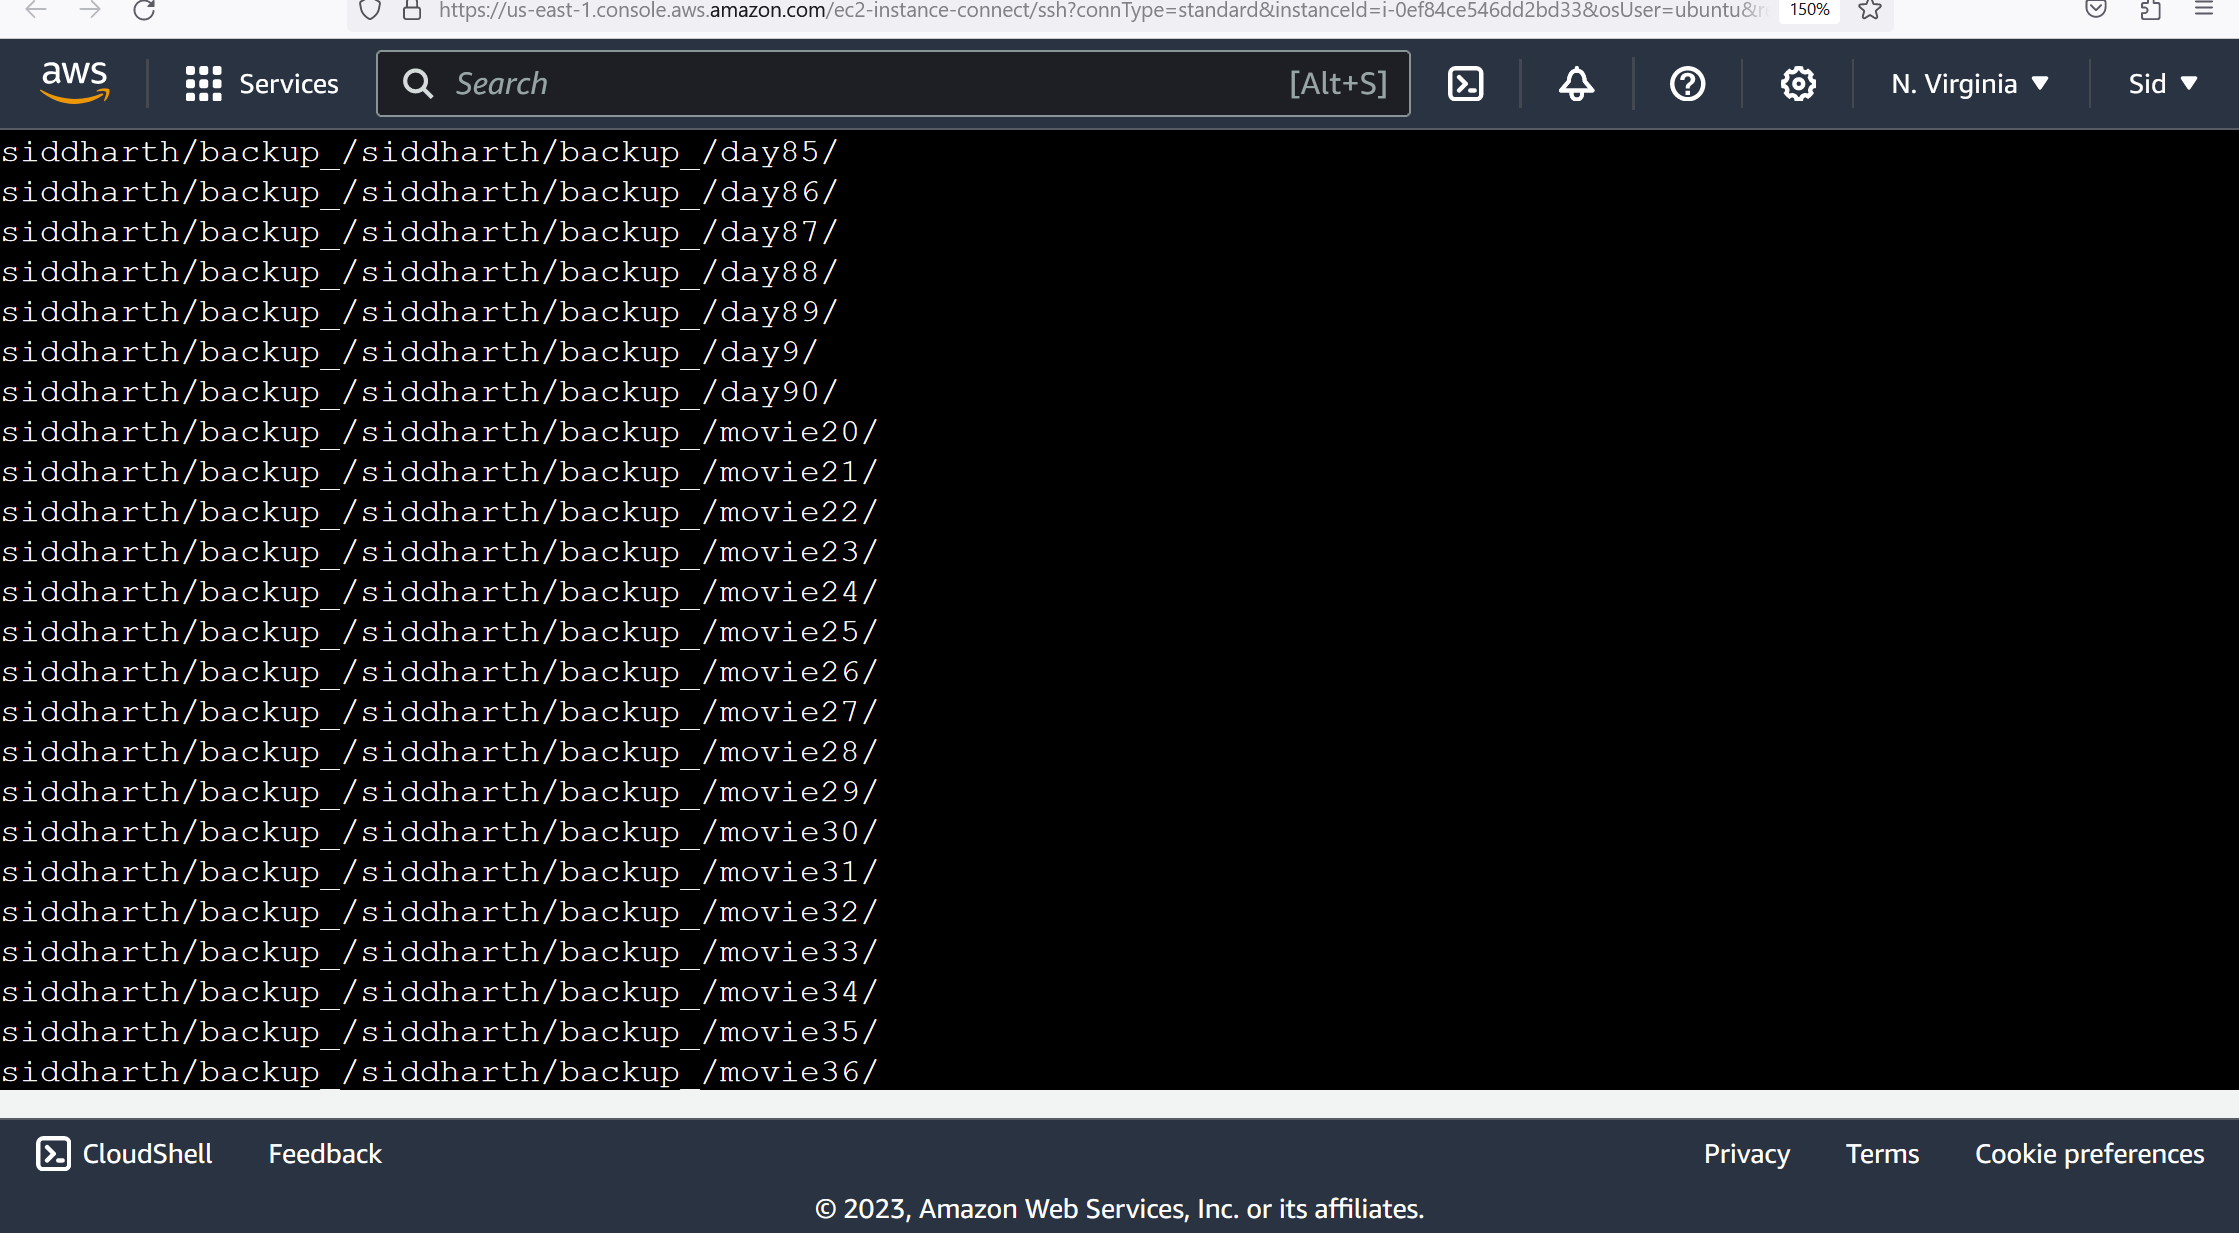
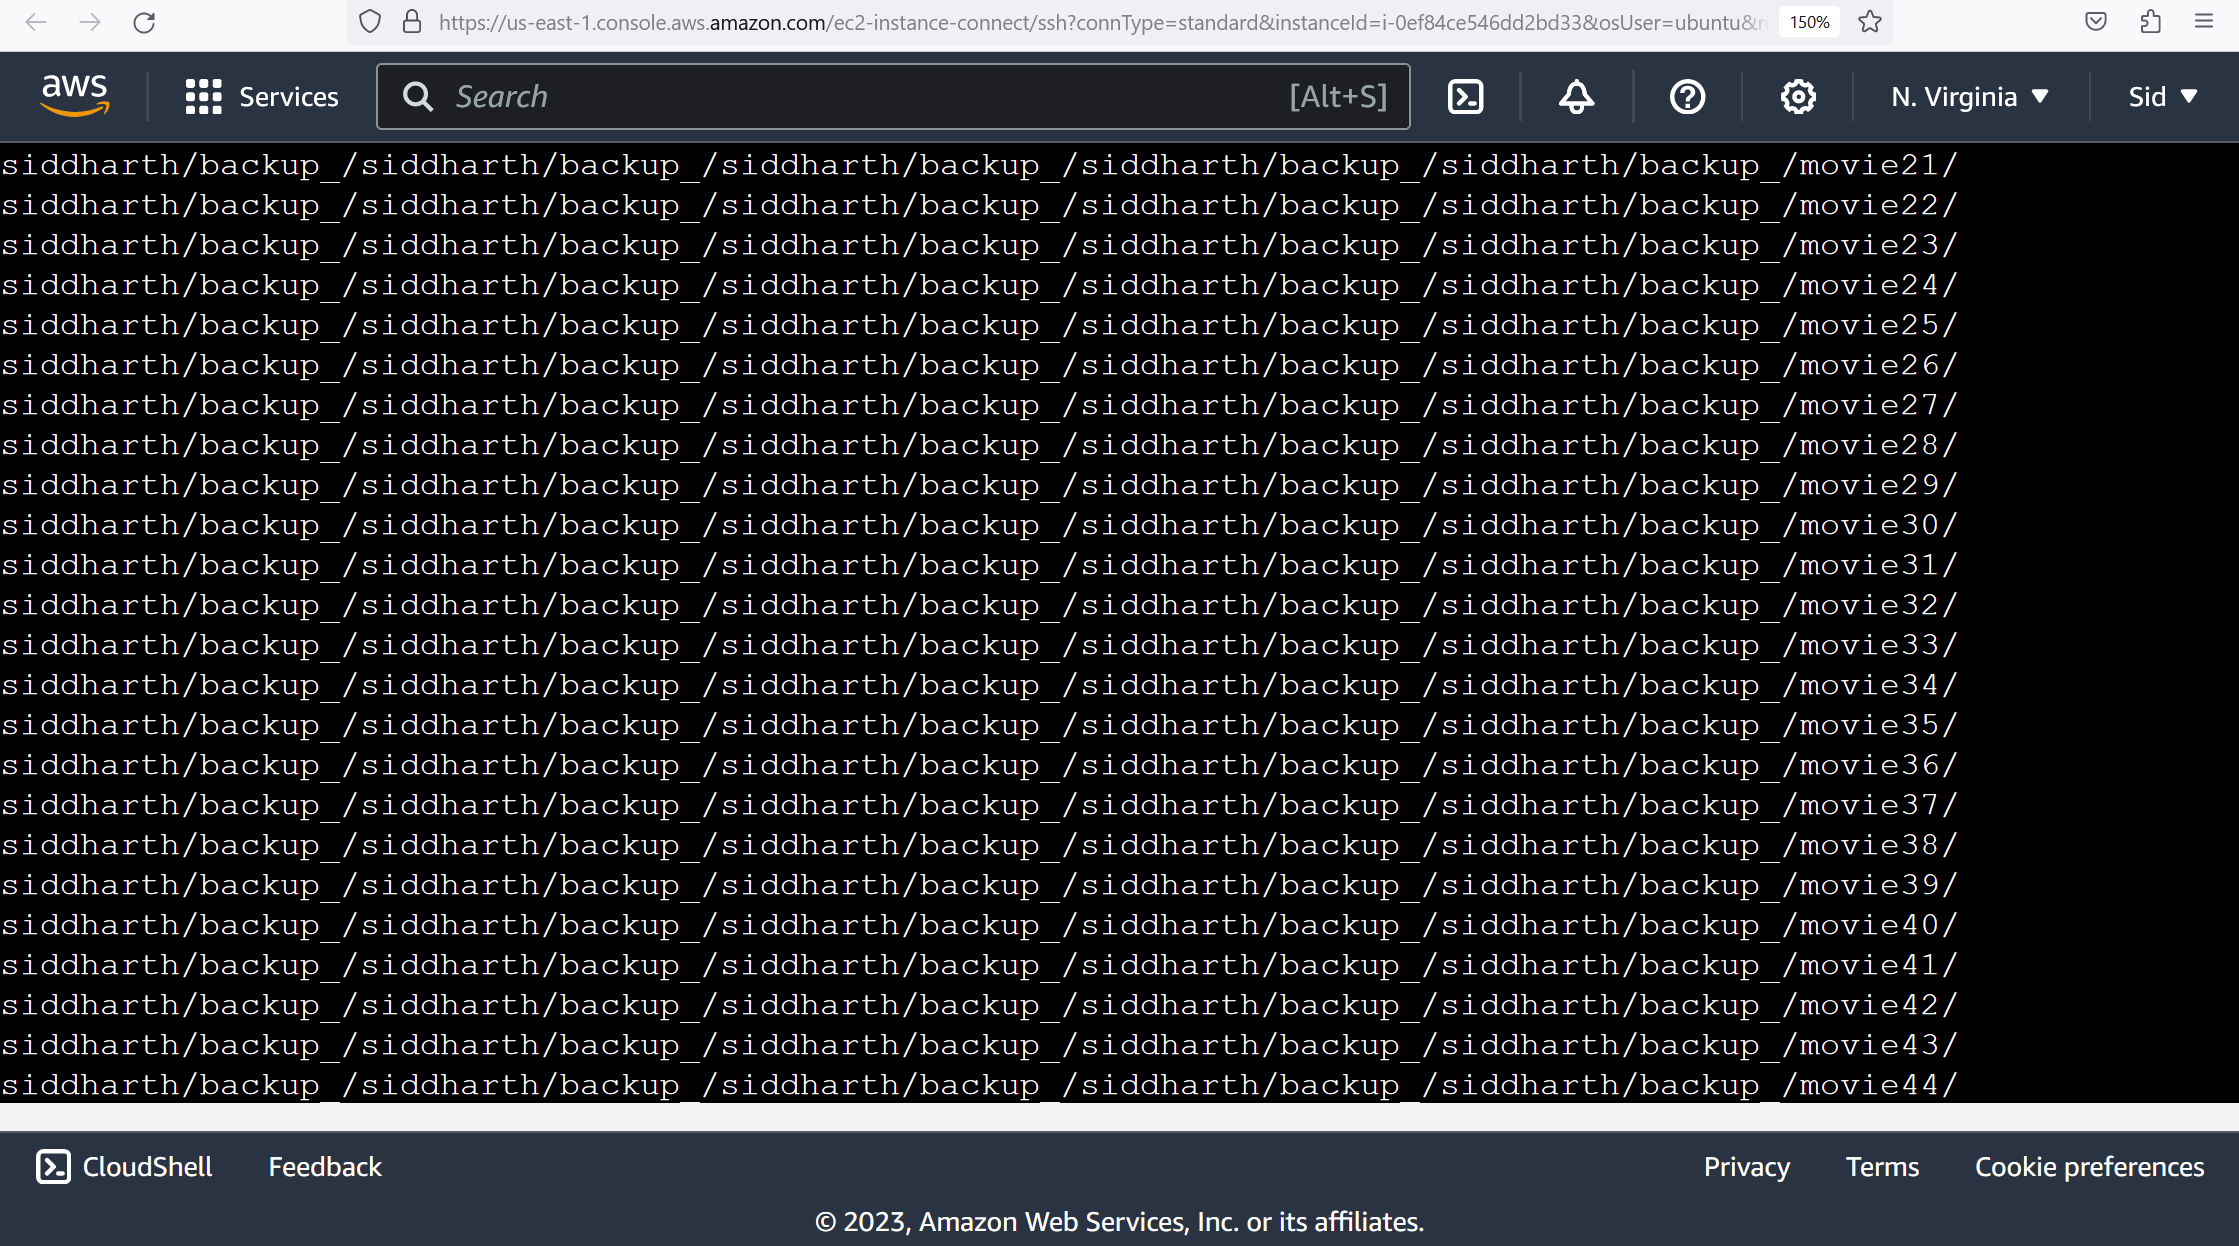
./createDirectories.sh Movie 20 50 then it creates 50 directories as Movie20 Movie21 Movie23 ...Movie50
Output:-
Create a Script to back up all your work done till now.
Backups are an important part of DevOps Engineer's day-to-day activities.
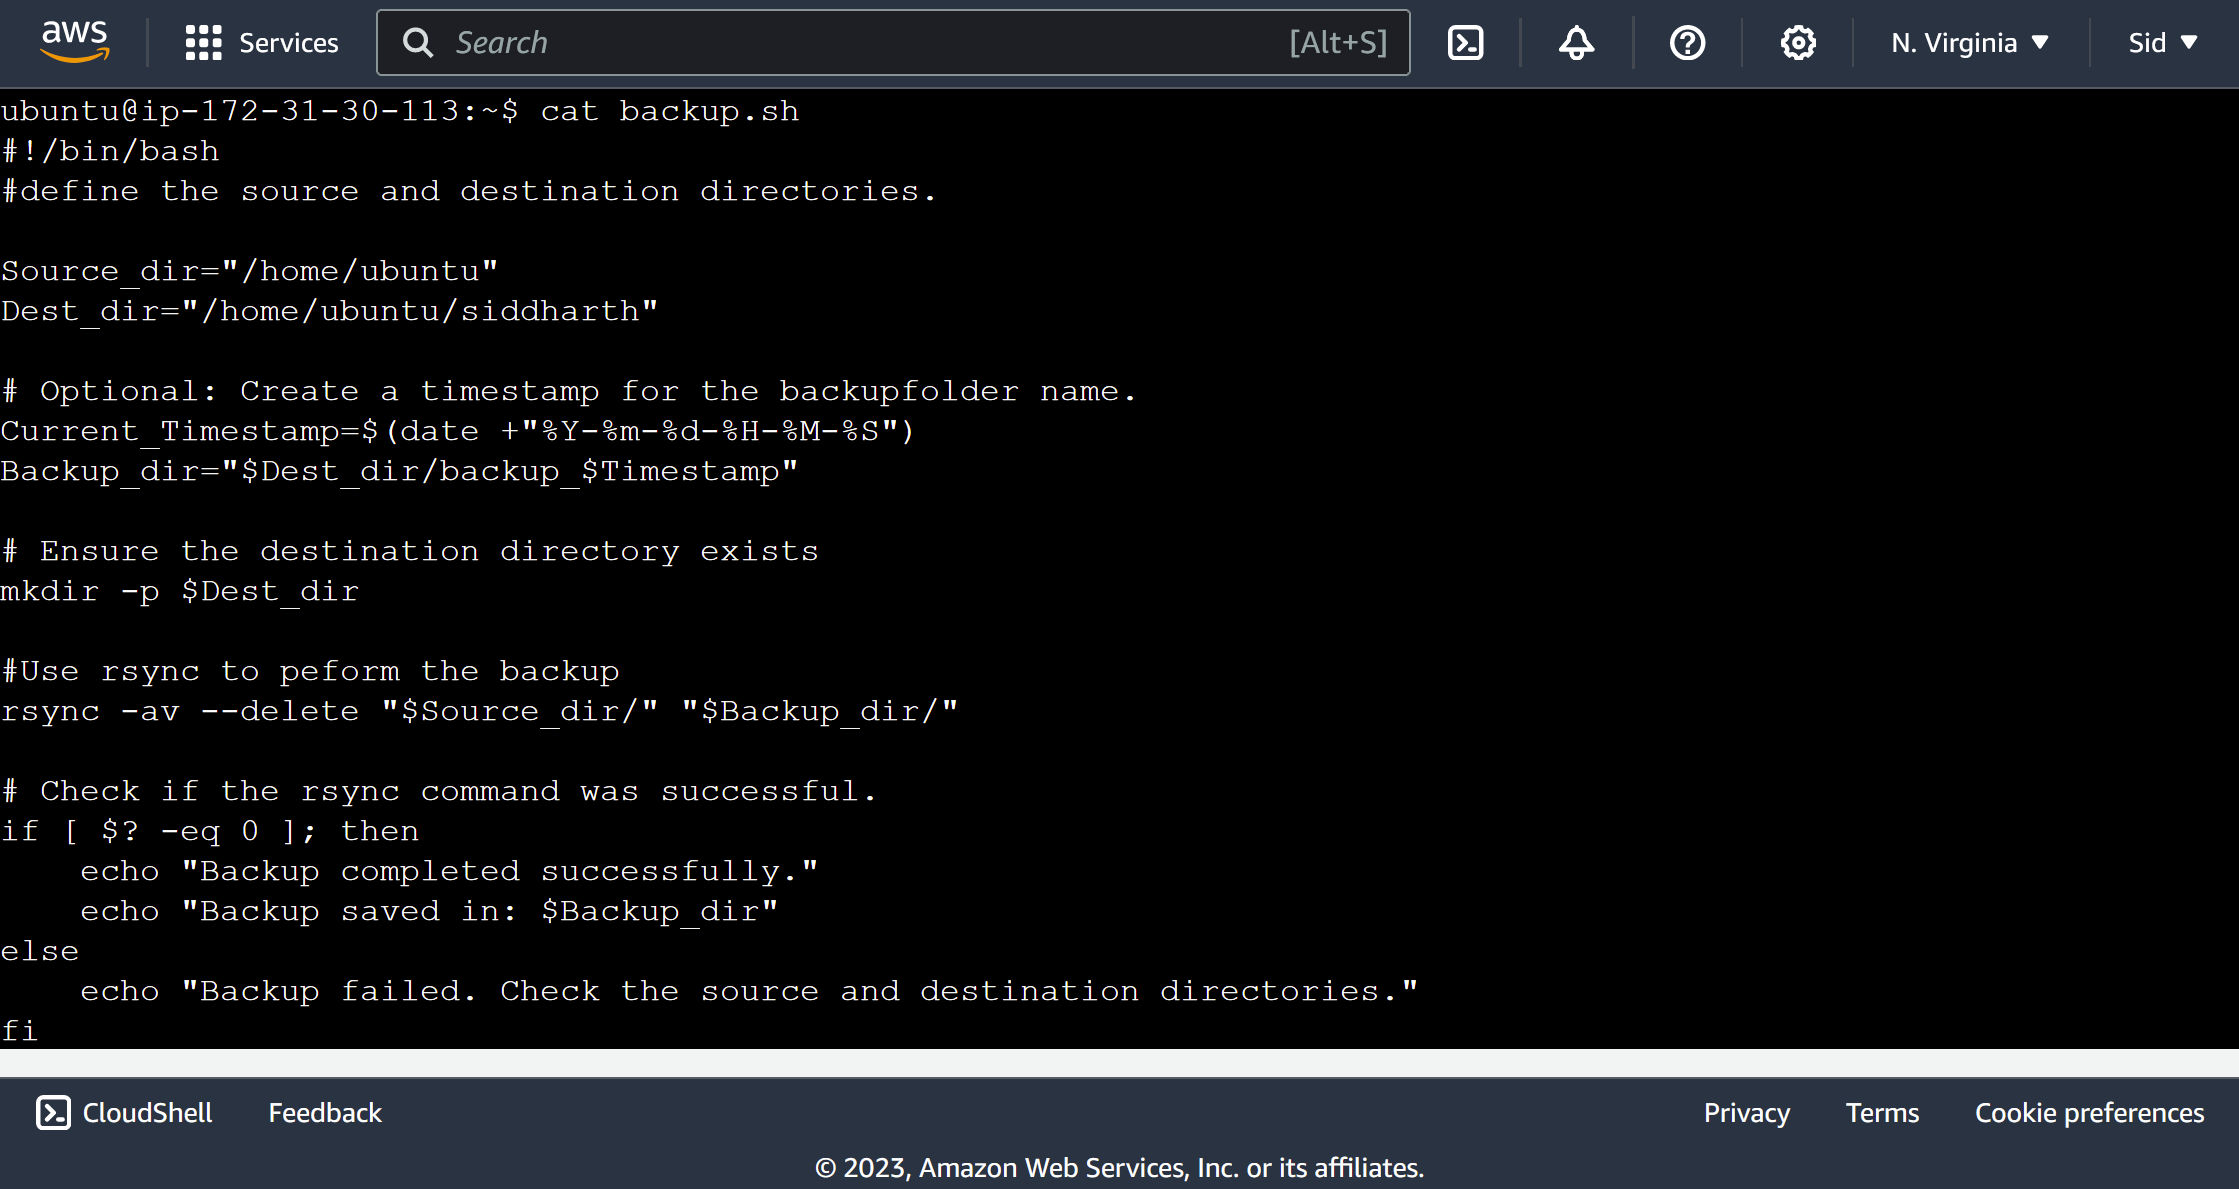
create a file vim backup.sh
Script:
#define the source and destination directories.
Source_dir="/home/ubuntu"
Dest_dir="/home/ubuntu/siddharth"
Optional: Create a timestamp for the backupfolder name.
Current_Timestamp=$(date +"%Y-%m-%d-%H-%M-%S") Backup_dir="$Dest_dir/backup_$Timestamp"
Ensure the destination directory exists
mkdir -p $Dest_dir
#Use rsync to perform the backup.
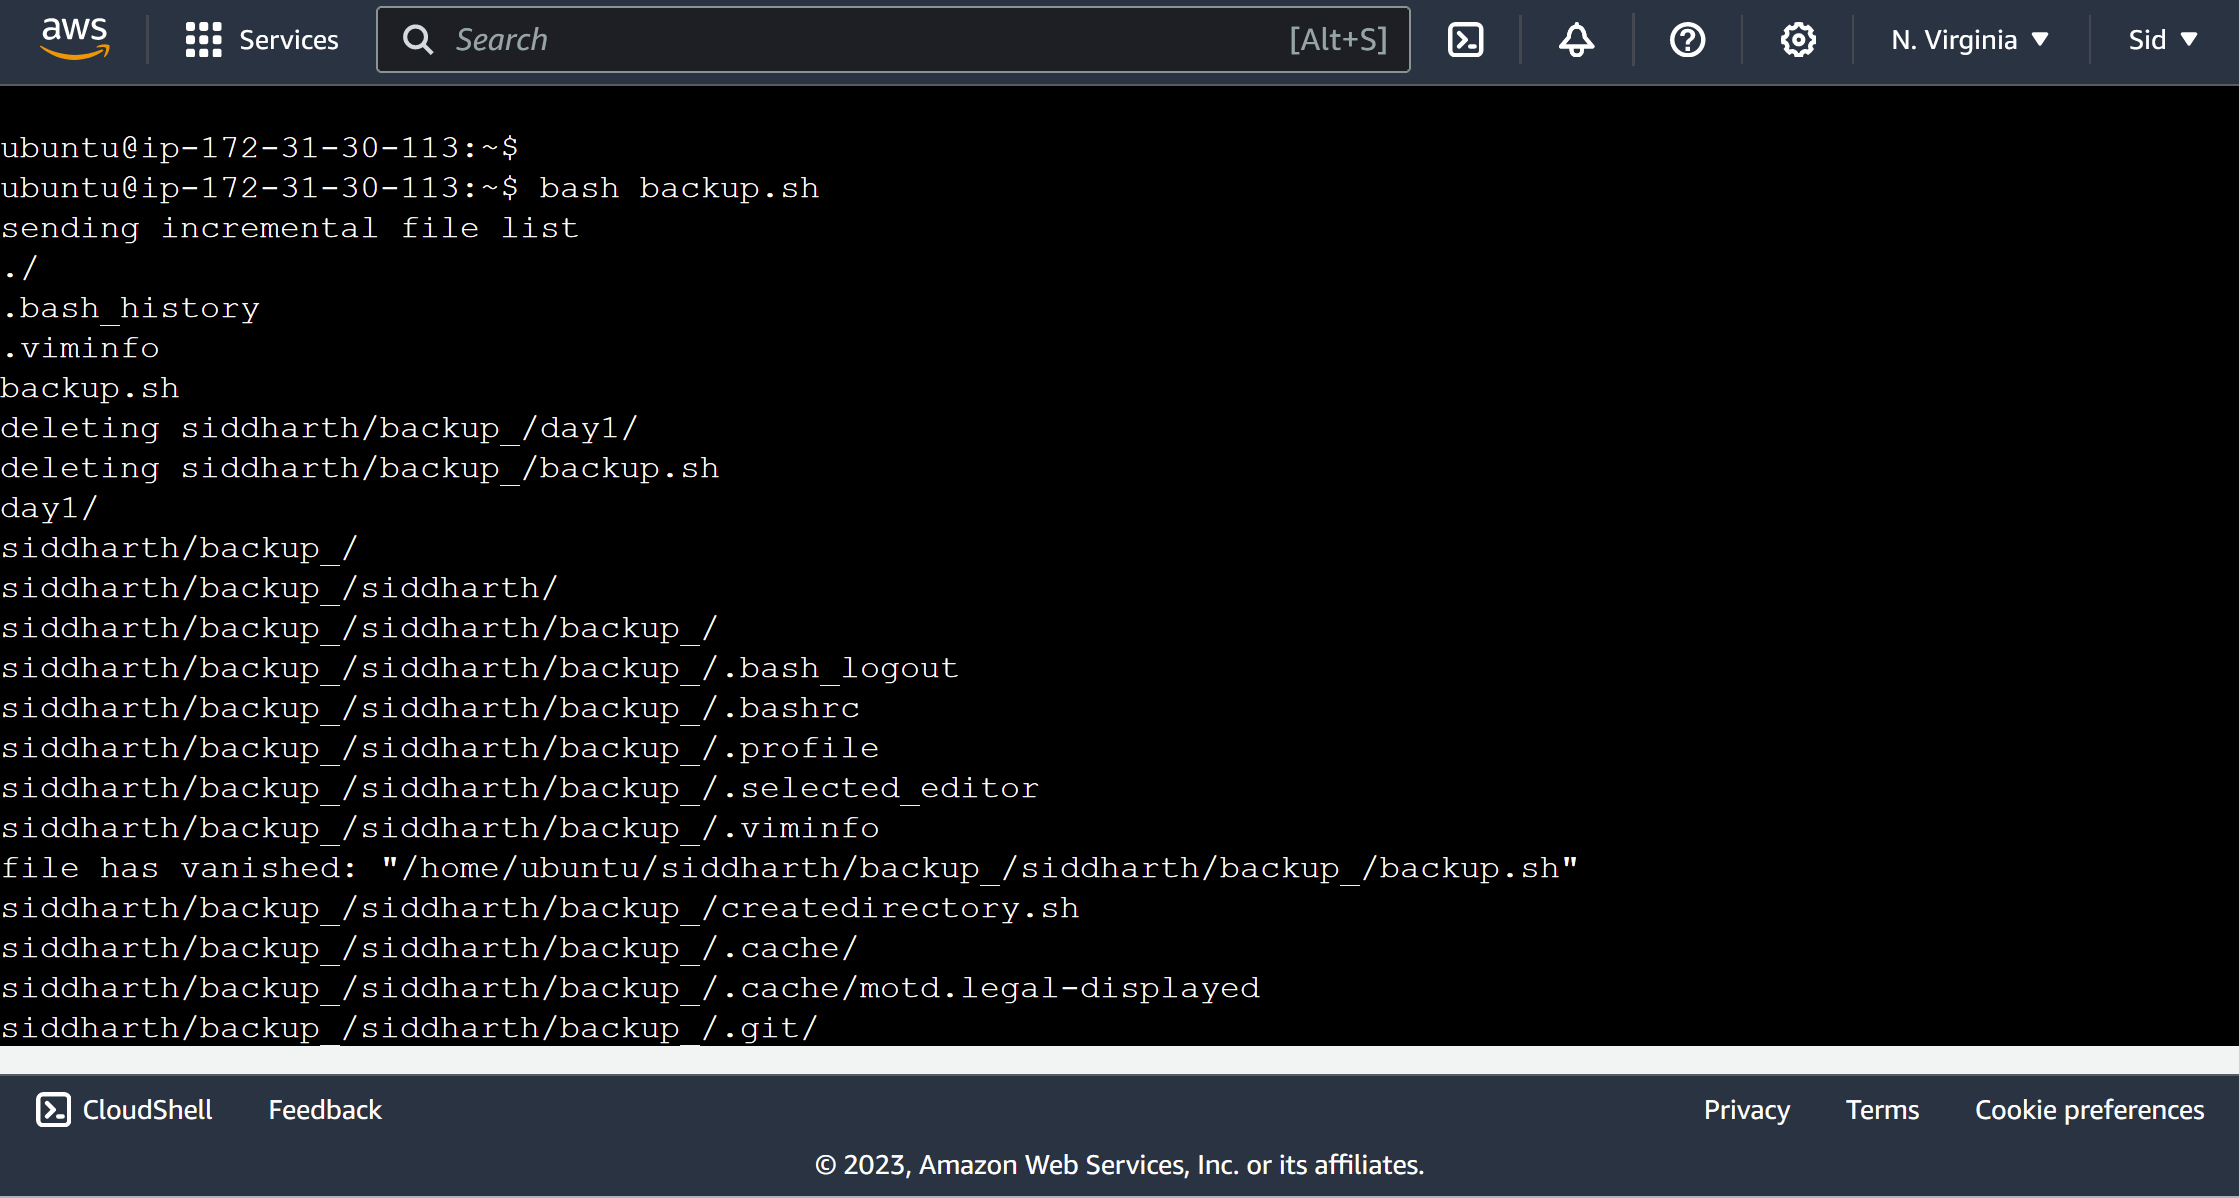
rsync -av --delete "$Source_dir/" "$Backup_dir/"
Check if the rsync command was successful.
if [ $? -eq 0 ]; then
echo "Backup completed successfully."
echo "Backup saved in: $Backup_dir"
else
echo "Backup failed. Check the source and destination directories."
fi
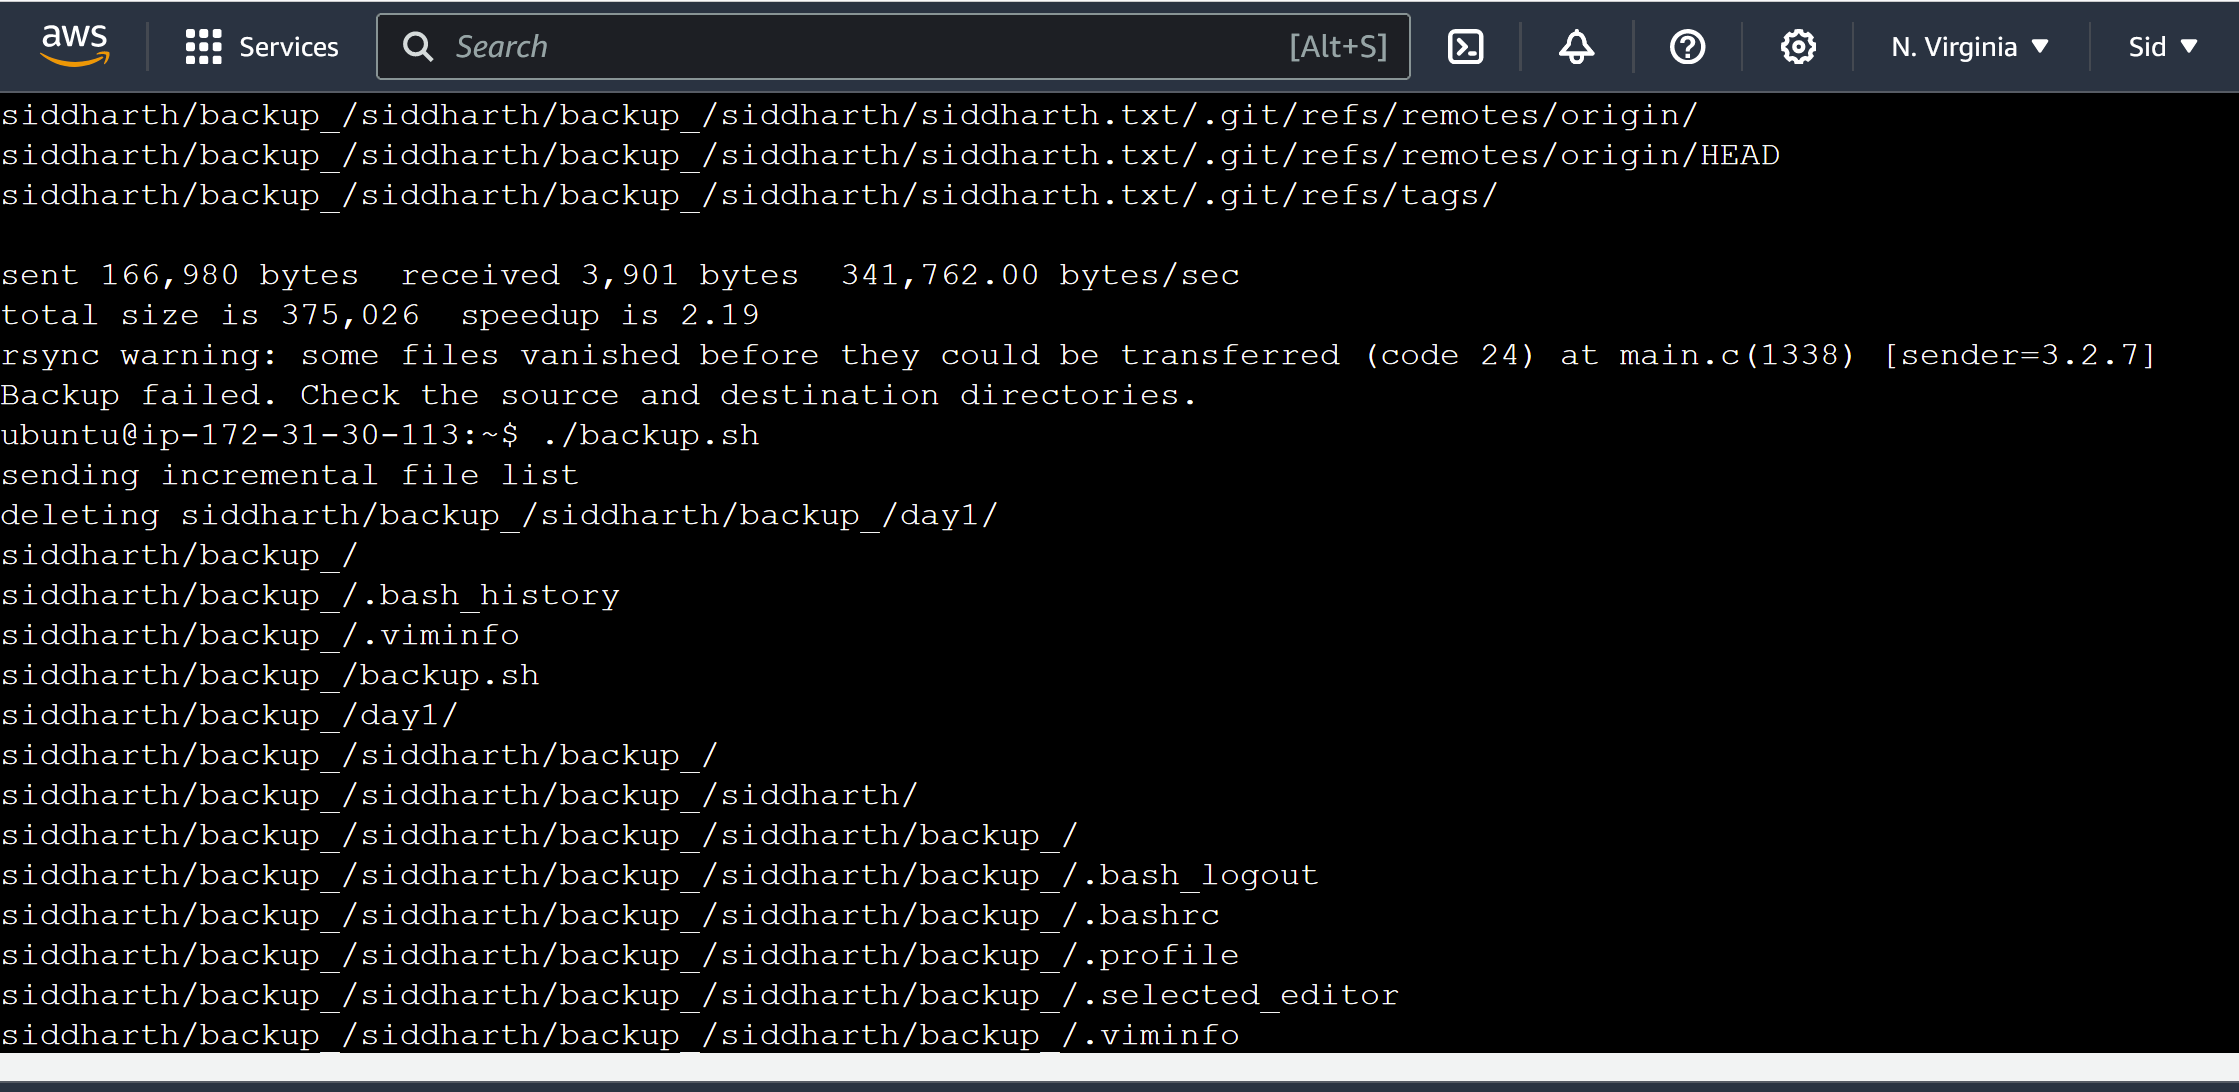
Output:-
run-cat backup.sh
run-bash backup.sh
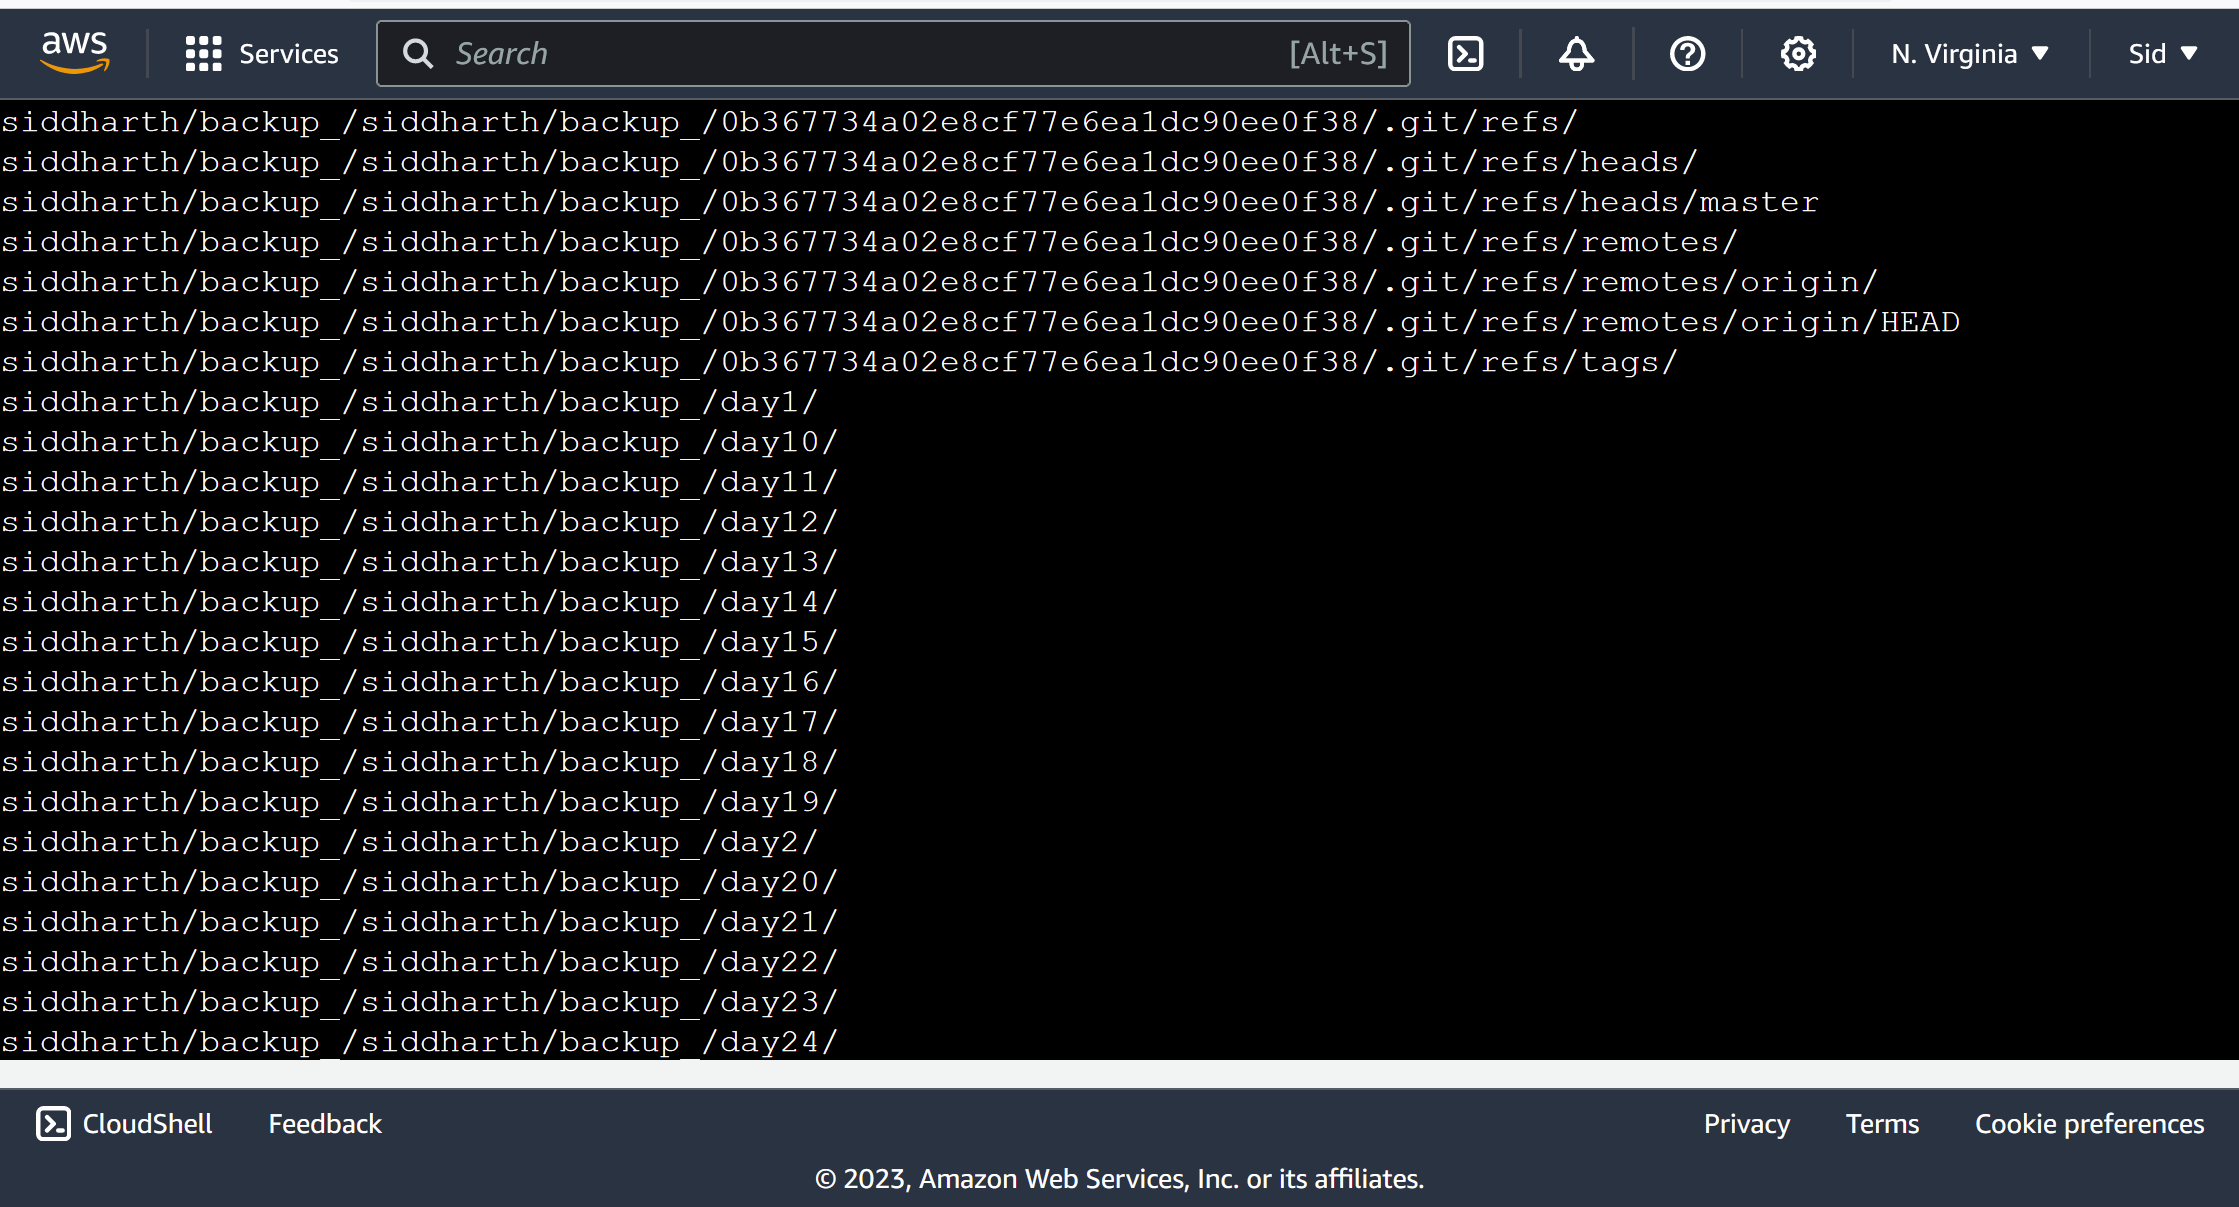
run-./backup.sh
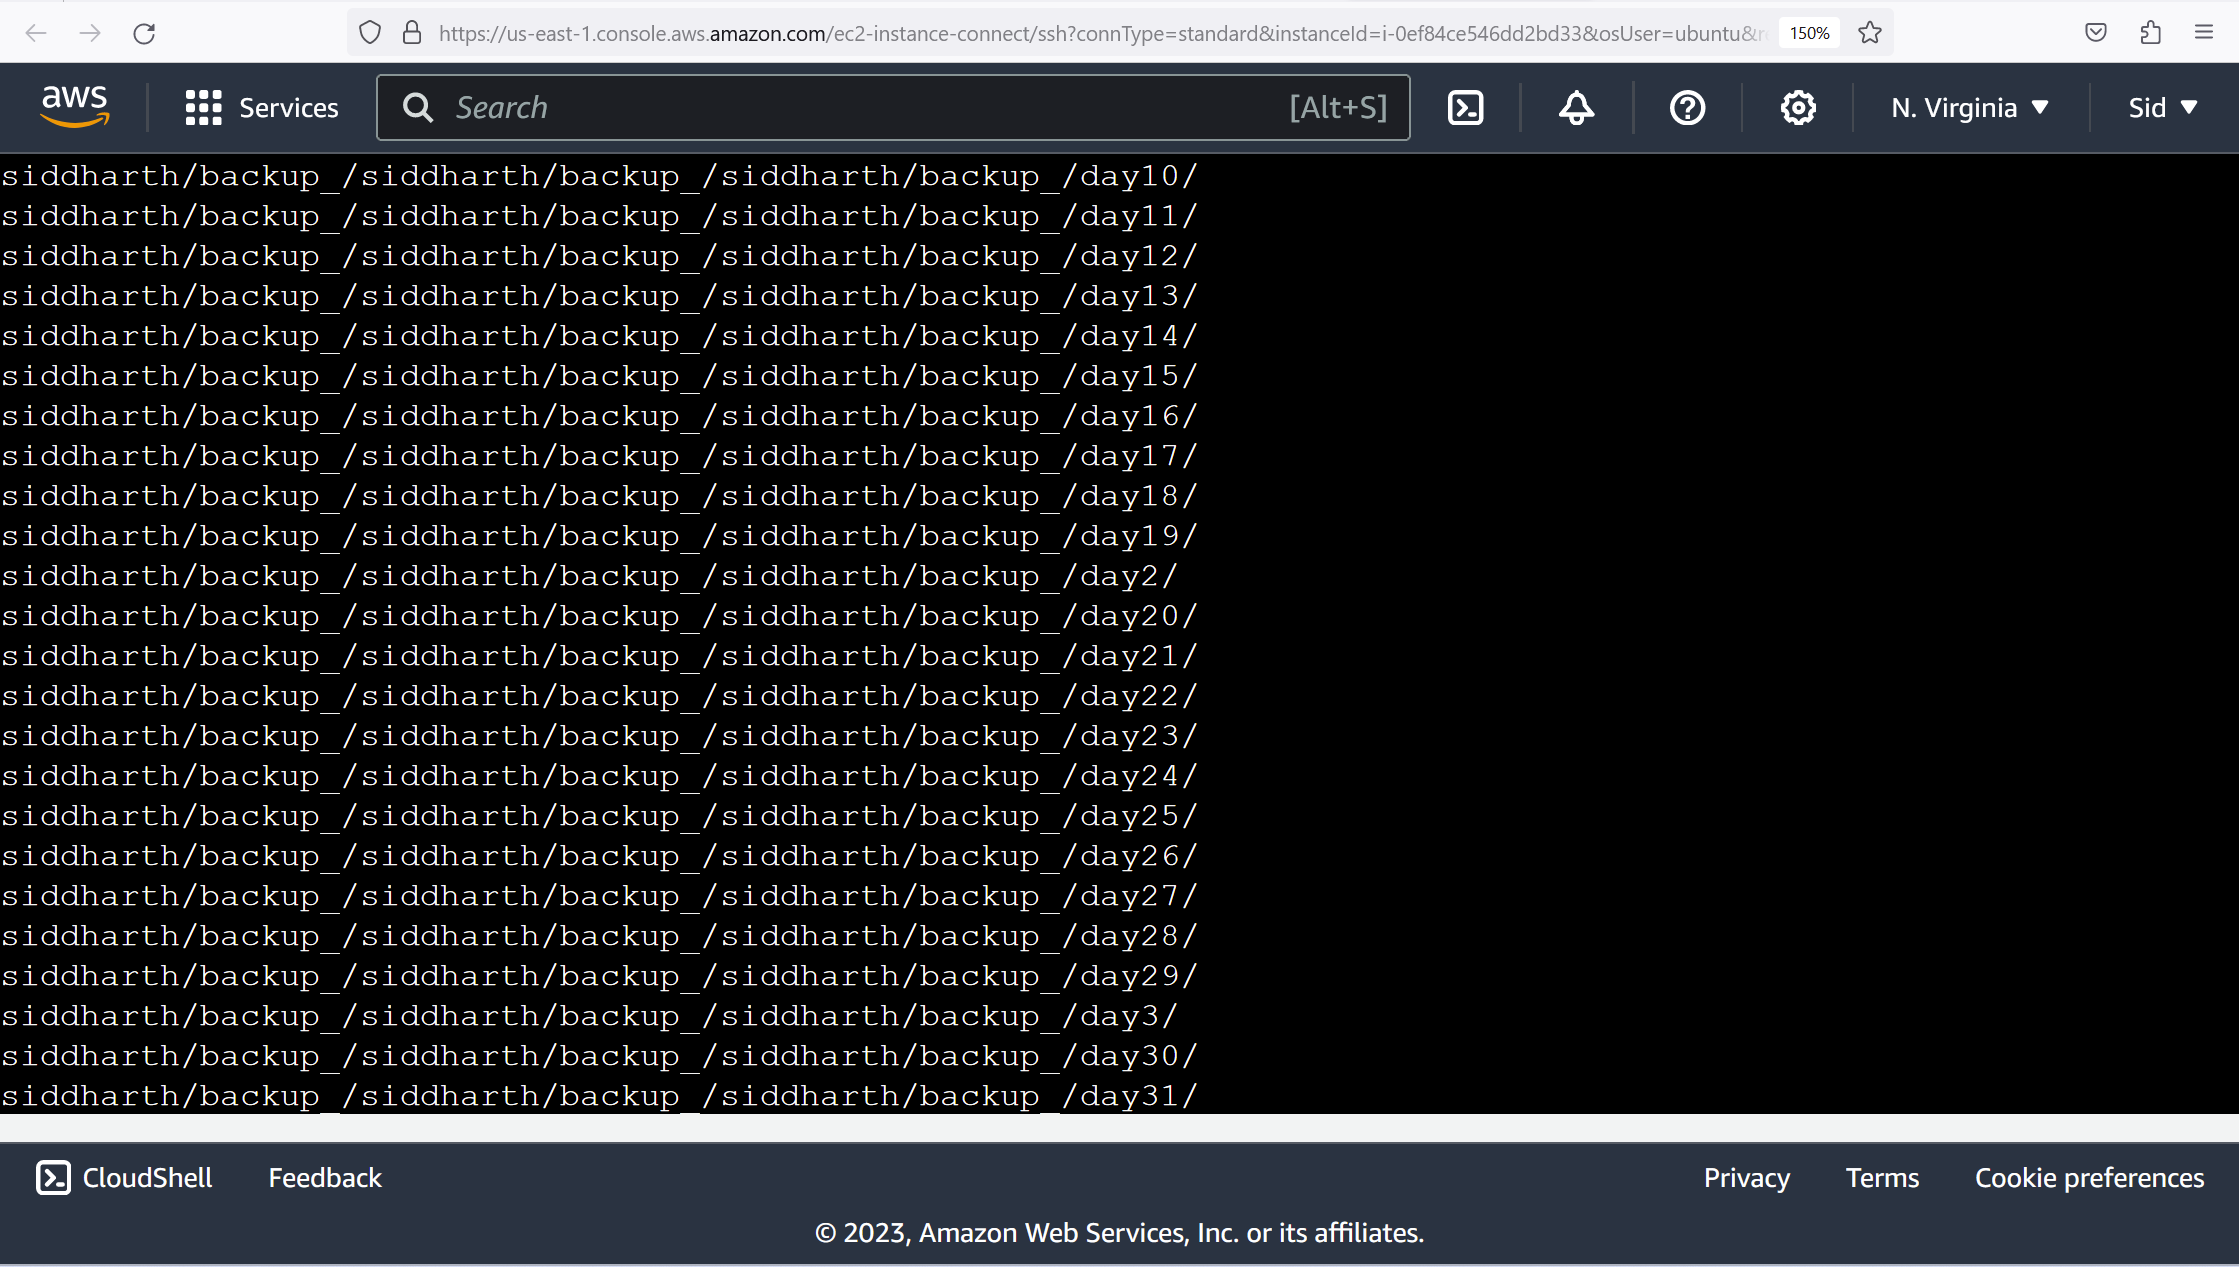
commands: cd siddharth
ls
cd backup_
ls
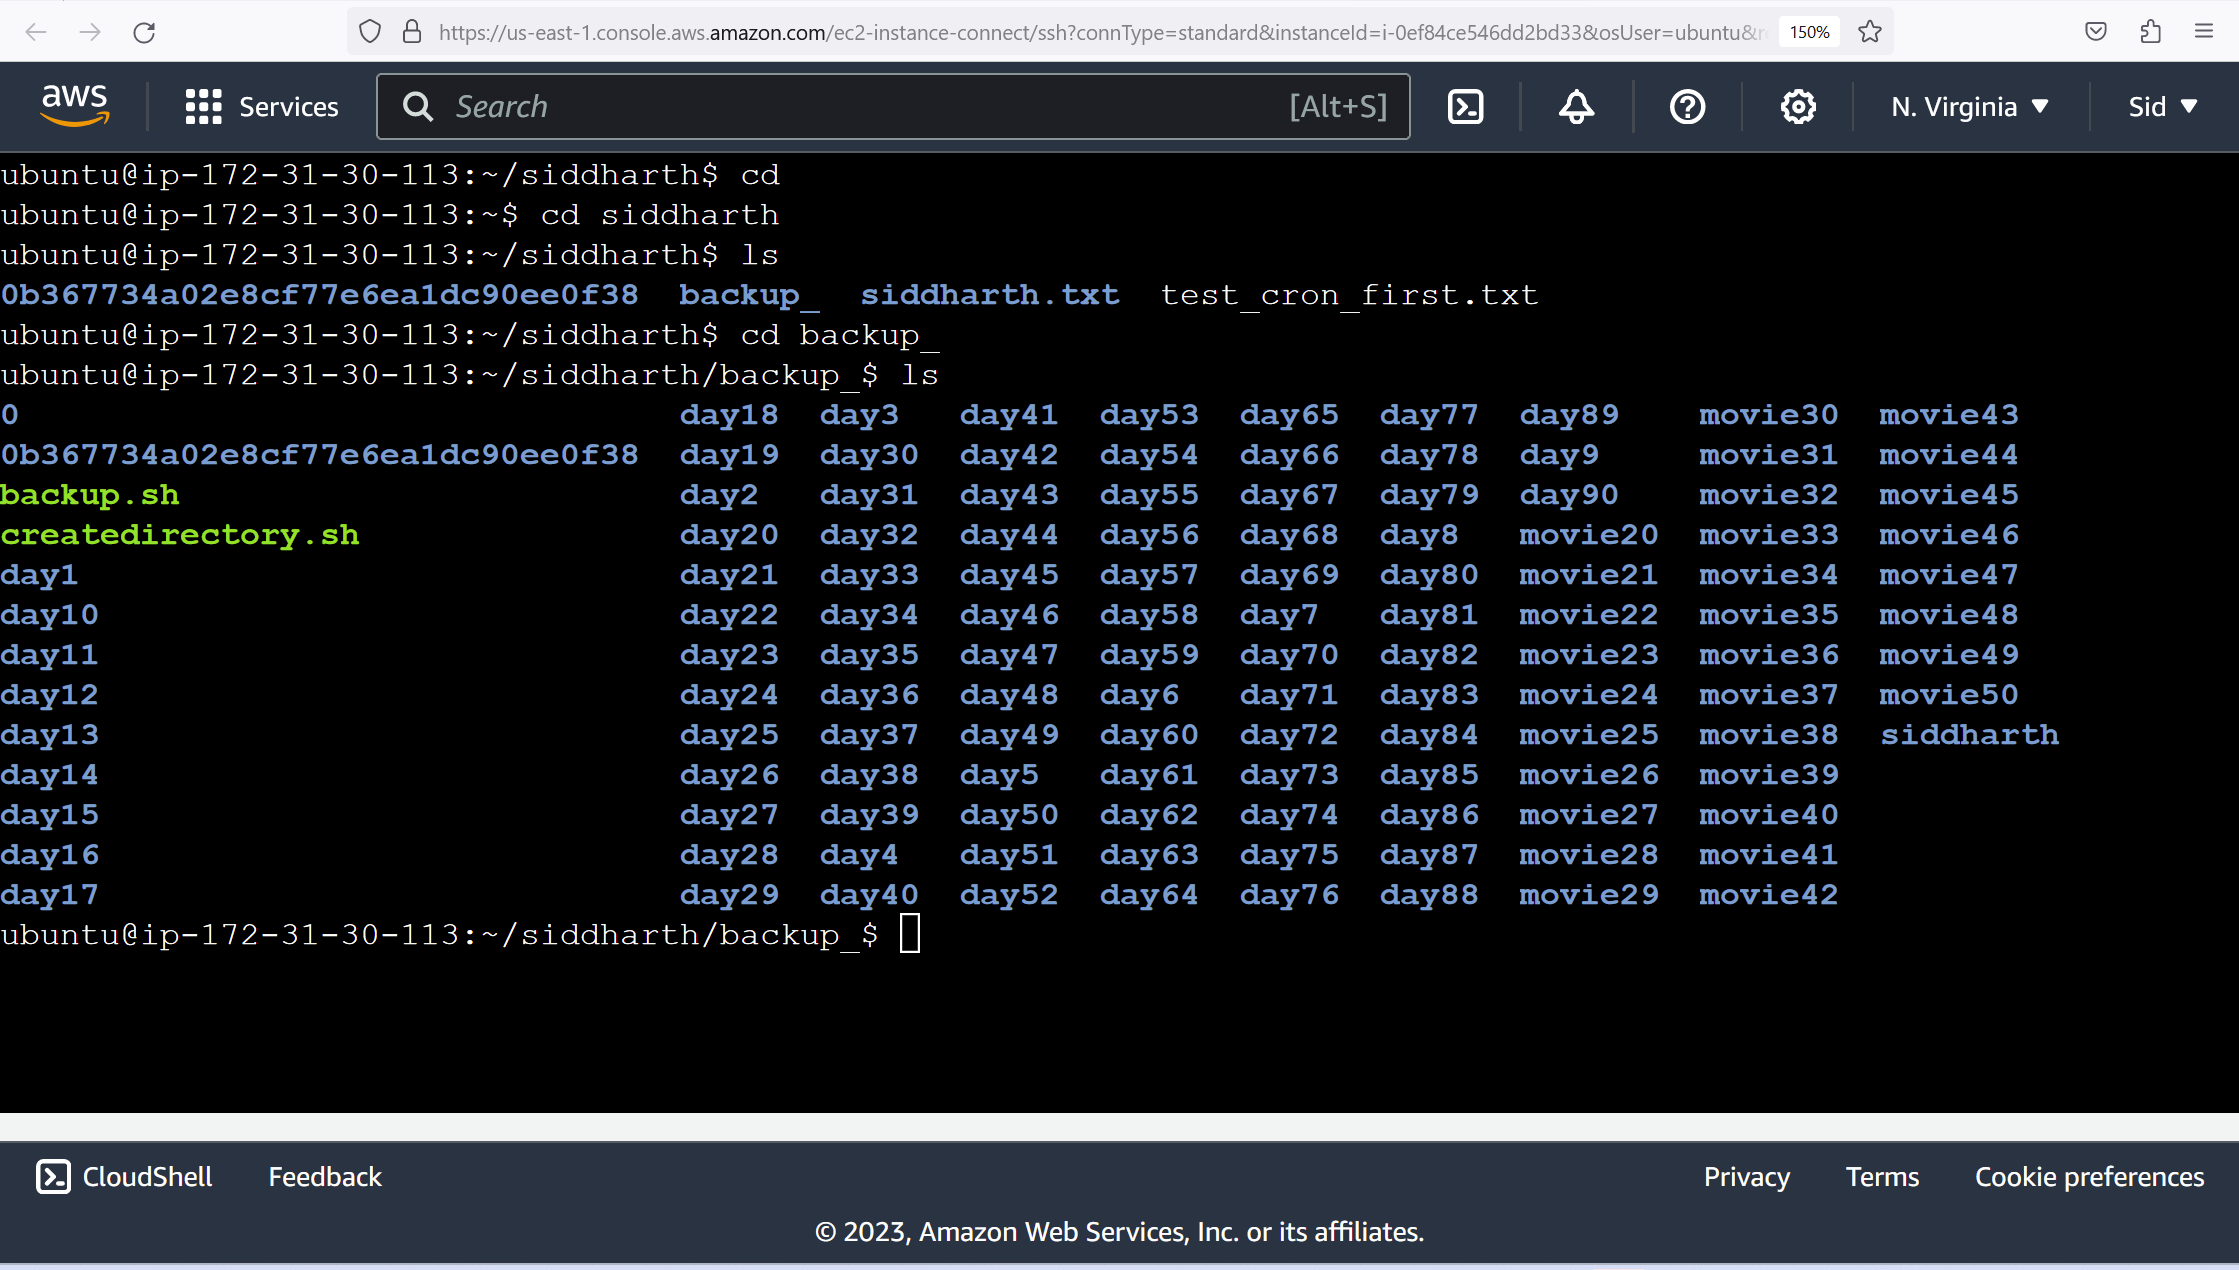
Read About Cron and Crontab, to automate the backup Script
Cron-Cron is the system's main scheduler for running jobs or tasks unattended.
Crontab- A command called crontab allows the user to submit, edit or delete entries to cron. A crontab file is a user file that holds the scheduling information.
Here's how you can automate a backup script using Cron and Crontab:
Create a Backup Script: First, you need to create a backup script. This script should perform the backup operation, whether it's copying files to a different location, creating archives, or using specialized backup software. Ensure that the script is executable (use chmod +x to make it executable if it's not).
Edit Your Crontab: To schedule your backup script, open your user's crontab for editing. You can do this by running the following command in your terminal:

This command opens your crontab file in the default text editor (usually vim or nano).
Schedule the Backup: In your crontab file, you'll define when and how often you want your backup script to run. The format of a crontab entry is as follows:

- The five asterisks represent the schedule: minute (0-59), hour (0-23), day of the month (1-31), month (1-12), and day of the week (0-6, with 0 being Sunday).
For example, to run your backup script daily at 10:02 AM, you would add the following line to your crontab:

Save and Exit: After you've added the schedule to your crontab, save the file and exit the text editor. In vi, you would typically press
Esc, then type:wq, and hit Enter.Verify Your Crontab: To verify that your crontab entry has been added correctly, you can list your crontab with the following command:
command name:crontab-l
This will display the scheduled tasks for your user.
Now, your backup script will run automatically at the specified schedule. You can adjust the timing and frequency by modifying the crontab entry as needed. Automated backups are a crucial part of data management and system administration, helping to protect your important files and data.
Read about User Management and Let me know on Linkedin if you're ready for Day 6.
A user is an entity, in a Linux operating system, that can manipulate files and perform several other operations. Each user is assigned an ID that is unique for each user in the operating system. In this post, we will learn about users and commands which are used to get information about the users. After installation of the operating system, the ID 0 is assigned to the root user and the IDs 1 to 999 (both inclusive) are assigned to the system users and hence the ids for local user begins from 1000 onwards.
Create 2 users and just display their Usernames
To create two users and display their usernames, you can use the
useraddcommand to create the users and theawkcommand to extract and display their usernames. Here are the steps:A. Open a terminal window.
B. Use the
useraddcommand to create the two users. For example, let's create two users named "Sid" and "Sam":sudo useradd -m Sid
sudo useradd -m Sam
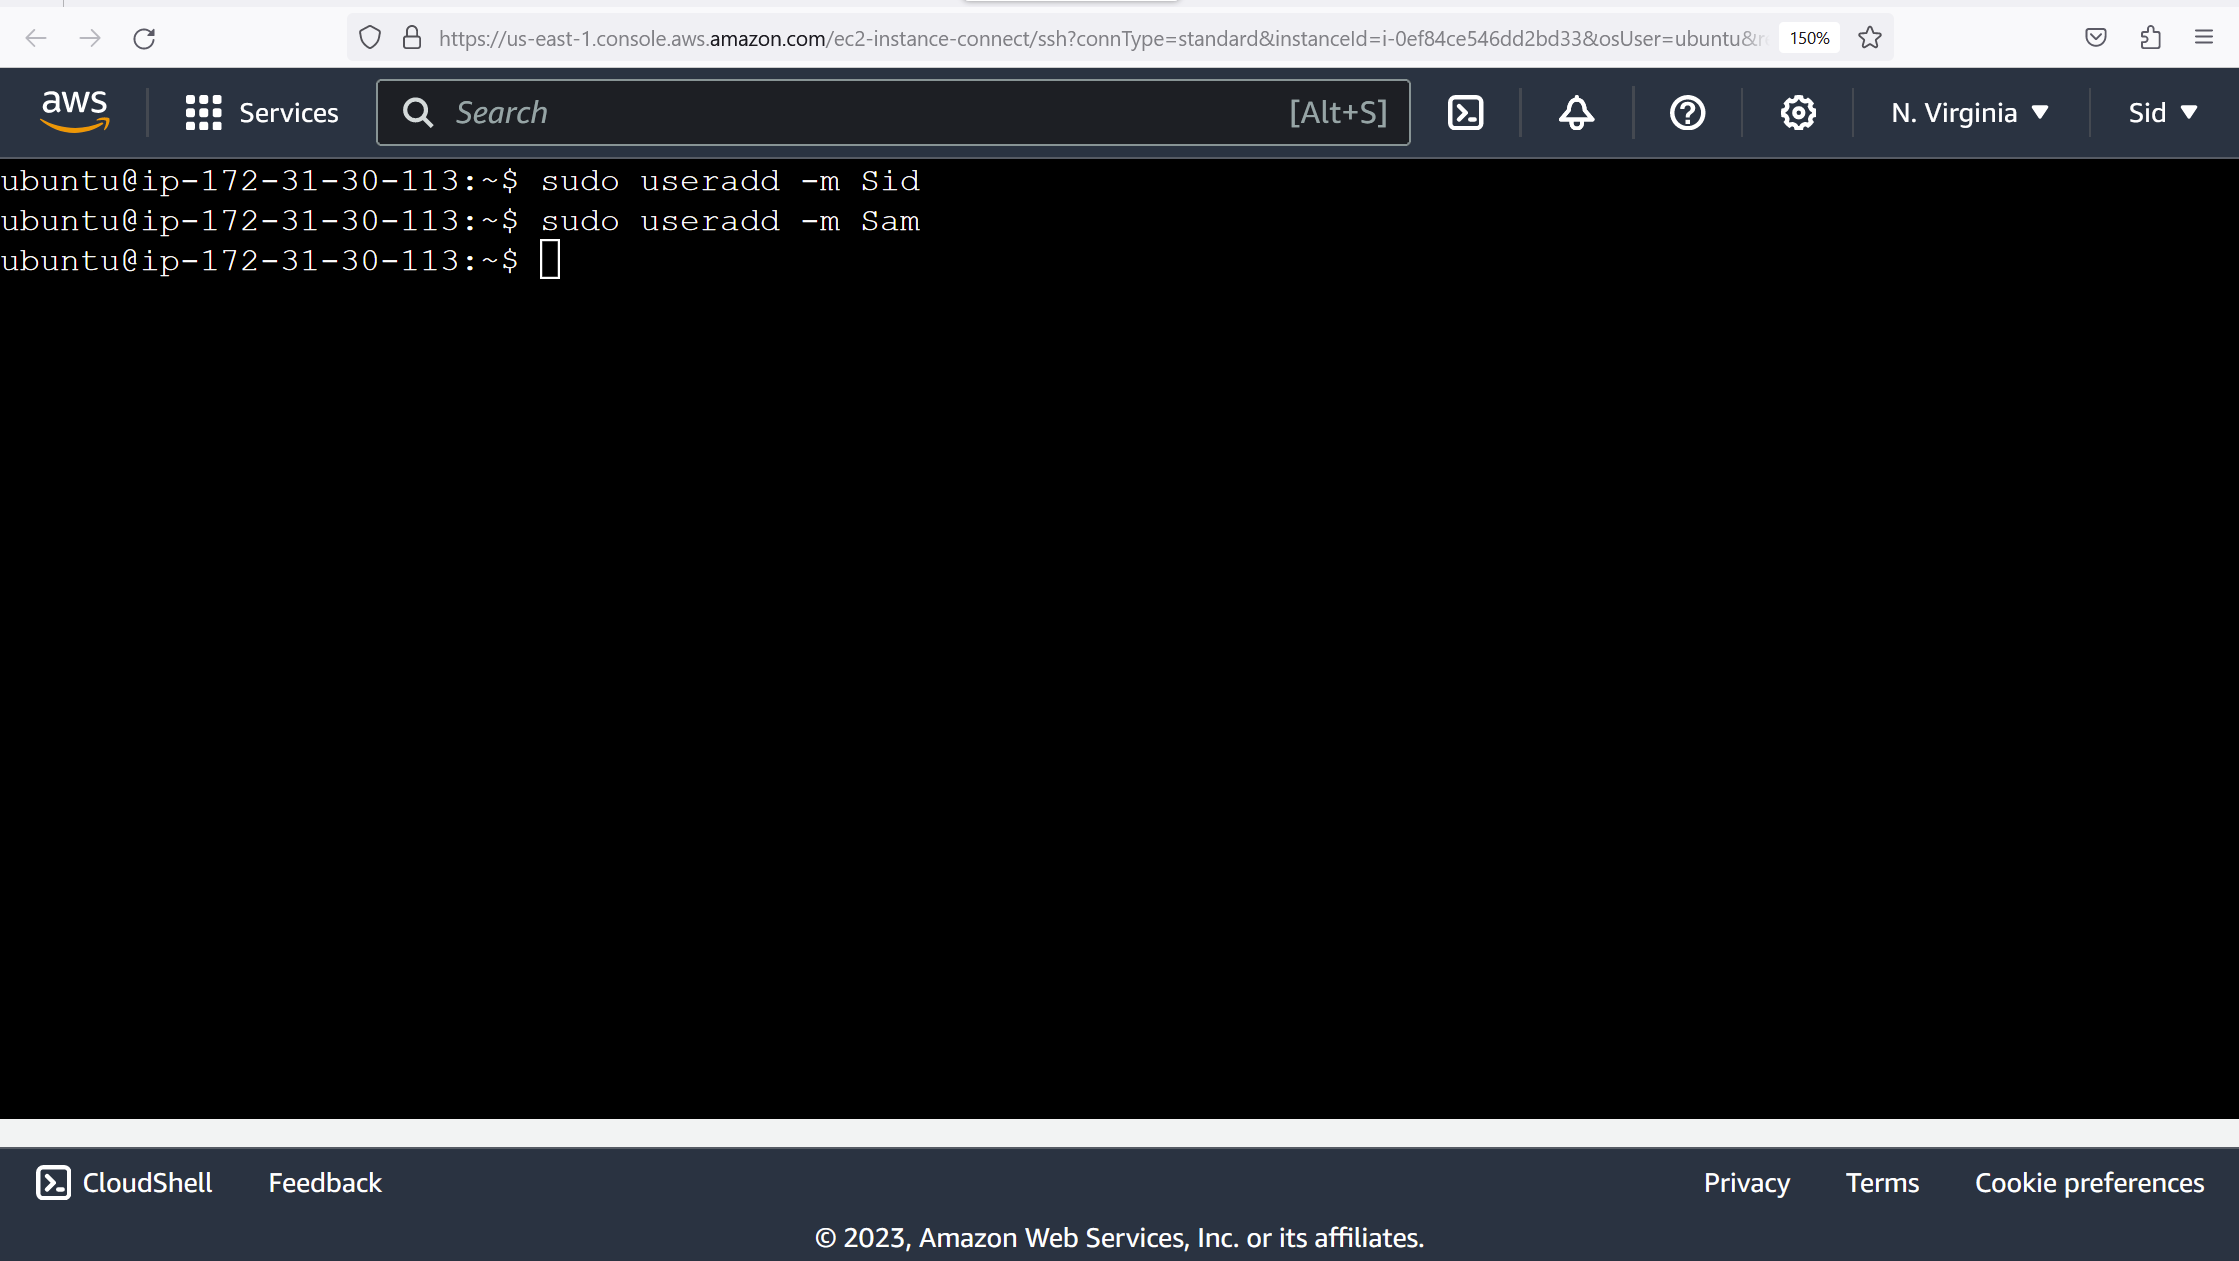
Output:
cd /
cd home/
ls
Output: Sam Sid
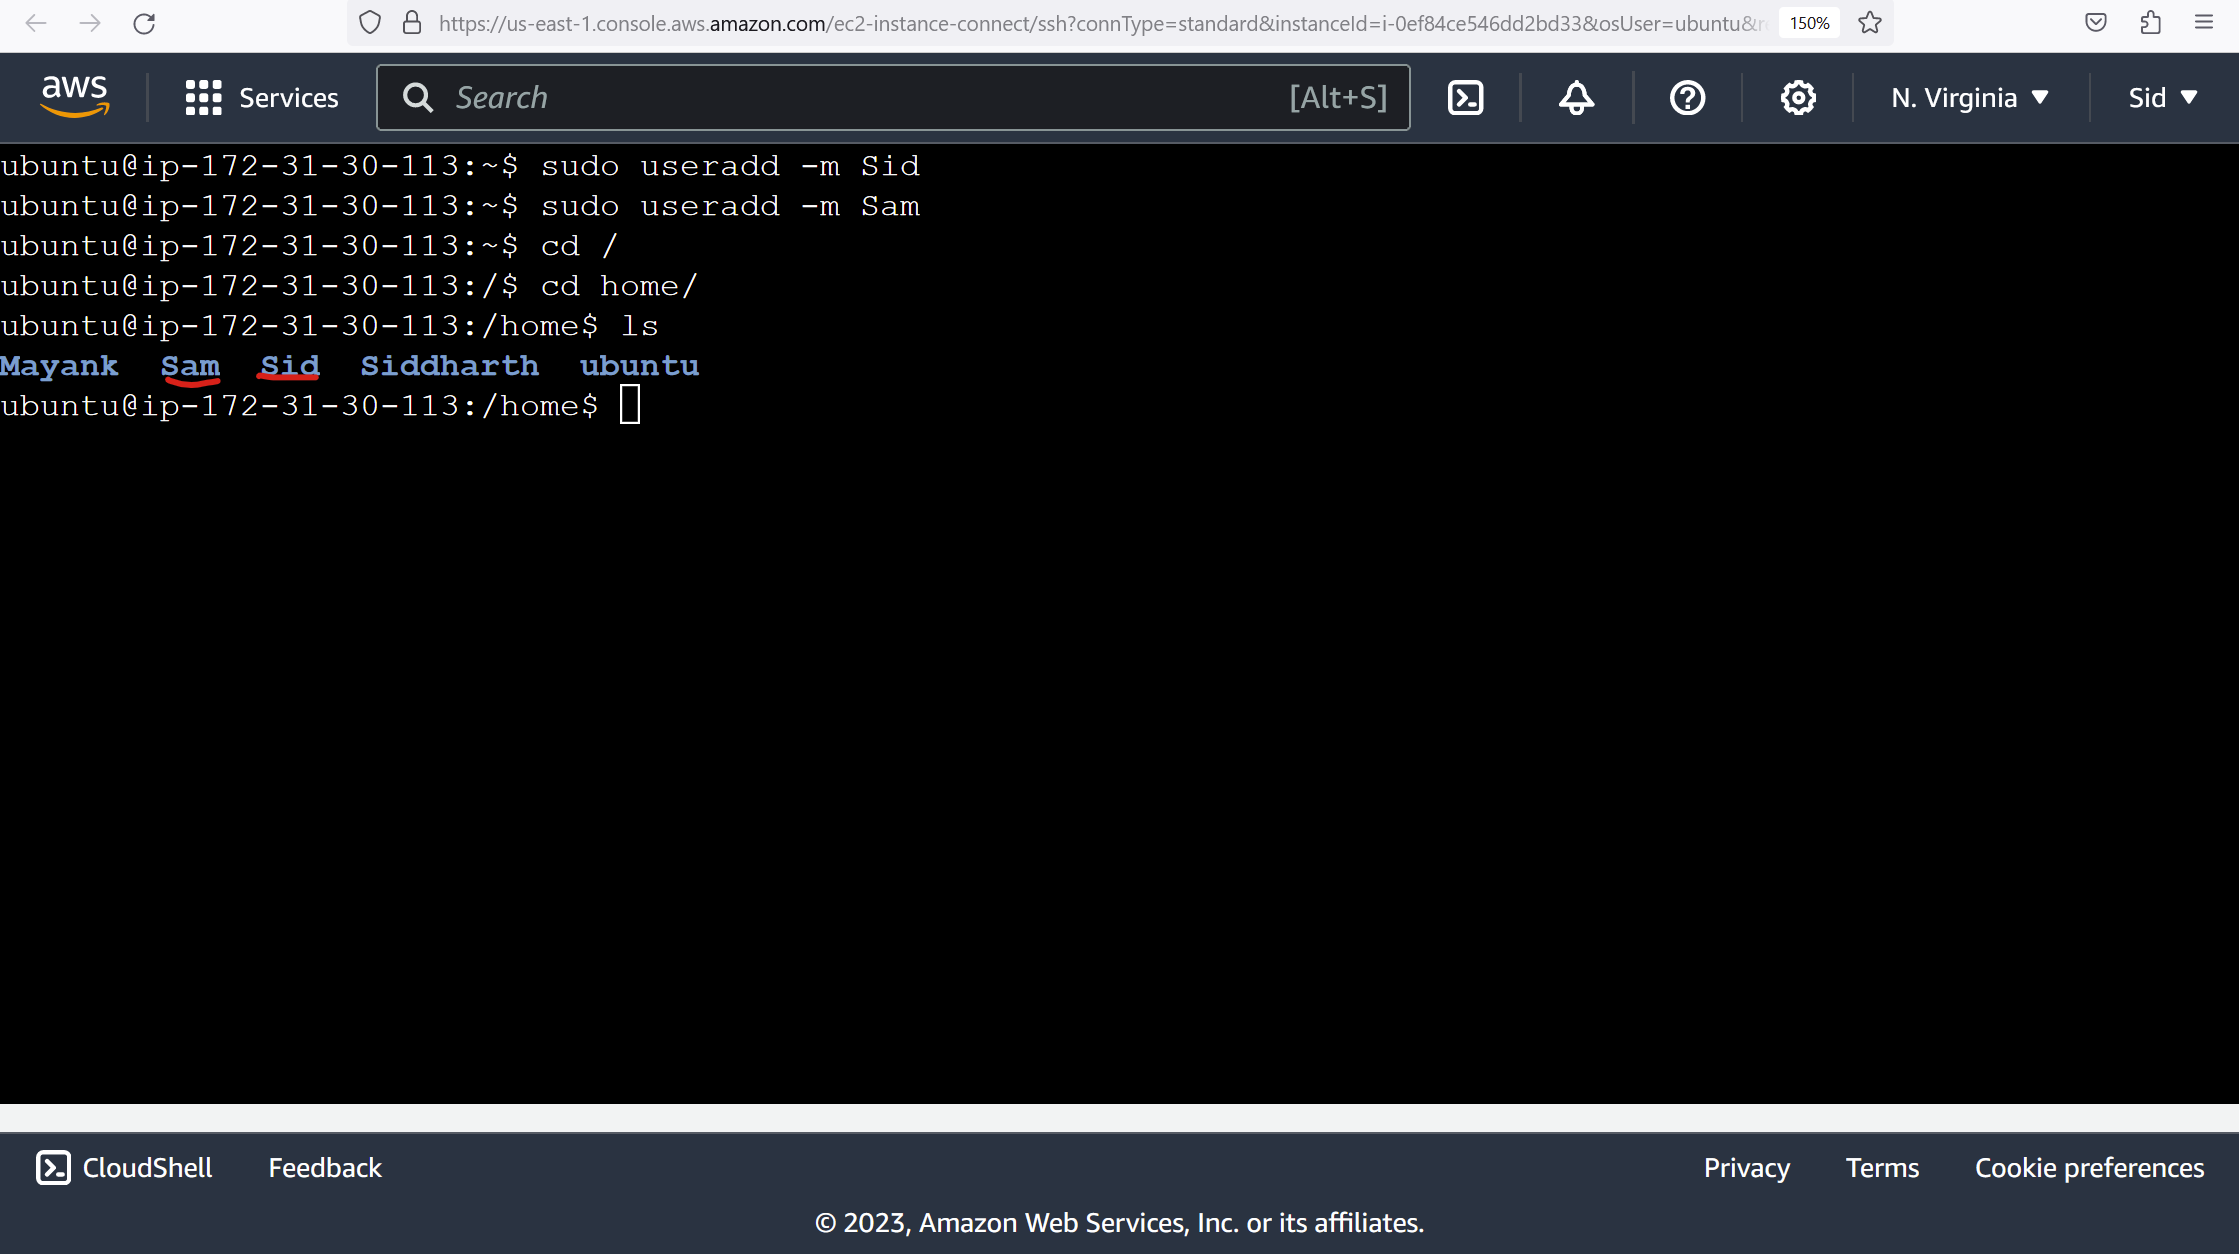
To display the usernames, you can use the
awkcommand in combination with the/etc/passwdfile. This file contains information about user accounts, including their usernames. You can use the following command:Output:
Command: awk -F: '{print $1}' /etc/passwd
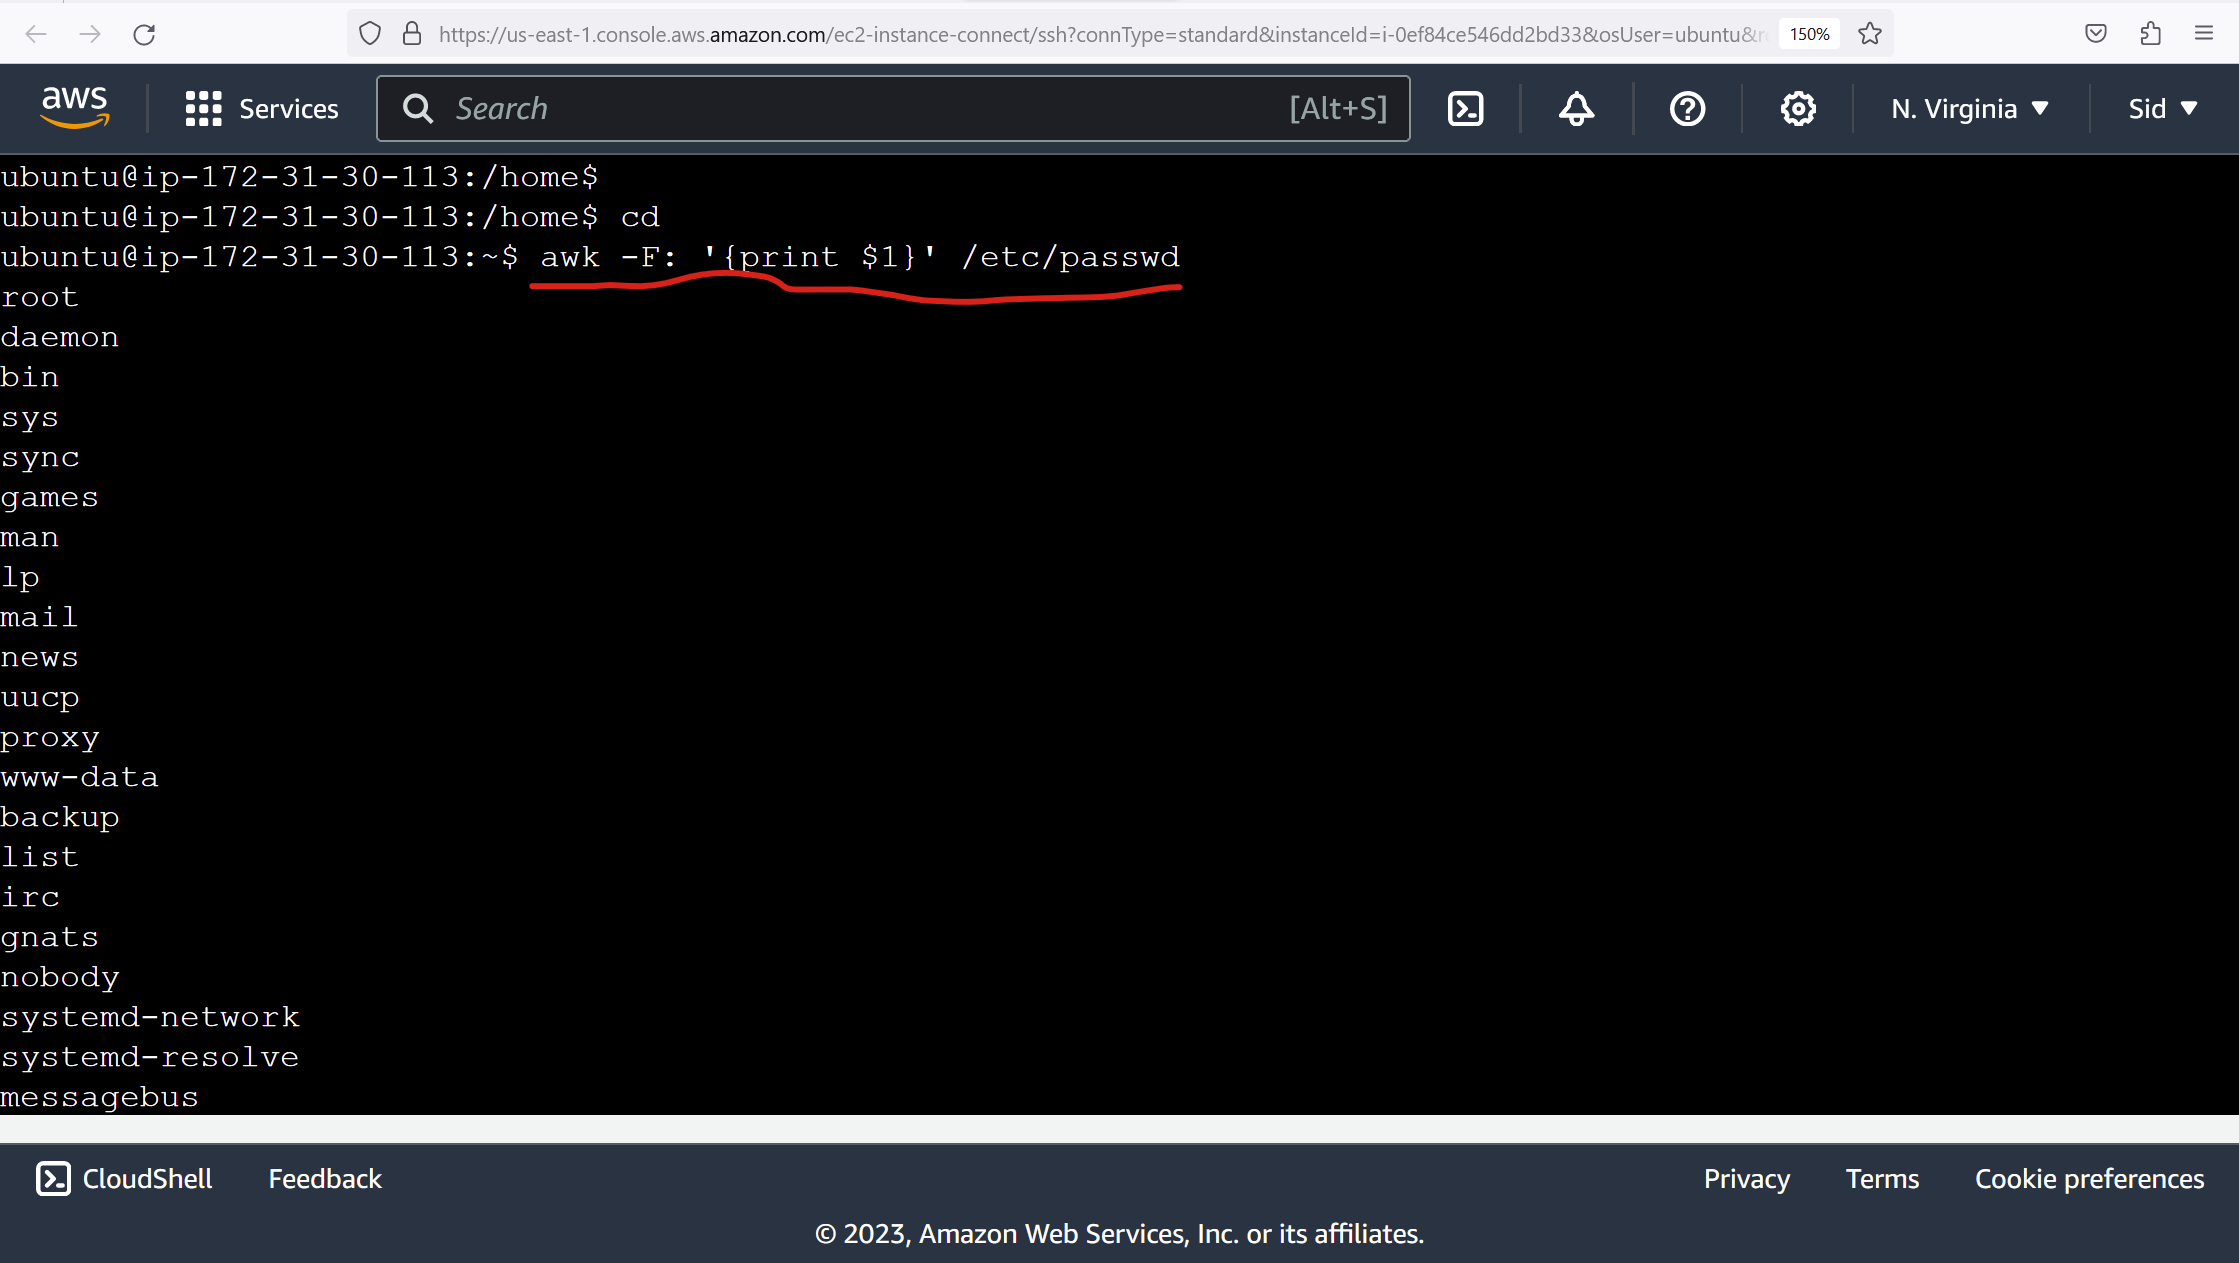
Output:
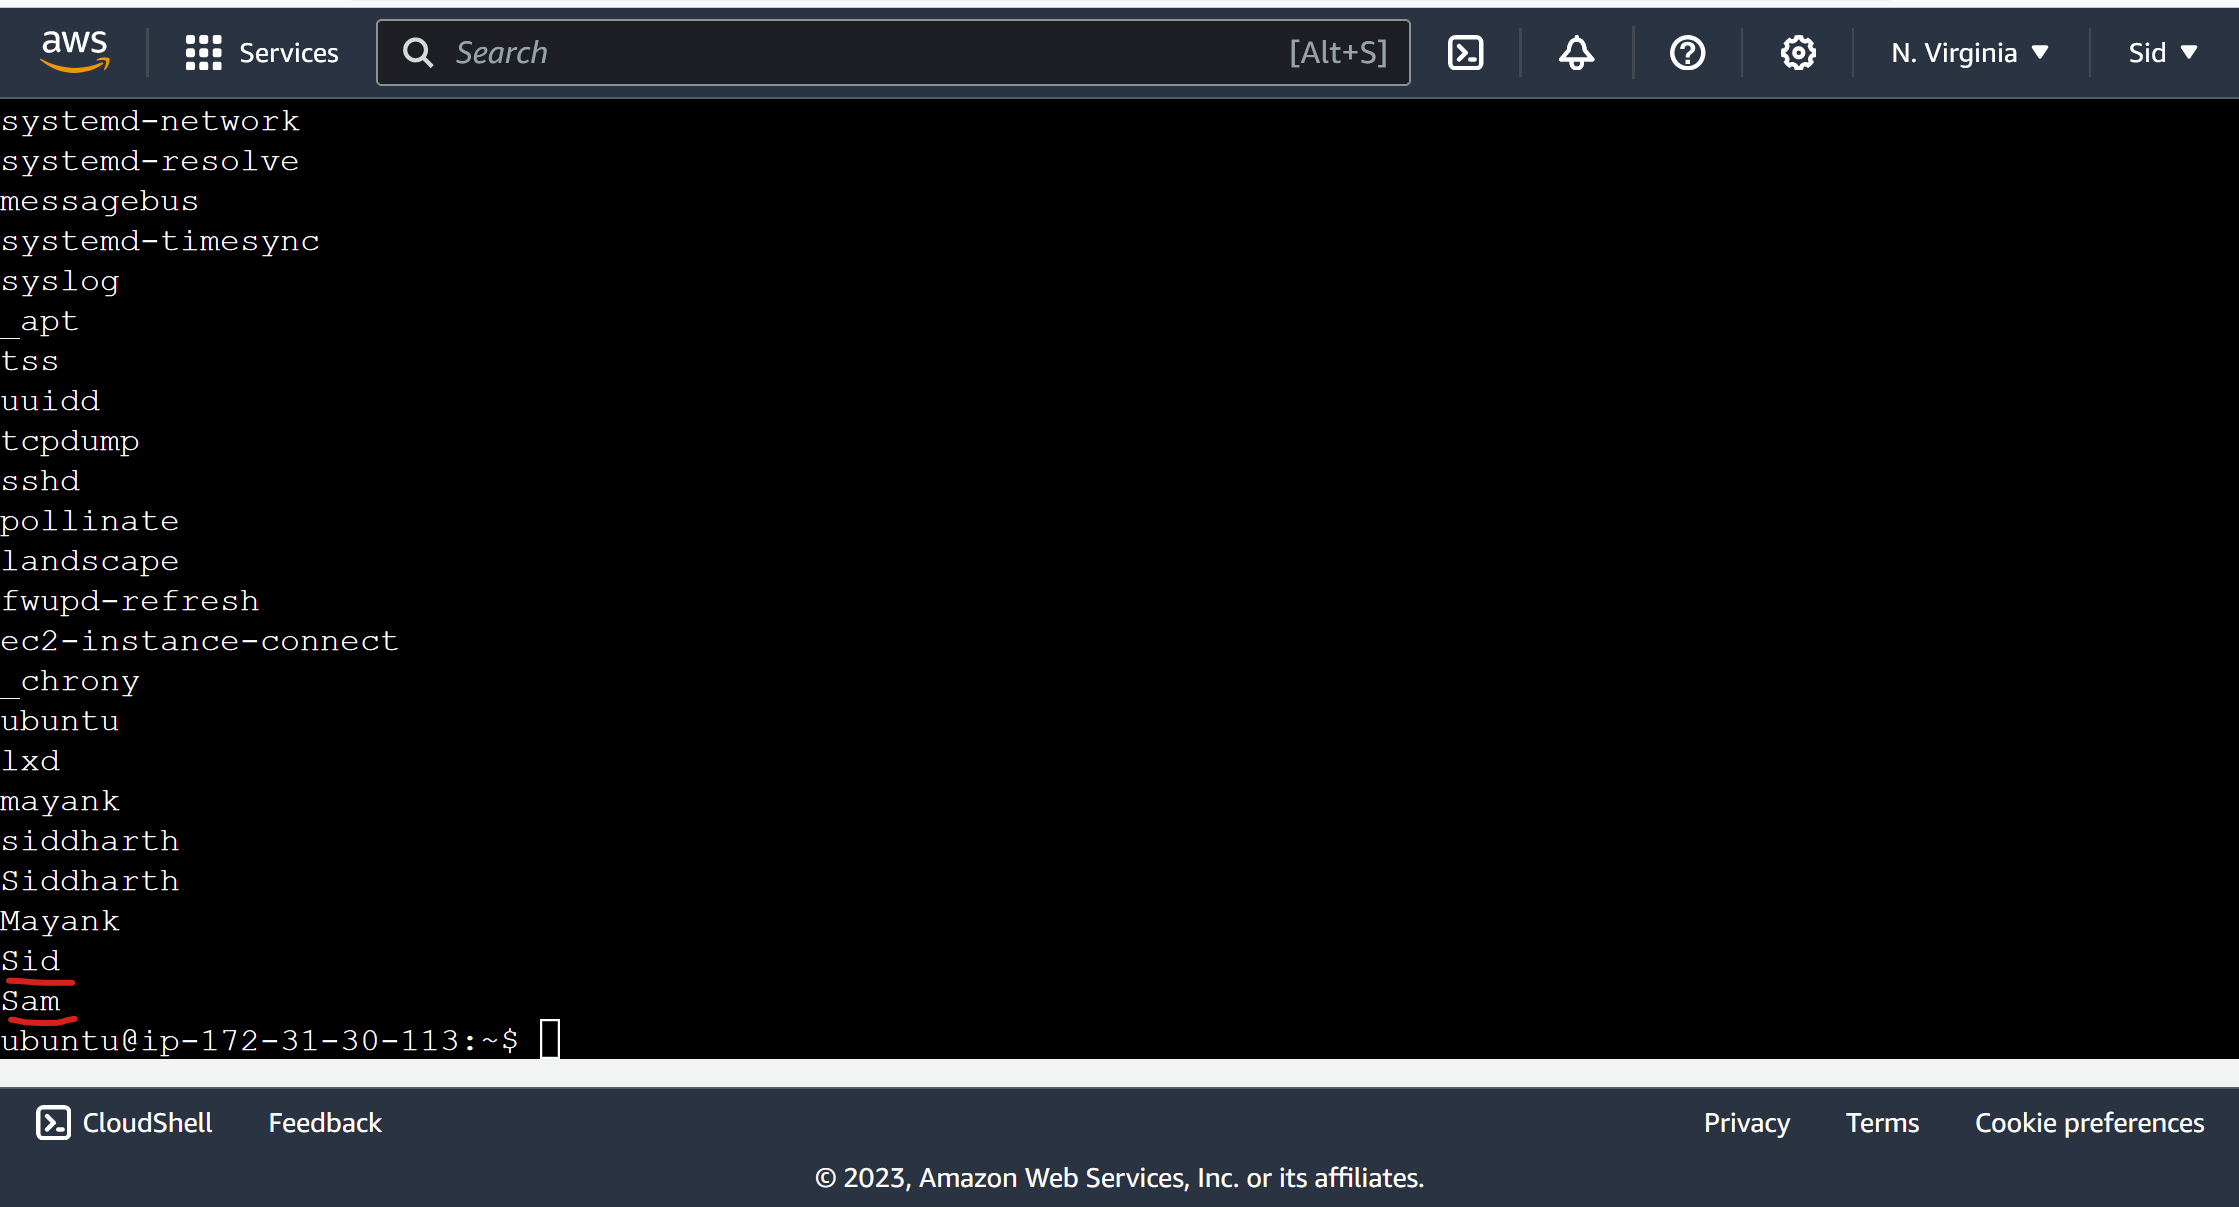
This command will extract and display all usernames from the /etc/passwd file.
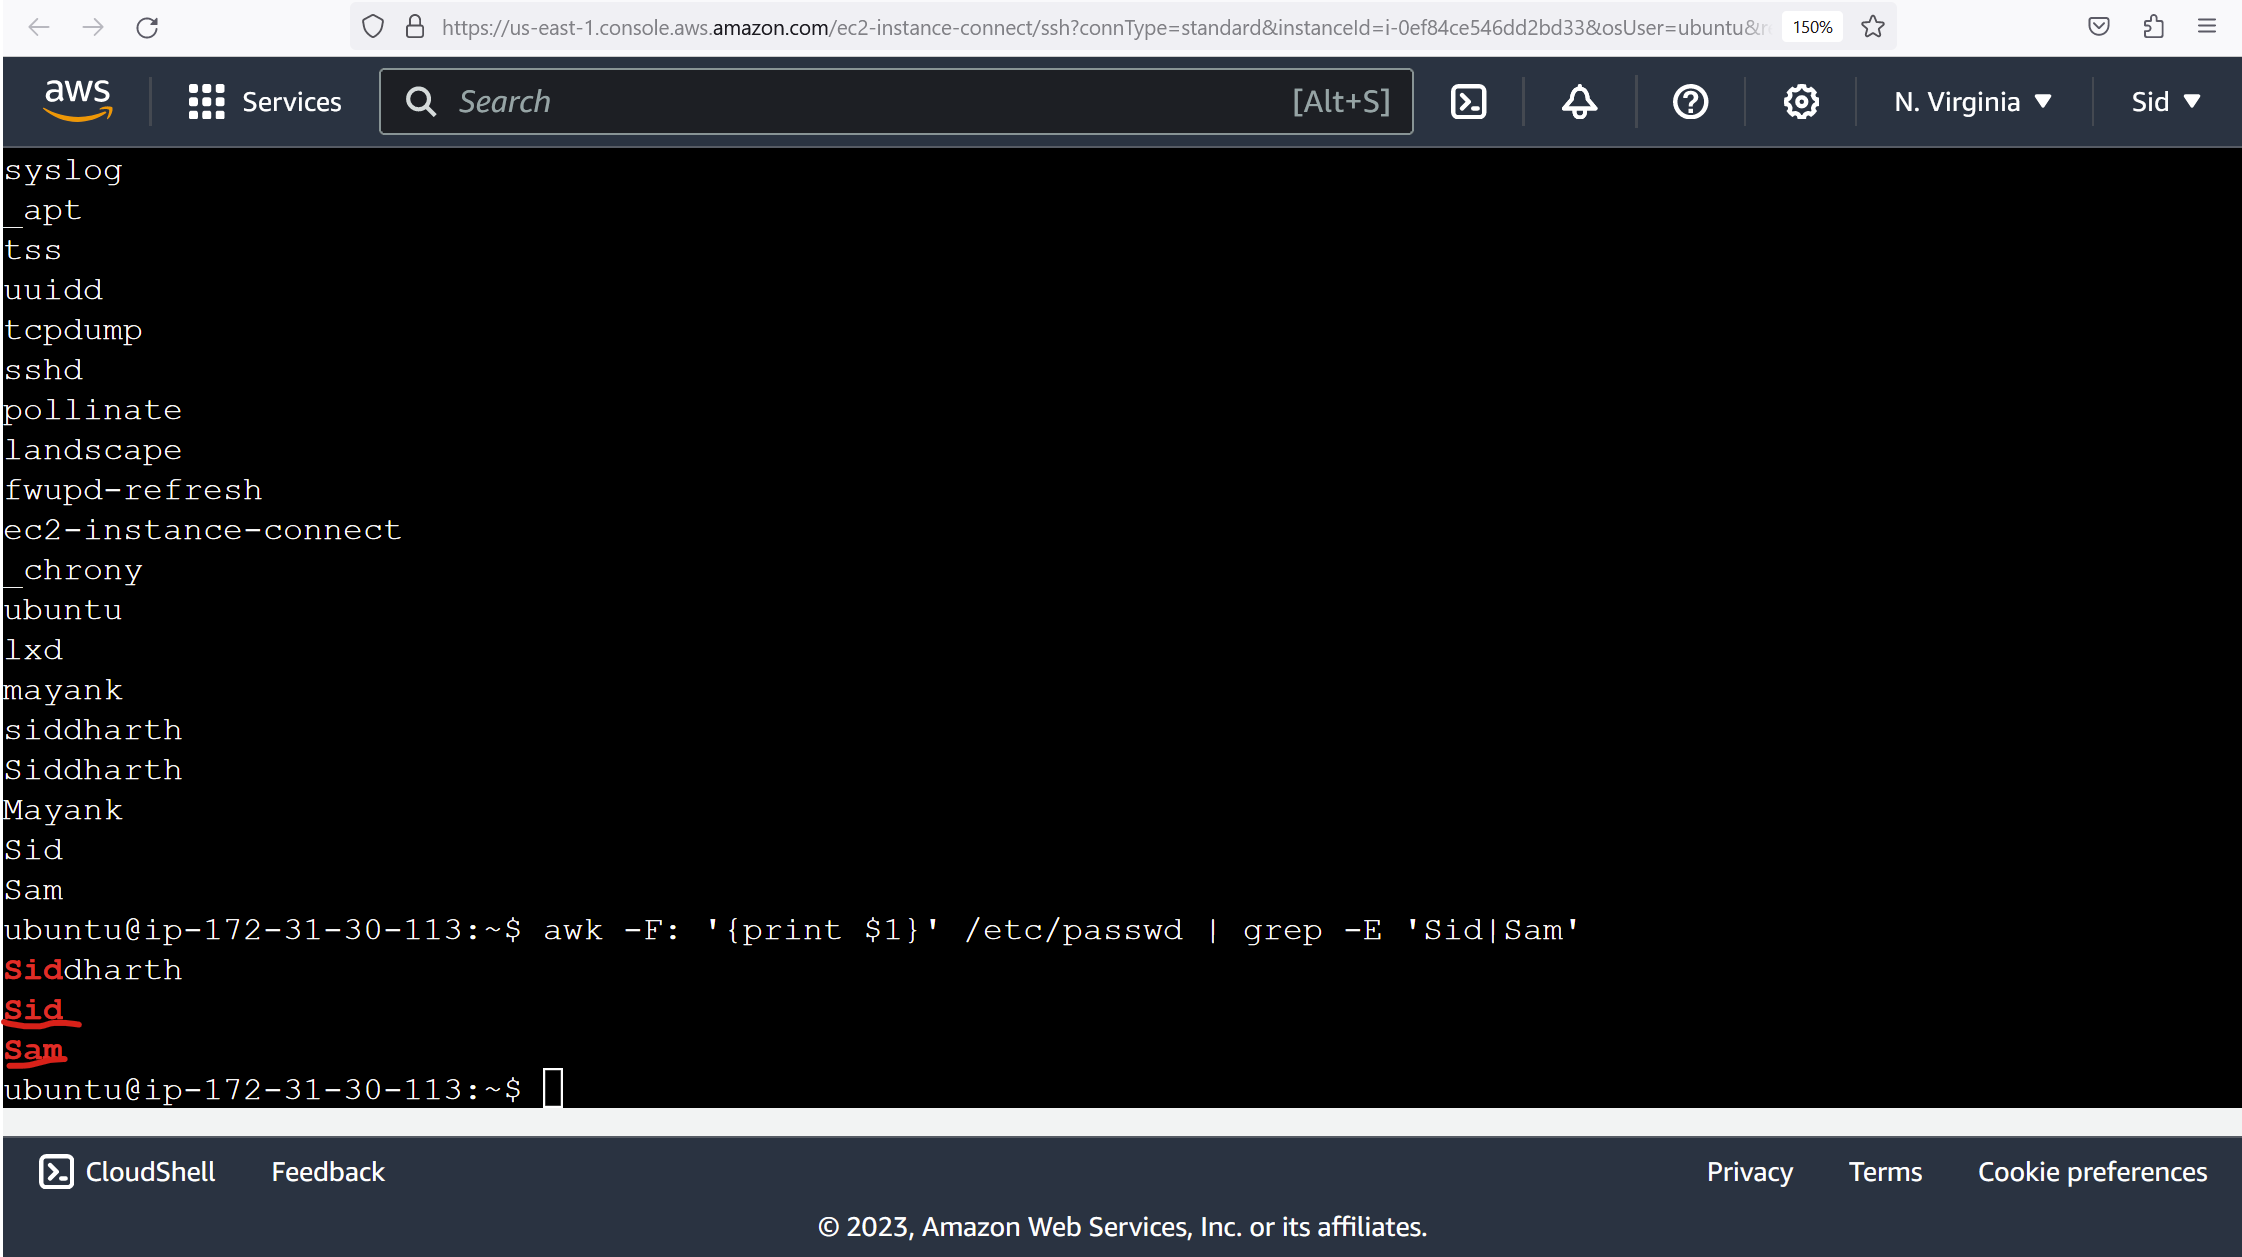
If you want to display the usernames for only the two users you just created, you can filter the output using grep. For example:
Command and output: awk -F: '{print $1}' /etc/passwd | grep -E 'Sid|Sam'
#90daysofdevopschallege
- #trainwithshubham #subhamlondhe